Brave Wings
*German version below | Deutsche Version unten*
Hello everyone! Welcome back to another mixed media project. Today’s project is based on a colour combination that I wanted to try. It doesn’t look exactly as I wanted it to, but I still like it very much. Let’s start with the materials I used:
Materials (If something is not in stock, please simply click on “Product reminder”/ “Produkterinnerung”)
- Finnabair Art Basics – Heavy Gesso White (Tube)
- Ranger Multi Medium – Matte
- AALL & Create – Stencil – Lotza Trianglz #105
- Ranger Texture Paste Opaque Crackle
- Distress Oxide Sprays
- Distress Mica Stain Spray – Fortune Teller
- Ranger – Tim Holtz Distress Oxide Pad – Scorched Timber
- Archival Ink – Jet Black
- Tim Holtz Stamp set – Dearly Departed
- Sizzix Tim Holtz Thinlits – Vault Scribbly Butterfly
- Black Cardstock
- Tim Holtz Small Talk Sticker Book
- Tim Holtz Distress Watercolor Pencil – Scorched Timber

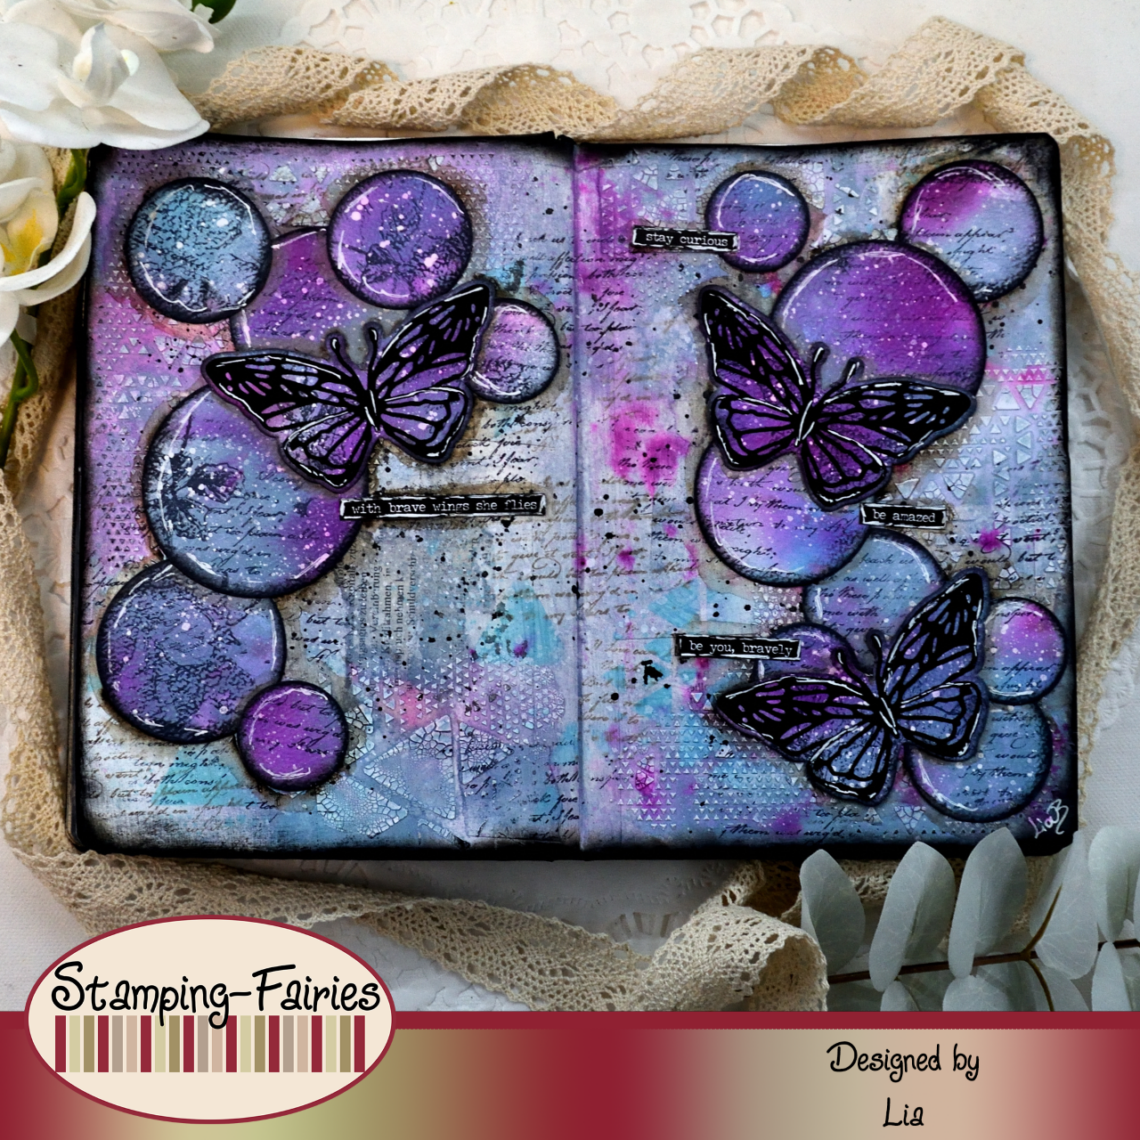
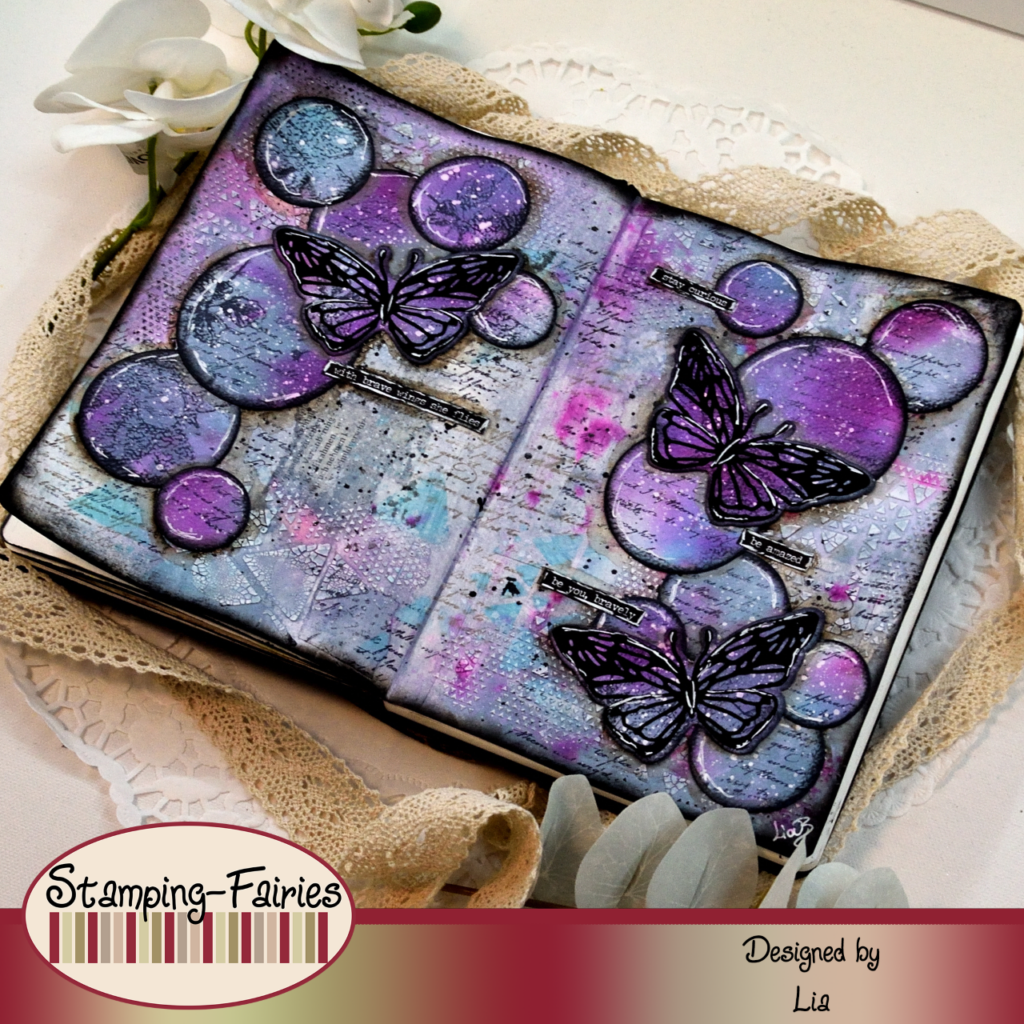
For this project, I worked in an art journal with watercolour paper, as I knew I was going to use wet mediums. I started by applying a good layer of Gesso on my pages, to create a nice surface to work on. Once the Gesso was dry, I used Multi Medium Matte to glue pieces of a book page on my pages. I made sure not to use glue all the way to the edges of these pieces. I left the glue dry and then I picked up the edges of the page pieces and tore them. They left a text detail on my project, without adding harsh edges and shapes. Next, I used the AALL & Create Lotza Trianglz #105 stencil with my (favourite) Ranger Texture Crackle paste, making sure not to cover my pages completely. The stencil design is mostly concentrated on the top left and bottom right corners of my project. Time to add colour and for that I used the Salvaged Patina and Stormy Sky Distress Oxide Sprays along with the Fortune Teller Distress Mica Stain Spray (from the Halloween set #4). The process is the same as always. I sprayed with the colours, I sprayed with water, I left the colours move and mix, I dabbed off the excess and then I dried the pages. I repeated this process until I liked the results. I used the Scorched Timber Distress Oxide ink to darken the edges of the pages and I also added more text details, using the same ink with the text stamp from the Tim Holtz Dearly Departed stamp set. I splattered my project with white and black ink (always drying it in between). When I saw the black splatter, I thought that I liked this darker element. So, I used Jet Black Archival ink around the edges of the pages and I redid the text stamping with this black ink. And with that, my background was done.

Time to prepare my images. I wanted circles and I wanted butterflies on this project. But first, I needed to prepare the paper panel I was going to cut my elements out of. I used a piece of watercolour paper and the same Sprays I used for my background. This time, I added less water in order to make the coloures a little bit darker. I dried the paper and then I used the text and the flower stamps from the Tim Holtz Dearly Departed stamp set and I stamped them with Jet Black Archival ink. I splattered the watercolour paper with white ink, I dried it and it was ready. I used the Sizzix Vault Scribbly Butterfly Thinlits set and I cut the butterfly shadow parts from my colourful paper. I also cut some circles out of this paper, using the Sizzix Circles Framelits set. Unfortunately, this last set is not available in the Stamping Fairies shop, but you can always use other dies or even use round objects to trace and cut your circles. I used Jet Black Archival ink to treat the edges of the circles and then I arranged them on my project. I used black cardstock to cut the main bodies of the butterflies and then I attached them on the shadow parts and arranged the butterflies on my project.
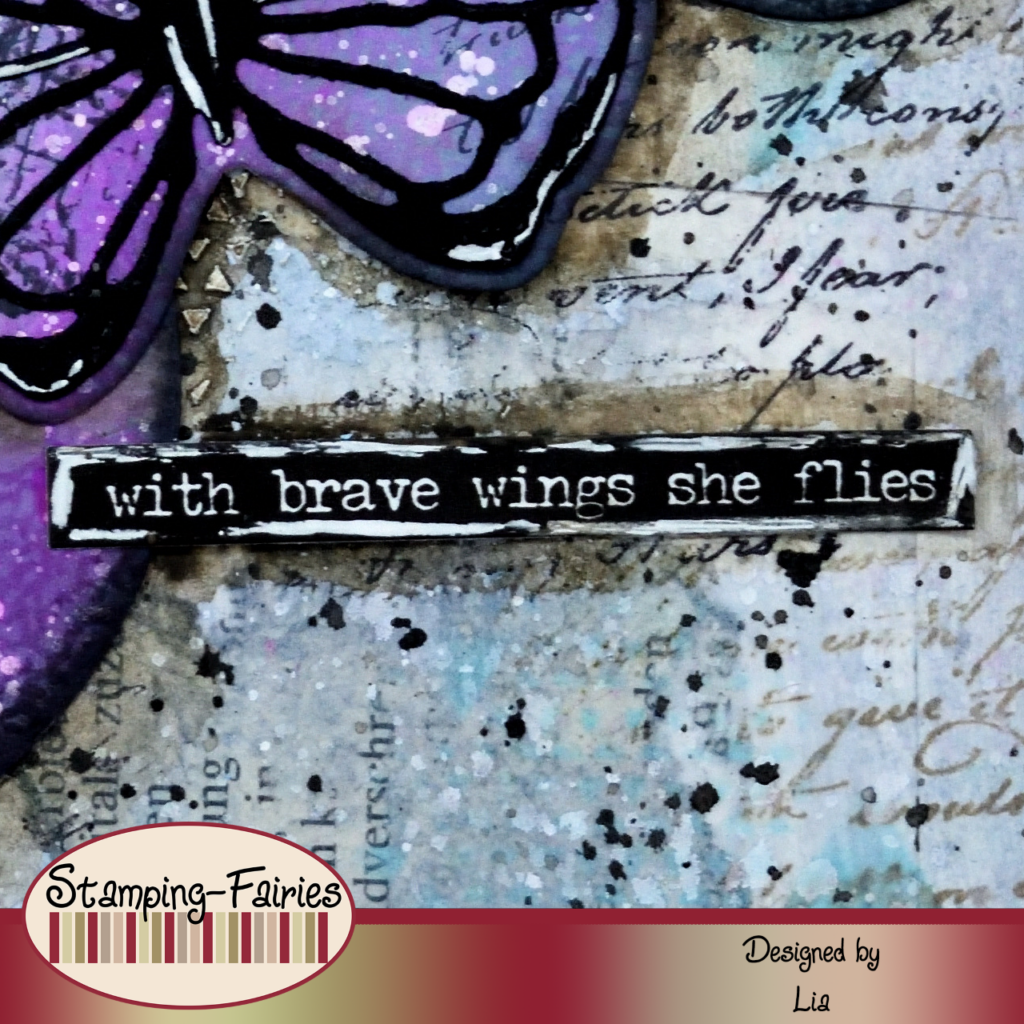
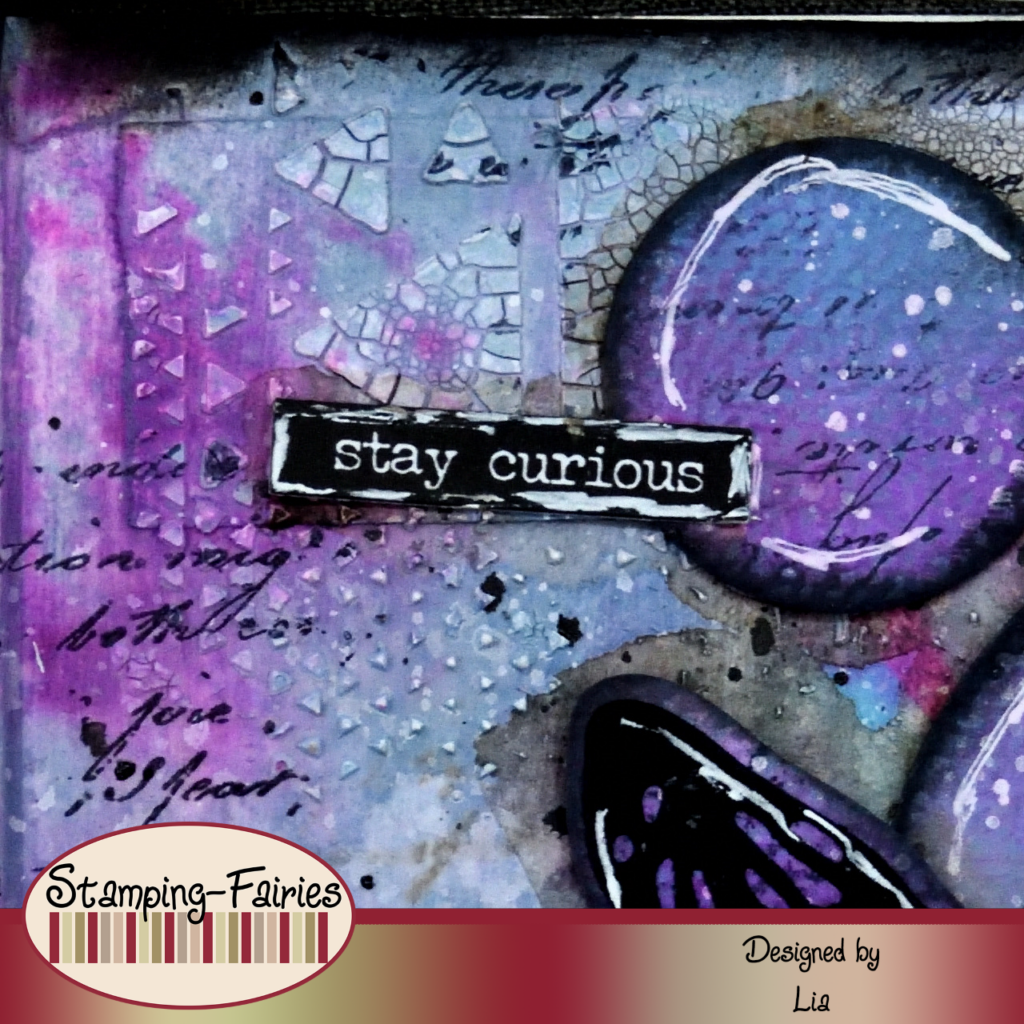
My sentiment comes from the Idea-Ology Small Talk Sticker Book. I actually used several little phrases. I placed the little sentiment stripes all around my butterflies. The sentiment says „With brave wings she flies. Stay curious. Be amazed. Be you, bravely.“ I guess I wanted to create a sense of freedom and freedom takes bravery. I used a white Gelly Roll pen to add some highlights and then I added some shadows, using the Scorched Timber Distress watercolour pencil and a water brush.
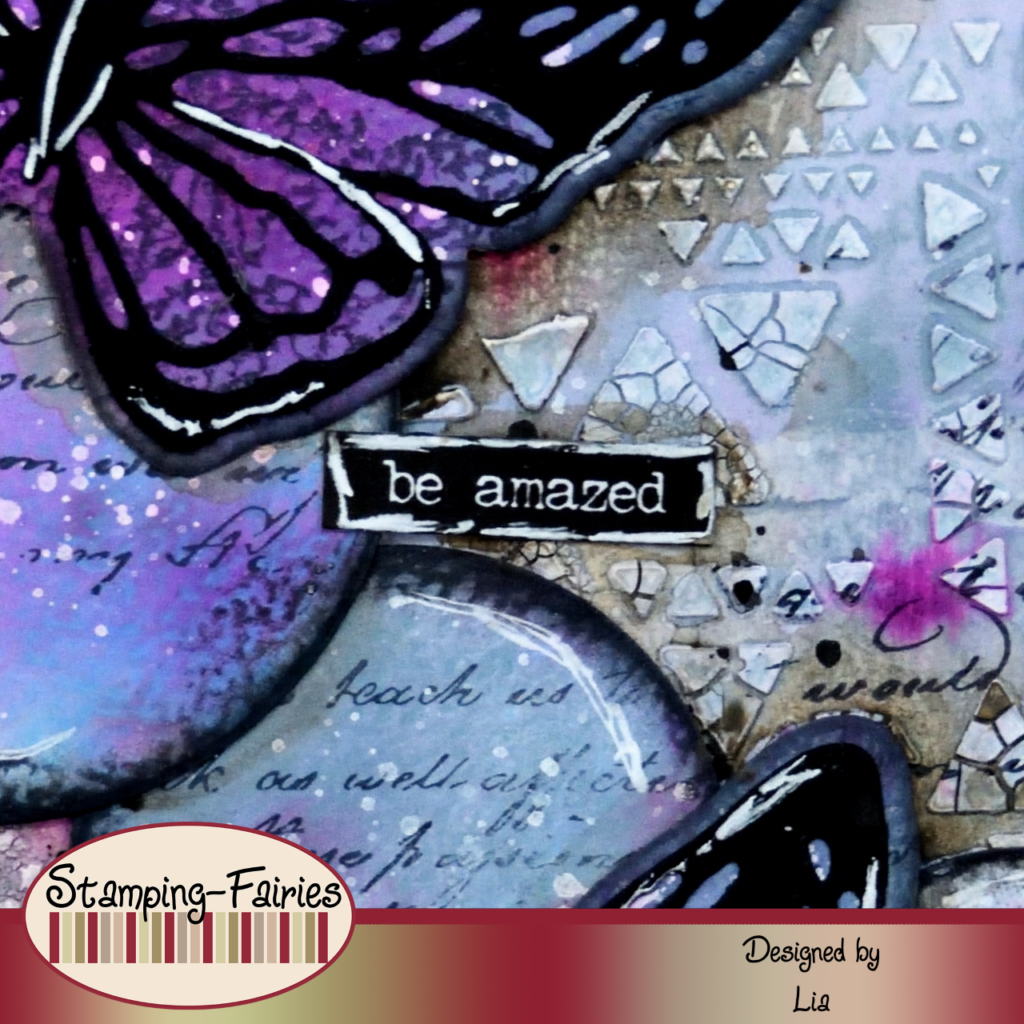
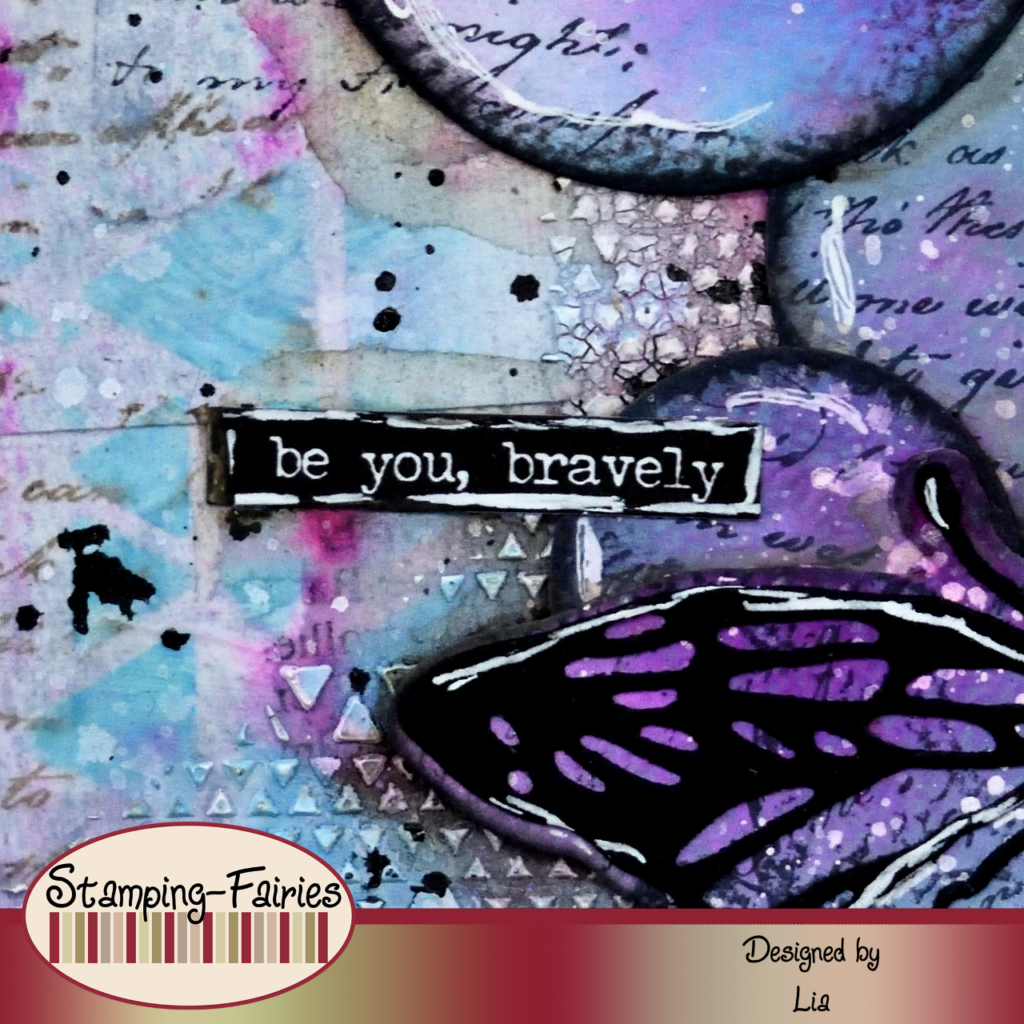
And that was the project for today! I picked these colours because I saw how they combined on the paper I use to protect my surface when I used sprays. I think I missed a colour, but I still like the outcome! Maybe I will try again soon. I really hope you like today’s project! I hope you got inspired! We will see each other again next Monday! Until then, stay creative and have fun!
*Deutsche Version*
Hallo zusammen! Willkommen zurück zu einem weiteren Mixed-Media Projekt. Das heutige Projekt basiert auf einer Farbkombination, die ich ausprobieren wollte. Es sieht nicht ganz so aus, wie ich es wollte, aber es gefällt mir trotzdem sehr gut. Beginnen wir mit den Materialien, die ich verwendet habe:
Materialien (wenn etwas nicht auf Lager ist, bitte einfach auf „Produkterinnerung“ klicken)
- Finnabair Art Basics – Heavy Gesso White (Tube)
- Ranger Multi Medium – Matte
- AALL & Create – Stencil – Lotza Trianglz #105
- Ranger Texture Paste Opaque Crackle
- Distress Oxide Sprays
- Distress Mica Stain Spray – Fortune Teller
- Ranger – Tim Holtz Distress Oxide Pad – Scorched Timber
- Archival Ink – Jet Black
- Tim Holtz Stamp set – Dearly Departed
- Sizzix Tim Holtz Thinlits – Vault Scribbly Butterfly
- Black Cardstock
- Tim Holtz Small Talk Sticker Book
- Tim Holtz Distress Watercolor Pencil – Scorched Timber
Für dieses Projekt habe ich in einem Kunstjournal mit Aquarellpapier gearbeitet, da ich wusste, dass ich nasse Medien verwenden würde. Ich habe damit begonnen, eine gute Schicht Gesso auf meine Seiten aufzutragen, um eine schöne Oberfläche zum Arbeiten zu schaffen. Sobald das Gesso trocken war, habe ich mit Multi Medium Matte Teile einer Buchseite auf meine Seiten geklebt. Ich habe darauf geachtet, dass der Kleber nicht bis an die Kanten dieser Teile reicht. Ich habe den Kleber trocknen gelassen und dann die Kanten der Seitenstücke aufgehoben und sie abgerissen. So haben sie in meinem Projekt ein Textdetail hinterlassen, ohne scharfe Kanten und Formen hinzuzufügen. Als nächstes habe ich die AALL & Create Lotza Trianglz #105 Schablone mit meiner (Lieblings) Ranger Texture Crackle Paste verwendet und darauf geachtet, dass meine Seiten nicht vollständig bedeckt werden. Das Schablonendesign konzentriert sich hauptsächlich auf die oberen linken und unteren rechten Ecken meines Projekts. Zeit, Farbe hinzuzufügen, und dafür habe ich die Salvaged Patina und Stormy Sky Distress Oxide Sprays zusammen mit dem Fortune Teller Distress Mica Stain Spray (aus dem Halloween Set Nr. 4) verwendet. Der Ablauf ist derselbe wie immer. Ich habe die Farben gesprüht, Wasser gesprüht, die Farben sich bewegen und mischen lassen, den Überschuss abgetupft und dann habe ich die Seiten getrocknet. Ich habe diesen Vorgang wiederholt, bis mir die Ergebnisse gefielen. Ich habe die Scorched Timber Distress Oxide Tinte verwendet, um die Ränder der Seiten abzudunkeln, und habe außerdem weitere Textdetails hinzugefügt, indem ich dieselbe Tinte mit dem Textstempel aus dem Tim Holtz Dearly Departed Stempelset verwendet habe. Ich habe mein Projekt mit weißer und schwarzer Tinte bespritzt (immer zwischendurch trocknen lassen). Als ich die schwarzen Spritzer gesehen habe, dachte ich, dass mir dieses dunklere Element gefiel. Deshalb habe ich an den Rändern der Seiten Jet Black Archival Tinte verwendet und den Textstempel mit dieser schwarzen Tinte neu gestaltet. Und damit war mein Hintergrund fertig.

Zeit, meine Bilder vorzubereiten. Ich wollte Kreise und ich wollte Schmetterlinge für dieses Projekt. Aber zuerst musste ich die Papierplatte vorbereiten, aus der ich meine Elemente ausschneiden wollte. Ich habe ein Stück Aquarellpapier und die gleichen Sprays verwendet, die ich für meinen Hintergrund verwendet habe. Dieses Mal habe ich weniger Wasser hinzugefügt, um die Farben etwas dunkler zu machen. Ich habe das Papier getrocknet und dann den Text und die Blumenstempel aus dem Stempelset Dearly Departed von Tim Holtz verwendet und sie mit Jet Black Archival Tinte gestempelt. Ich habe das Aquarellpapier mit weißer Tinte bespritzt, es getrocknet und schon war es fertig. Ich habe das Sizzix Vault Scribbly Butterfly Thinlits Set verwendet und die Schmetterlingsschattenteile aus meinem bunten Papier ausgeschnitten. Ich habe auch mit dem Sizzix Circles Framelits Set einige Kreise aus diesem Papier ausgeschnitten. Leider ist dieses letzte Set nicht im Stamping Fairies Shop erhältlich, aber ihr könnt jederzeit andere Stanzformen oder sogar gebrauchte runde Gegenstände verwenden, um eure Kreise nachzuzeichnen und auszuschneiden. Ich habe die Kanten der Kreise mit Jet Black Archival Tinte bearbeitet und sie dann in meinem Projekt angeordnet. Ich habe die Hauptkörper der Schmetterlinge aus schwarzem Karton ausgeschnitten, sie dann an den Schattenteilen befestigt und die Schmetterlinge in meinem Projekt angeordnet.
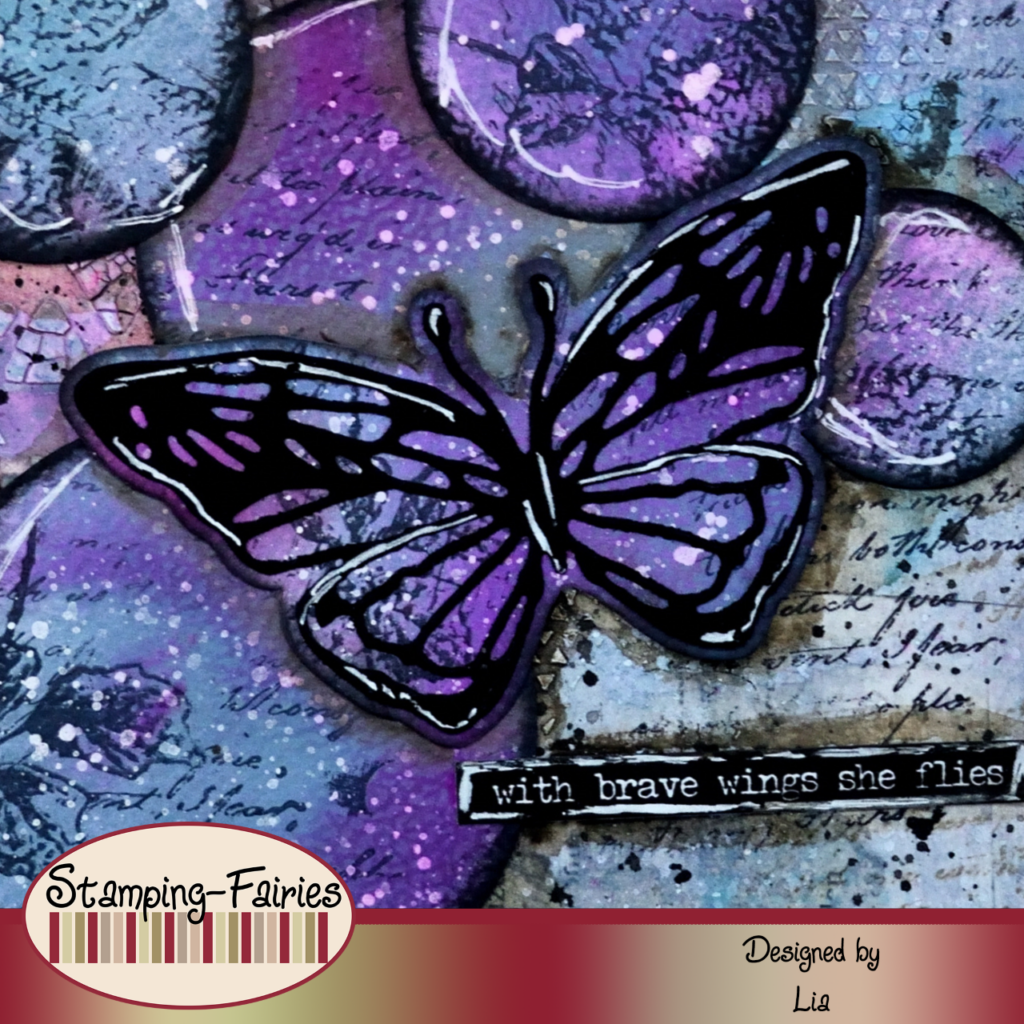
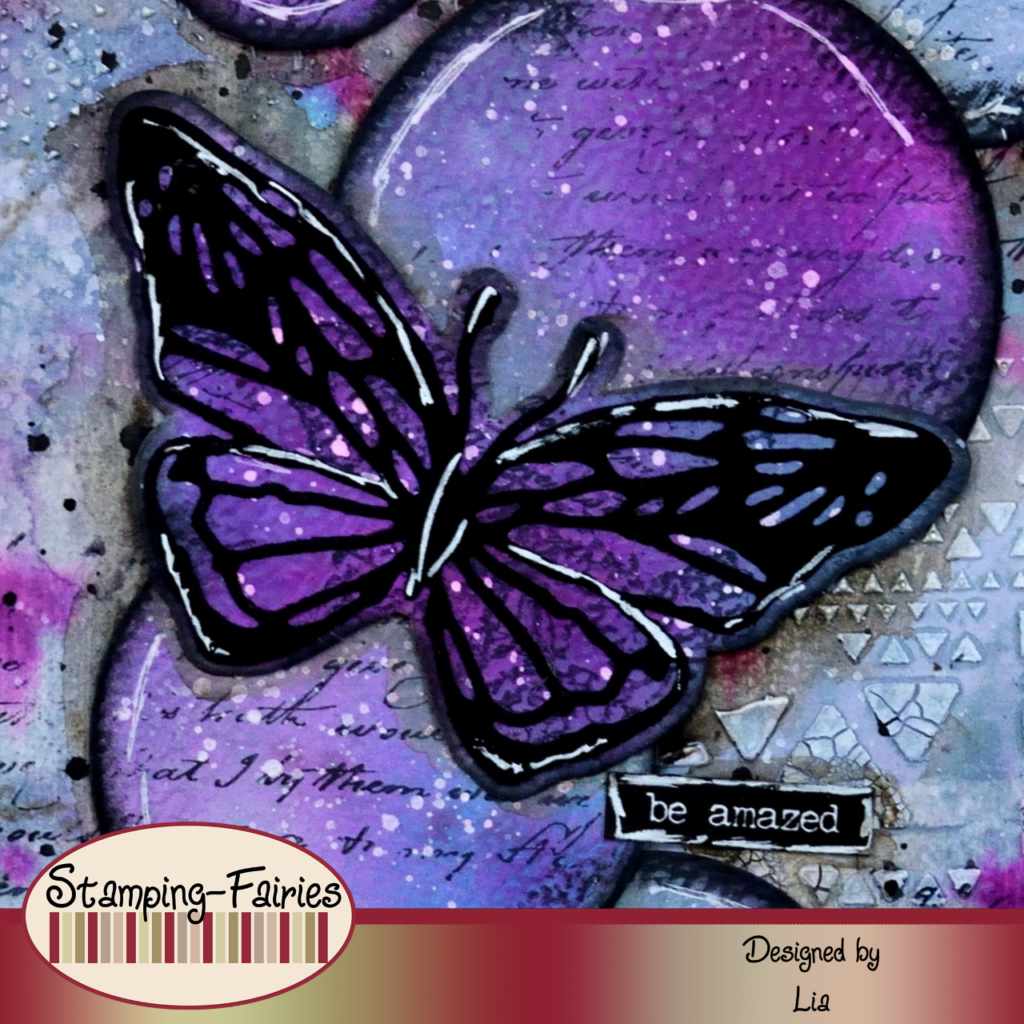
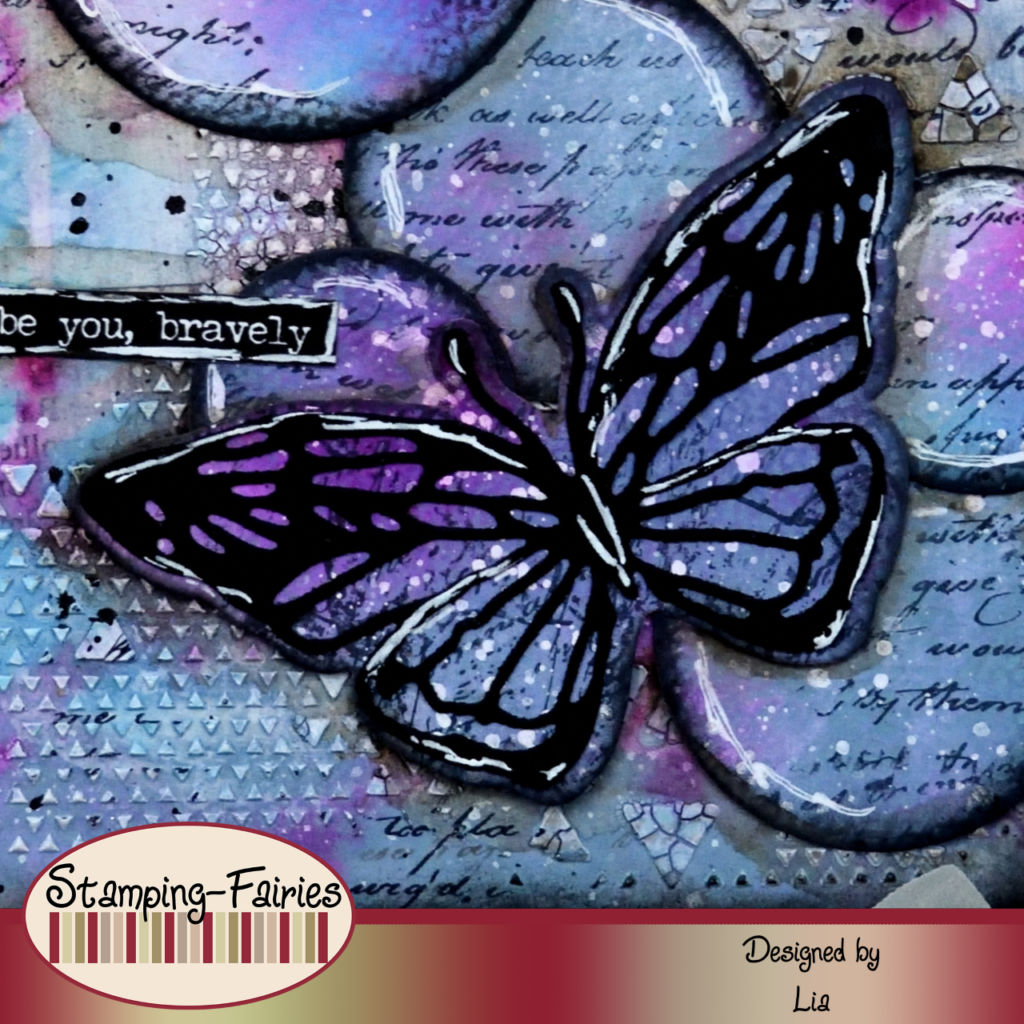
Mein Spruch stammt aus dem Idea-Ology Small Talk Sticker Book. Ich habe tatsächlich mehrere kleine Phrasen verwendet. Die kleinen Sentiment-Streifen habe ich rund um meine Schmetterlinge angebracht. Auf dem Spruch steht: „Mit mutigen Flügeln fliegt sie. Bleib neugierig. Sei erstaunt. Sei du selbst, mit Mut.“ Ich glaube, ich wollte ein Gefühl von Freiheit schaffen, und Freiheit erfordert Mut. Ich habe einen weißen Gelly Roll Stift verwendet, um einige Glanzlichter hinzuzufügen, und dann habe ich mit dem Scorched Timber Distress Aquarellstift und einem Wasserpinsel einige Schatten hinzugefügt.
Und das war das Projekt für heute! Ich habe diese Farben ausgewählt, weil ich gesehen habe, wie sie sich auf dem Papier kombinieren, das ich zum Schutz meiner Oberfläche verwende, wenn ich Sprays verwende. Ich glaube, ich habe eine Farbe übersehen, aber das Ergebnis gefällt mir trotzdem! Vielleicht versuche ich es bald noch einmal. Ich hoffe sehr, dass euch das Projekt gefällt! Ich hoffe, ihr habt euch inspirieren lassen! Wir sehen uns nächsten Montag wieder! Bis dahin bleibt kreativ und habt Spaß!

Welcome to wonderland

Dir gehört mein Herz.
Das könnte dich auch interessieren

Schwarz/weiße Grüße
22. April 2023
Drei Kürbise
2. Oktober 2021