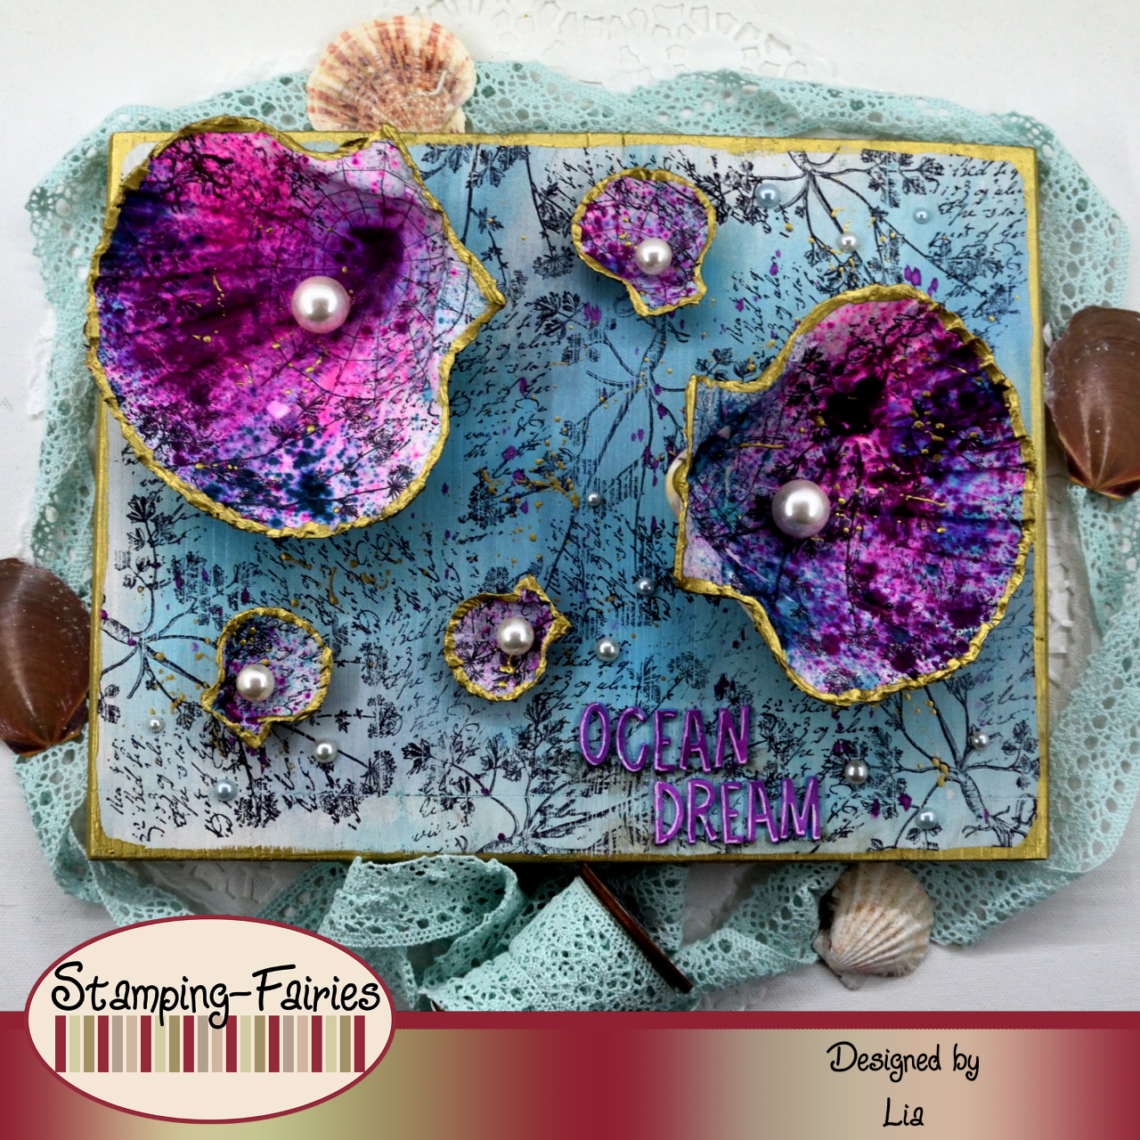
Ocean Dream
*German version below | Deutsche Version unten*
Hello everyone! Welcome back to another mixed media project. For today, I prepared a somewhat different project. I was on vacations and I picked up some things I wanted to incorporate in my project. Let’s start with the materials I used:
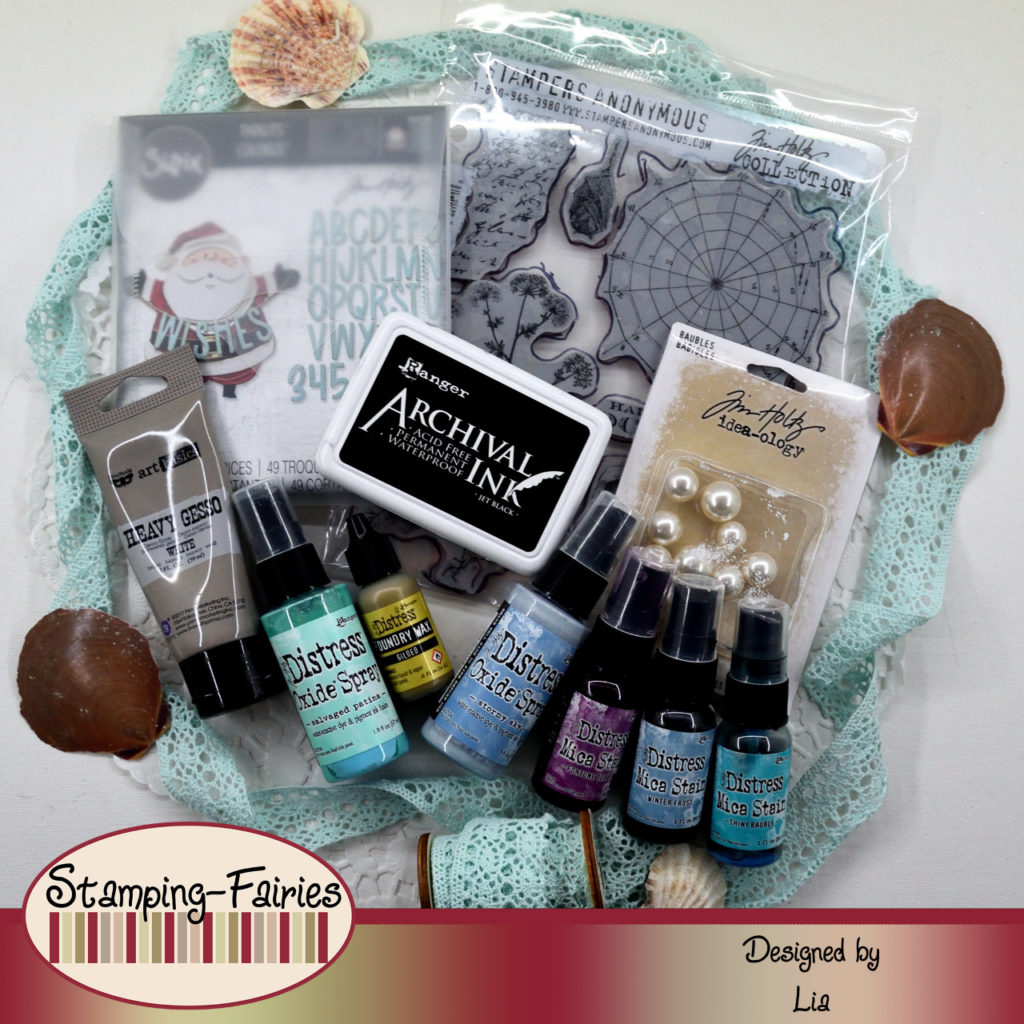
Materials (If something is not in stock, please simply click on “Product reminder”/ “Produkterinnerung”)
- A wooden board
- Finnabair Art Basics – Heavy Gesso White (Tube)
- Distress Oxide Sprays
- Distress Mica Stains
- Tim Holtz Stamp set – The Obscure
- Archival Ink – Jet Black
- Distress – Foundry Wax – Gilded
- Seashells
- Tissue paper
- Ranger Multi Medium – Matte
- Tim Holtz Idea-Ology – Baubles
- Sizzix Tim Holtz Thinlits – Santa Greetings, Colorize
- Tim Holtz – idea-ology – Droplets – Christmas
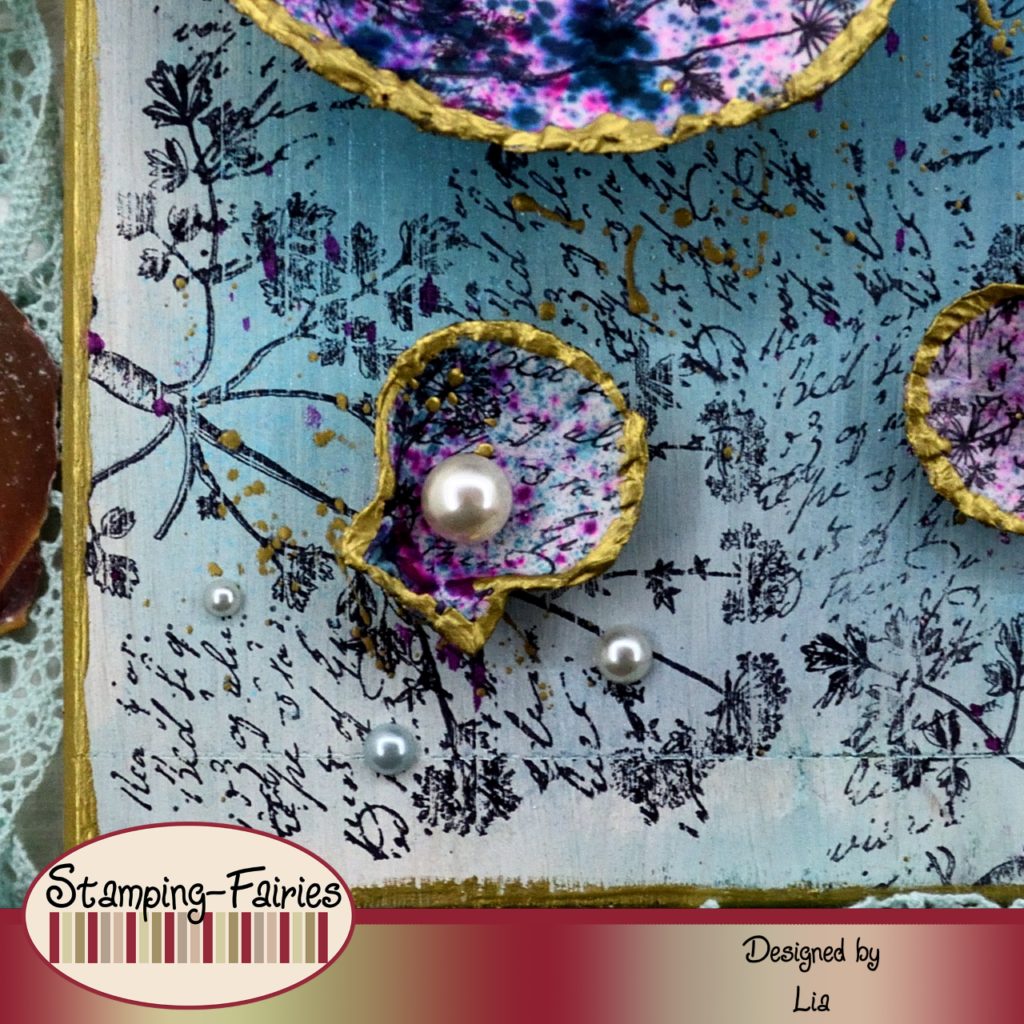
Today’s project is built on a wooden board. I covered the edges of the board with washi tape, to protect them from the mediums, and then I applied a thin layer of gesso on the top of the board. I added colour, using Stormy Sky and Salvaged Patina Distress Oxide sprays along with Winter Frost and Shiny Bauble Distress Mica Stain sprays. I simply sprayed with the colours, sprayed with water, I left the colours move and mix, dabbed off the excess and then I dried the project. Then I added some stamped patterns, using the plant and the text stamps from the Tim Holtz ‚The Obscure‘ stamp set and Jet Black Archival ink. I wanted to add something around the edges of the board and for that I used Gilded Foundry Wax. I applied the Wax with a paint brush, all around the edges, and I also used it to splatter on the board. If you are not familiar with Foundry Wax, one thing you need to remember is that it needs to be heat set, otherwise it turns into something like dust. So, I heat set the Foundry Wax and admired it for a few minutes. It turns so beautifuly sparkly! With that, my background was done!
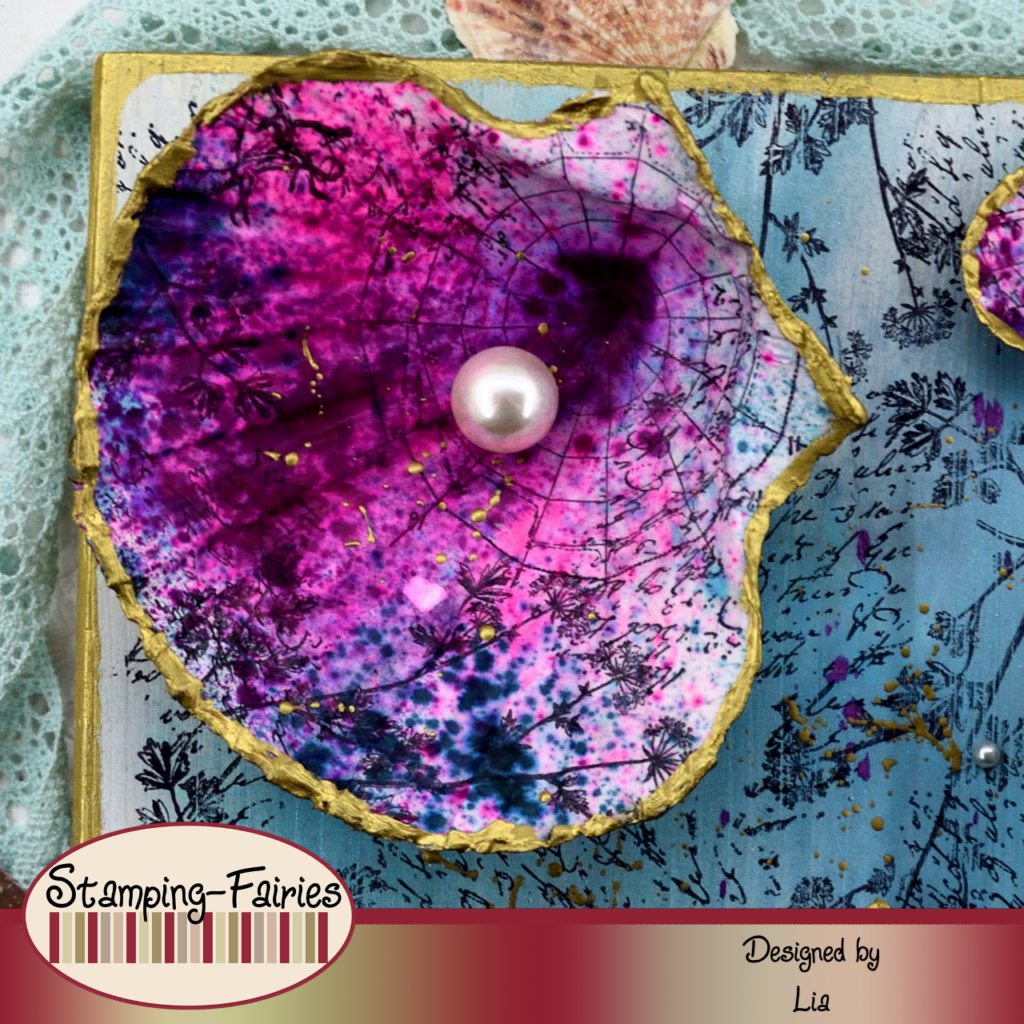
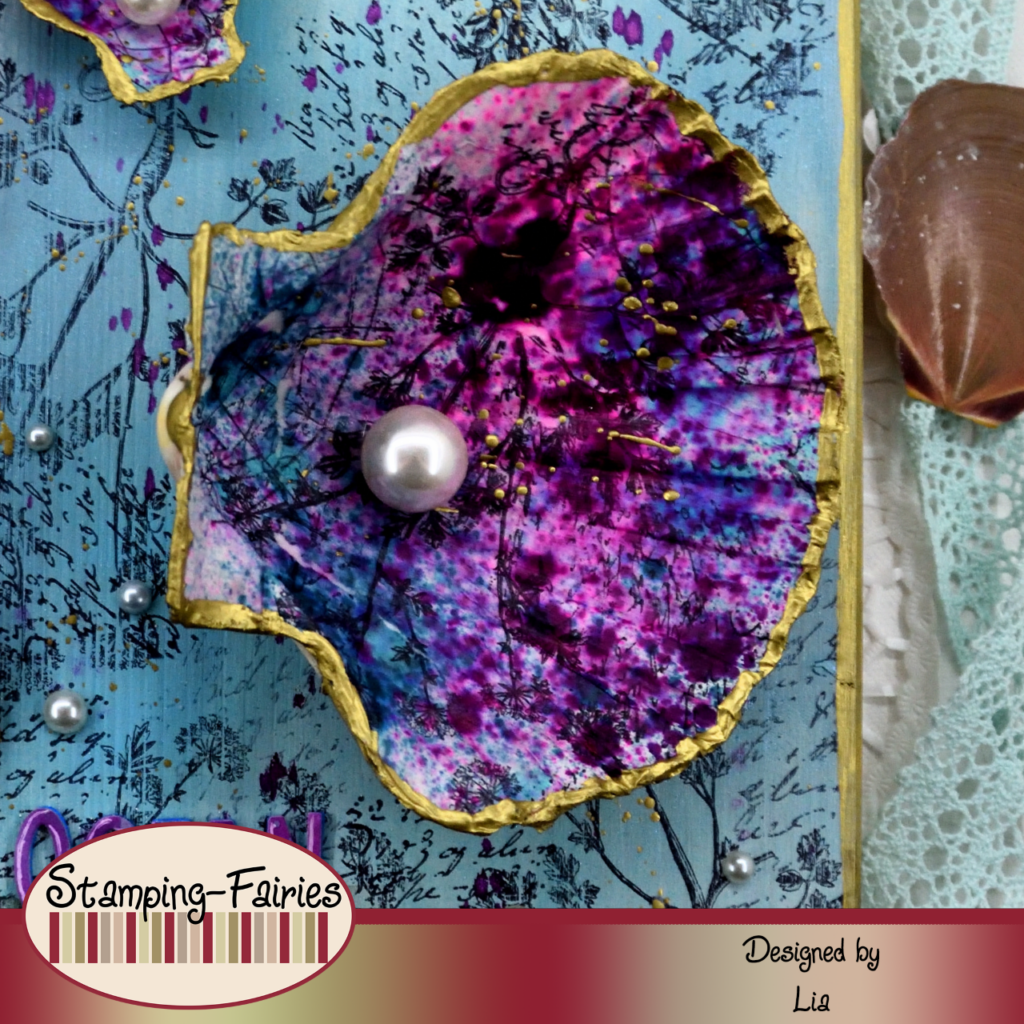
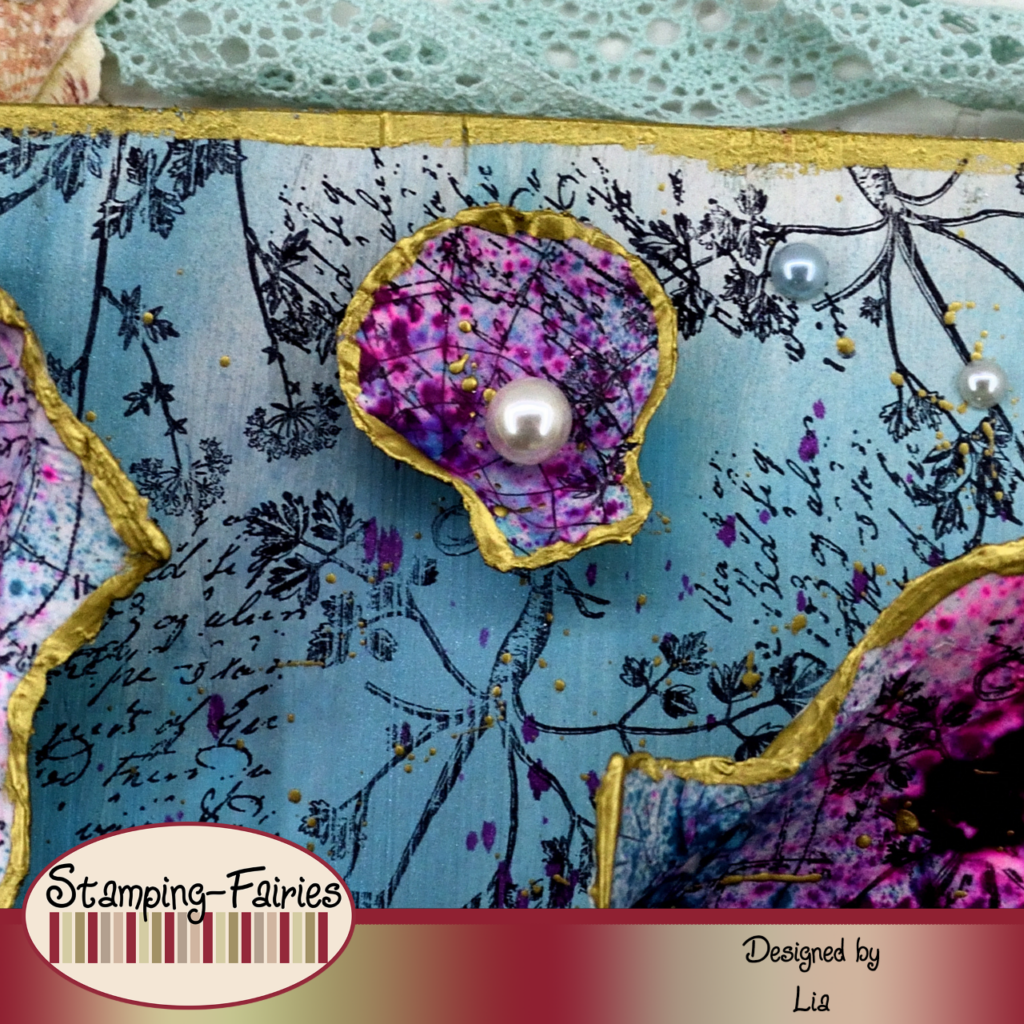
Time to prepare my focal points. In my last trip, I picked up some seashells, big and small, and I wanted to use those. I was imagining dressing the seashells with a beautiful paper. So, I started by preparing that paper. I used rice paper and I coloured it, using Winter Frost, Shiny Bauble and Fortune Teller Distress Mica Stain sprays. I just spritzed with the colours on the paper. I flipped the paper and I stamped on the back side of it, using the plant, text and circle stamps from the Tim Holtz ‚The Obscure‘ stamp set and Jet Black Archival ink. My reasoning was that, if I stamp on the back side, I would still be able to see the colours, but I would also be able to see the stamped pattern a little better. Also, I was hoping that the glue I was going to use would not move the coloures too much. So, I cut the rice paper in smaller pieces and attached it in the seashells, using Multi Medium Matte as glue. Multi Medium is a water-based products and it made the colours move. I could avoid this by not overworking the glue on the paper, but I really like how the Fortune Teller Distress Mica Stain spread and took over. I love this colour! I dried the glue and then I added Gilded Foundry Wax all around the edges of the seashells. I also splattered in the seashells with the Wax and then I heat set it. In each seashell, I placed a white pearl from the Idea-Ology Baubles pack. I mixed some sea sand with Multi Medium Matte and used it to attach the seashells on my background.
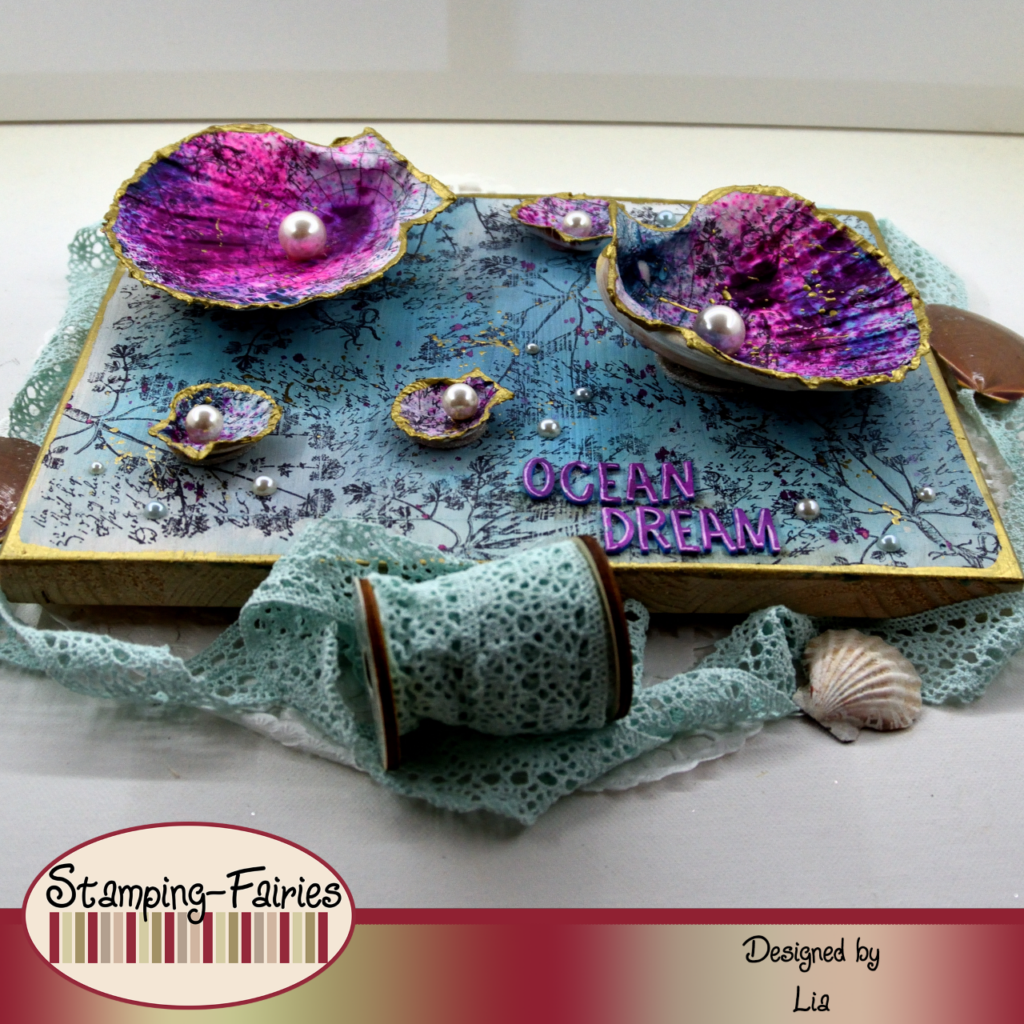
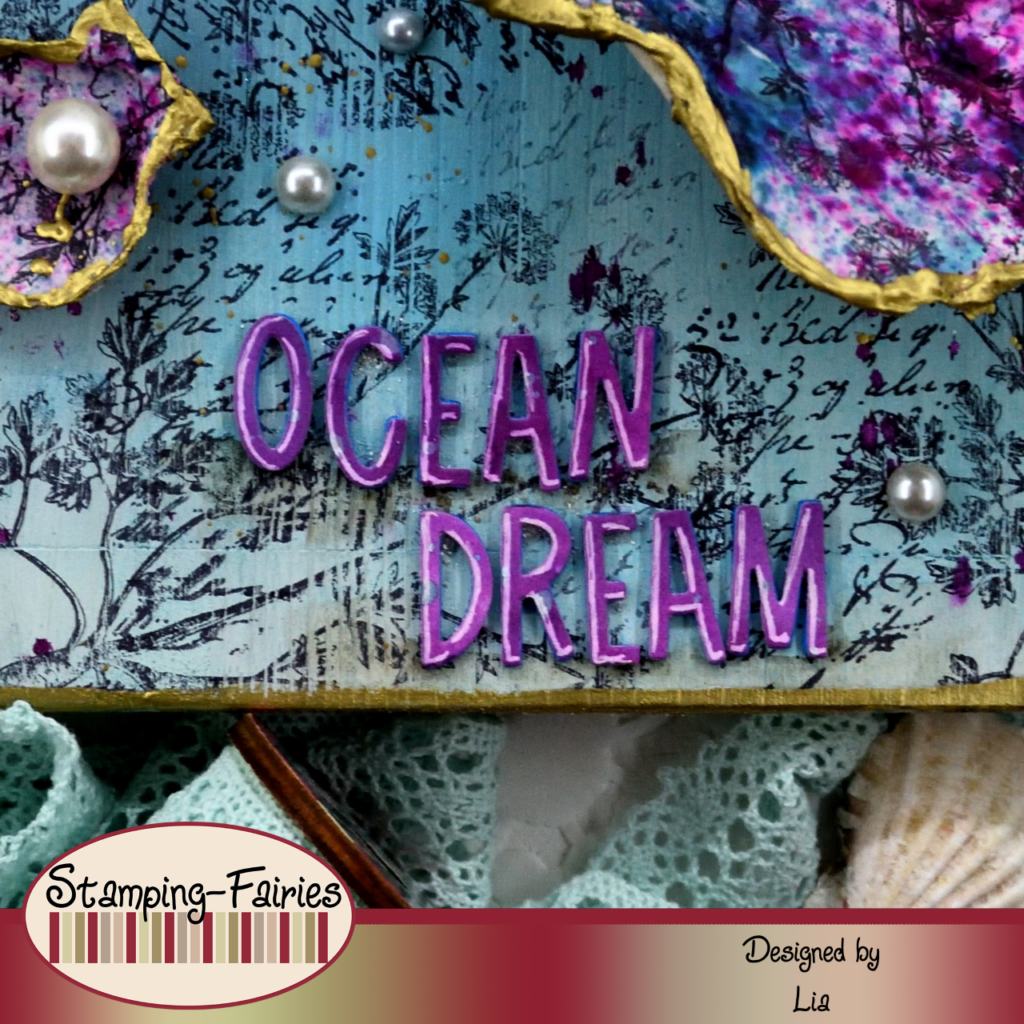
For my sentiment, I used a panel of mixed media paper and I coloured it with my Distress Oxide sprays and my Distress Mica Stain sprays. I used all the colours I had already used on this project. I cut my sentiment out of this panel (choosing a very purple part of it), using the alphabet from the Sizzix Santa Greetings, Colorize Thinlits set. The sentiment says: „Ocean Dream“ and I think it fits with my seashells! As a last little embellishment, I added a few Idea-Ology Droplets all around the board.
And that was the project for today! I love summer decorations made with seashells! It was about time for me to make something like this. The weather is still bad here, but one can always dream of the beautiful ocean! I really hope you like today’s project! I hope you got inspired! We will see each other again next Monday! Until then, stay creative and have fun!
*Deutsche Version*
Hallo zusammen! Willkommen zurück zu einem weiteren Mixed-Media Projekt. Für heute habe ich ein etwas anderes Projekt vorbereitet. Ich war im Urlaub und habe ein paar Dinge mitgenommen, die ich in mein Projekt einbauen wollte. Beginnen wir mit den Materialien, die ich verwendet habe:
Materialien (wenn etwas nicht auf Lager ist, bitte einfach auf „Produkterinnerung“ klicken)
- Ein Holzbrett
- Finnabair Art Basics – Heavy Gesso White (Tube)
- Distress Oxide Sprays
- Distress Mica Stains
- Tim Holtz Stamp set – The Obscure
- Archival Ink – Jet Black
- Distress – Foundry Wax – Gilded
- Muscheln
- Collagepapier
- Ranger Multi Medium – Matte
- Tim Holtz Idea-Ology – Baubles
- Sizzix Tim Holtz Thinlits – Santa Greetings, Colorize
- Tim Holtz – idea-ology – Droplets – Christmas
Das heutige Projekt basiert auf einem Holzbrett. Ich habe die Kanten des Bretts mit Washi Tape abgedeckt, um sie vor den Medien zu schützen, und dann habe ich eine dünne Schicht Gesso auf die Oberseite des Bretts aufgetragen. Ich habe Farbe hinzugefügt, indem ich Stormy Sky und Salvaged Patina Distress Oxide Sprays sowie Winter Frost und Shiny Bauble Distress Mica Stain Sprays verwendet habe. Ich habe einfach die Farben aufgesprüht, mit Wasser darübergesprüht, die Farben sich bewegen und mischen lassen, den Überschuss abgetupft und dann das Projekt getrocknet. Dann habe ich einige gestempelte Muster hinzugefügt, indem ich die Pflanze und den Textstempel aus dem Stempelset „The Obscure“ von Tim Holtz und Jet Black Archival Ink verwendet habe. Ich wollte etwas um die Kanten des Bretts herum hinzufügen und dafür habe ich Gilded Foundry Wax verwendet. Ich habe das Wax mit einem Pinsel rund um die Kanten aufgetragen und es auch zum Spritzen auf das Brett verwendet. Wenn ihr Foundry Wax nicht kennt, müsst ihr daran denken, dass es durch Hitze fixiert werden muss, da es sich sonst in so etwas wie Staub verwandelt. Also habe ich das Foundry Wax erhitzt und es ein paar Minuten lang bewundert. Es wird so schön funkelnd! Damit war mein Hintergrund fertig!
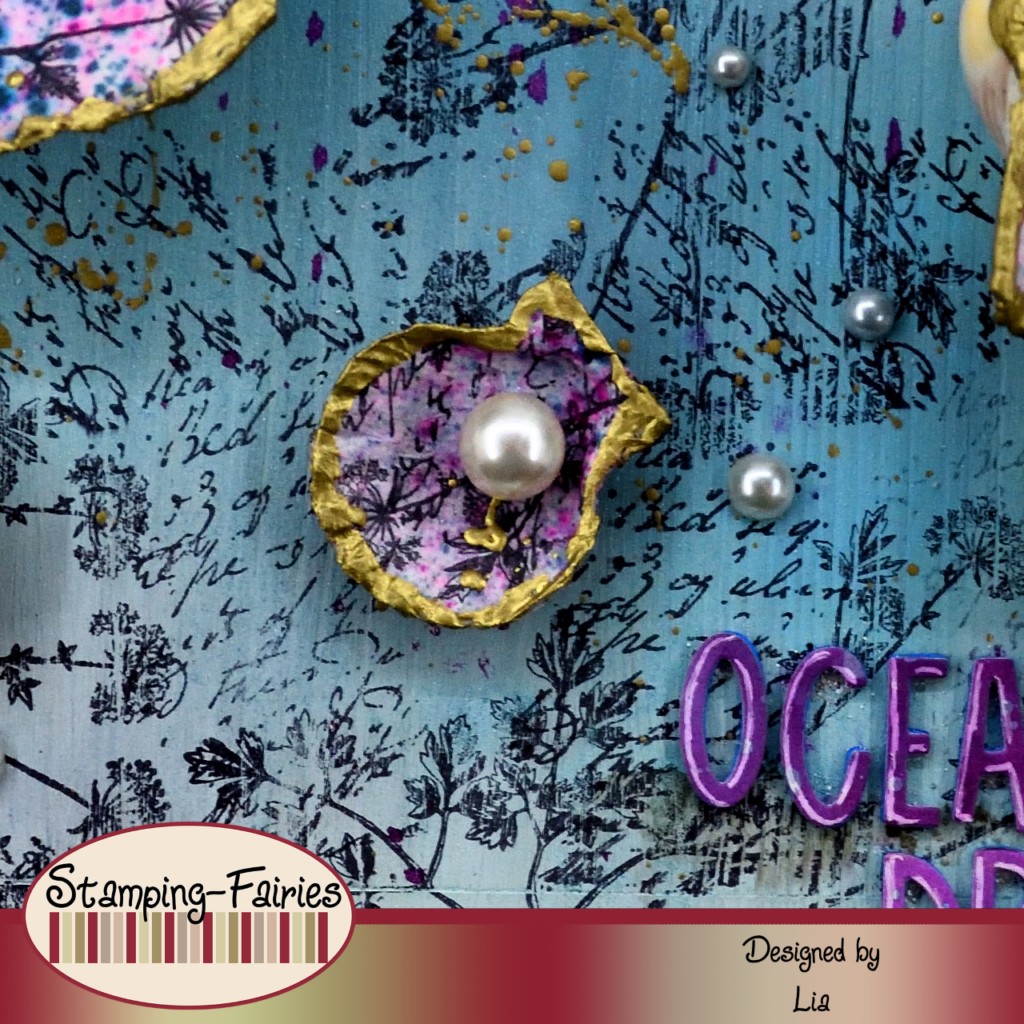
Zeit, meine Schwerpunkte vorzubereiten. Auf meiner letzten Reise habe ich einige große und kleine Muscheln mitgenommen, die ich verwenden wollte. Ich stellte mir vor, die Muscheln mit einem schönen Papier zu verzieren. Also habe ich damit begonnen, dieses Papier vorzubereiten. Ich habe Reispapier genommen und es mit den Sprays Winter Frost, Shiny Bauble und Fortune Teller Distress Mica Stain gefärbt. Ich habe einfach die Farben auf das Papier gesprüht. Ich habe das Papier umgedreht und auf die Rückseite gestempelt, wobei ich die Pflanzen-, Text- und Kreisstempel aus dem Stempelset „The Obscure“ von Tim Holtz und Jet Black Archival Tinte verwendete. Meine Überlegung war, dass ich, wenn ich auf die Rückseite stempelte, die Farben immer noch sehen könnte, aber auch das gestempelte Muster ein bisschen besser erkennen könnte. Außerdem hoffte ich, dass der Kleber, den ich verwenden würde, die Farben nicht zu sehr verschieben würde. Also habe ich das Reispapier in kleinere Stücke geschnitten und es an den Muscheln befestigt, mit Multi Medium Matte als Kleber. Multi Medium ist ein Produkt auf Wasserbasis. Und in der Tat, die Farben haben sich verschoben. Ich könnte dies vermeiden, indem ich den Kleber auf dem Papier nicht zu stark auftrug, aber mir gefällt wirklich, wie sich der Fortune Teller Distress Mica Stain ausbreitete und die Wirkung entfaltete. Ich liebe diese Farbe! Ich habe den Kleber zum Trocknen gelassen und dann Gilded Foundry Wax rund um die Ränder der Muscheln hinzugefügt. Ich habe die Muscheln auch mit Wachs bespritzt und es dann mit Hitze fixiert. In jede Muschel habe ich eine weiße Perle aus dem Idea-Ology Baubles Paket gelegt. Ich habe etwas Seesand mit Multi Medium Matte gemischt und damit die Muscheln auf meinem Hintergrund befestigt.
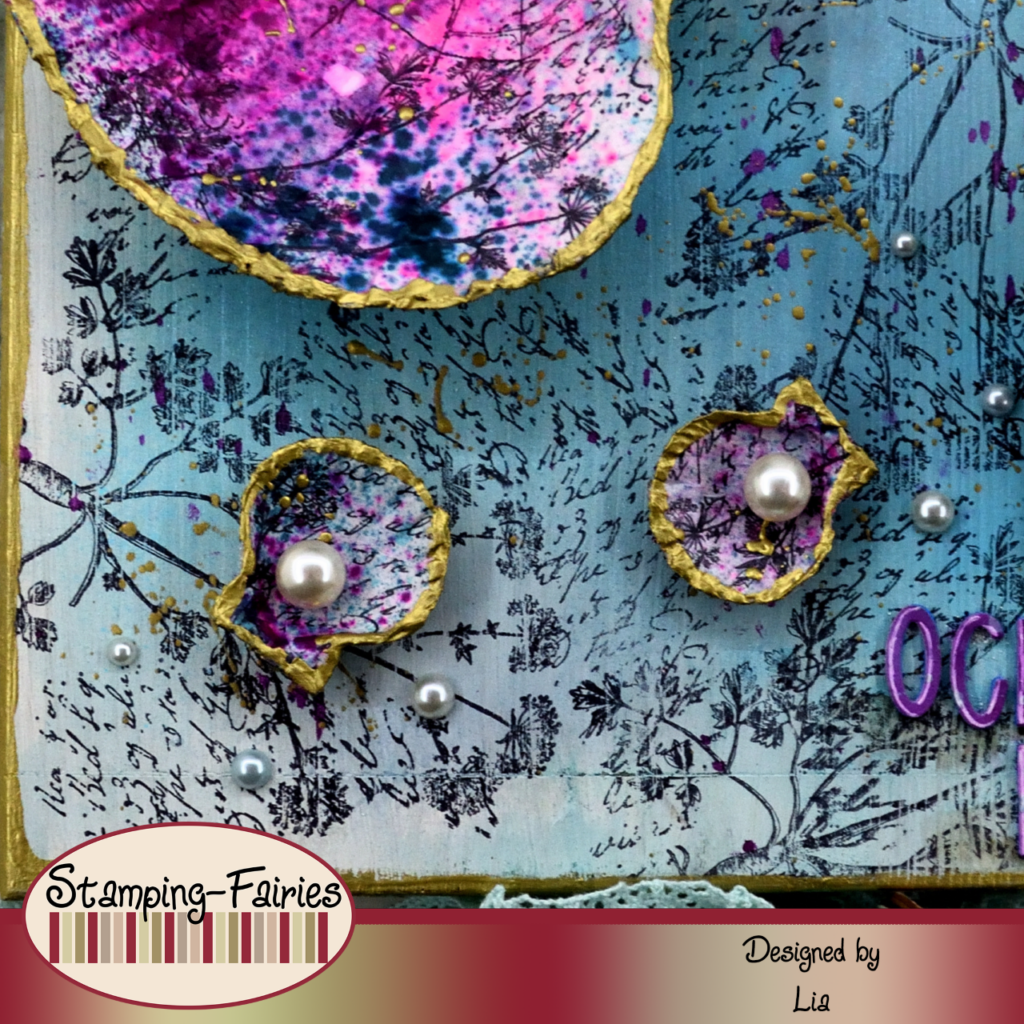
Für meinen Spruch habe ich eine Mixed-Media Papier Platte verwendet und sie mit meinen Distress Oxide Sprays und meinen Distress Mica Stain Sprays eingefärbt. Ich habe alle Farben verwendet, die ich bereits bei diesem Projekt verwendet hatte. Ich habe meinen Spruch aus dieser Platte ausgeschnitten (und dafür einen sehr violetten Teil ausgewählt), dafür habe ich das Alphabet aus dem Sizzix Santa Greetings, Colorize Thinlits Set verwendet. Der Spruch lautet: „Ozeantraum“ und ich finde, er passt zu meinen Muscheln! Als letzte kleine Verzierung habe ich rund um das Brett ein paar Idea-Ology Droplets hinzugefügt.
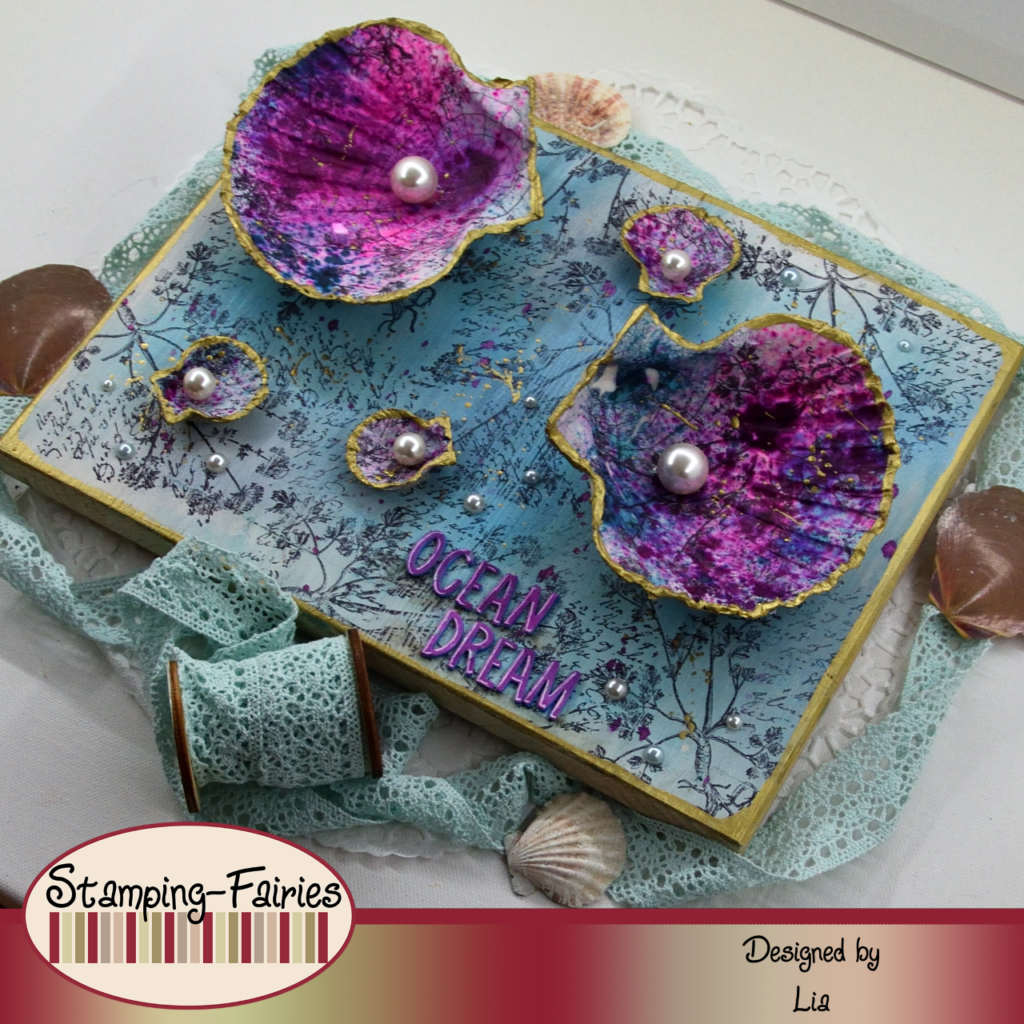
Und das war das Projekt für heute! Ich liebe Sommerdekorationen aus Muscheln! Es war an der Zeit, dass ich so etwas bastele. Das Wetter ist zwar immer noch schlecht hier, aber vom schönen Meer kann man ja immer noch träumen! Ich hoffe sehr, dass euch das Projekt gefällt! Ich hoffe, ihr habt euch inspirieren lassen! Wir sehen uns nächsten Montag wieder! Bis dahin bleibt kreativ und habt Spaß!

Happy Birthday sunshine

Happy Birthday!
Das könnte dich auch interessieren
Pretty in pink
13. August 2022
Wishing You Luck
6. Februar 2025
