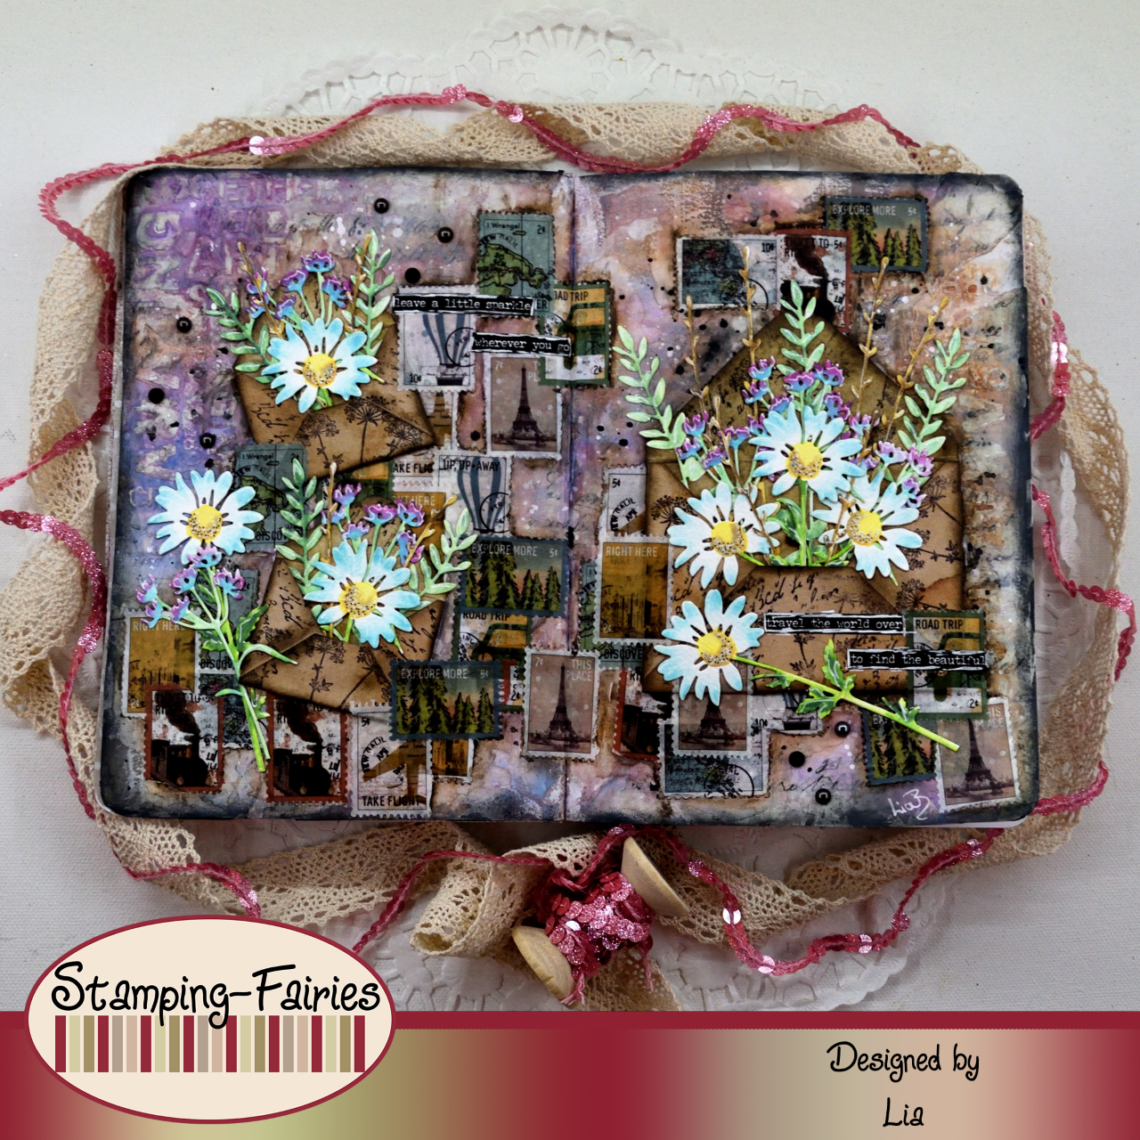
Travel the world
*German version below | Deutsche Version unten*
Hello everyone! Welcome back to another mixed media project. For today’s project, I was thinking about travel,messages and flowers. It ended up being a little bit of everything and I really like it! Let’s start with the materials I used:
Materials (If something is not in stock, please simply click on “Product reminder”/ “Produkterinnerung”)
- Tim Holtz Backdrops – Volume #4
- Ranger Multi Medium
- Finnabair Art Basics – Heavy Gesso White (Tube)
- AALL & Create – Stencil – Circuit #2
- Ranger Distress Texture Paste – Translucent
- Distress Oxide Spray
- Ranger – Tim Holtz Distress Oxide Pads
- 49 and Market – Washi Tape – Wherever
- Tim Holtz Stamp set – The Obscure
- Archival Ink – Jet Black
- Sizzix Tim Holtz Thinlits – Vault Wildflowers
- Tim Holtz Distress Watercolor Pencil – Scorched Timber
- Tim Holtz Small Talk Sticker Book
- Tim Holtz – idea-ology – Droplets – Halloween
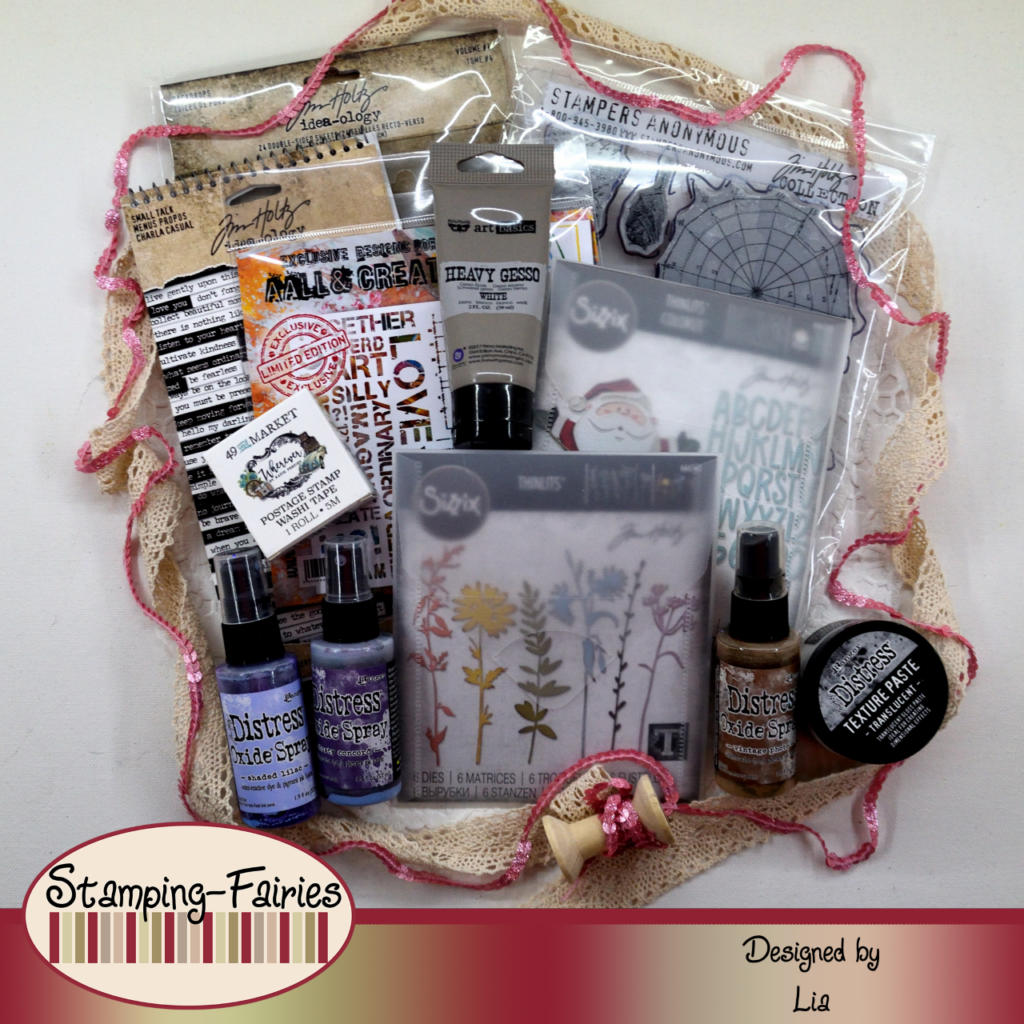
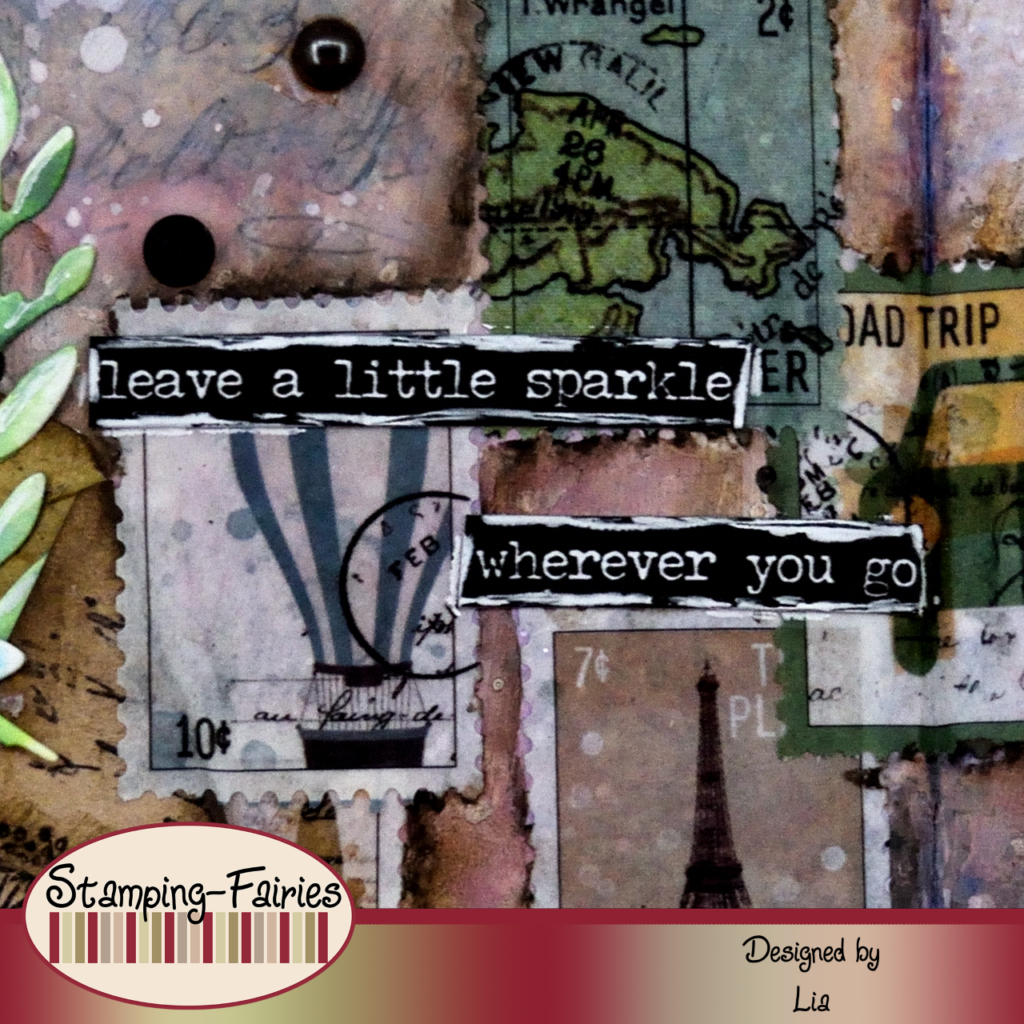
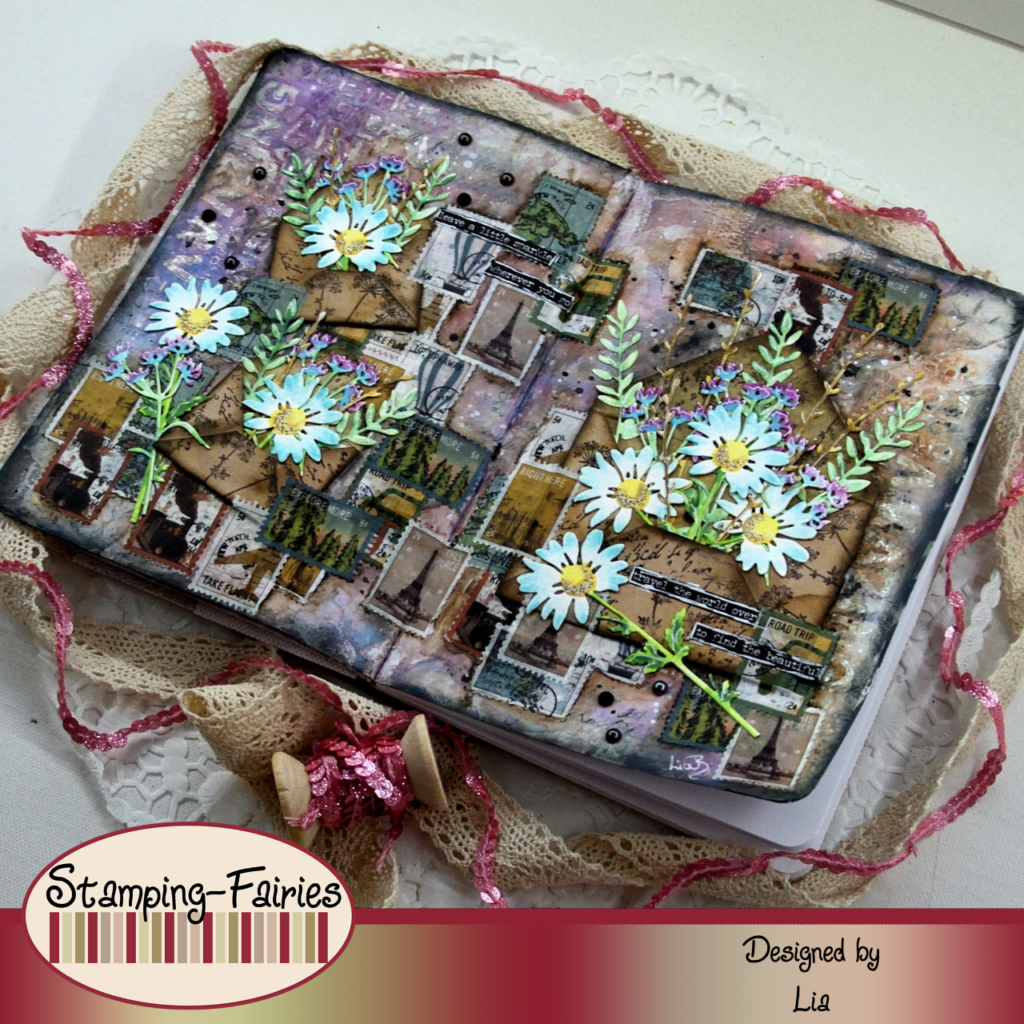
For this project, I worked in my size A5 art journal and (as always) I started with the background. I got the Idea-Ology Backdrops Volume #4 some time ago and I hadn’t use them yet, so I wanted to make something with them. I picked a paper with typography, I tore it to pieces and I glued it on my pages, using Multi Medium Matte. The handwriting on this paper was beautiful but a little bit too strong, so I used some gesso to tone it down. I spread the gesso with a spatula, making sure it is not too thick and then I dried it. Next step is adding texture with a stencil. I used the AALL & Create Circuit #2 stencil with Ranger Distress Translucent Texture Paste and I applied the design mostly on the outer sides of my pages. I left the Paste to dry and then I added colour, using Distress Oxide Sprays in the colours Vintage Photo, Dusty Concord and Shaded Lilac. I just sprayed with the colours, sprayed with water, let the colours move and mix, dabbed off the excess and then I dried my pages. I added splatter with white and black ink and I dried my project again. I used Black Soot Distress Oxide ink to darken the edges of the pages and my background was done.

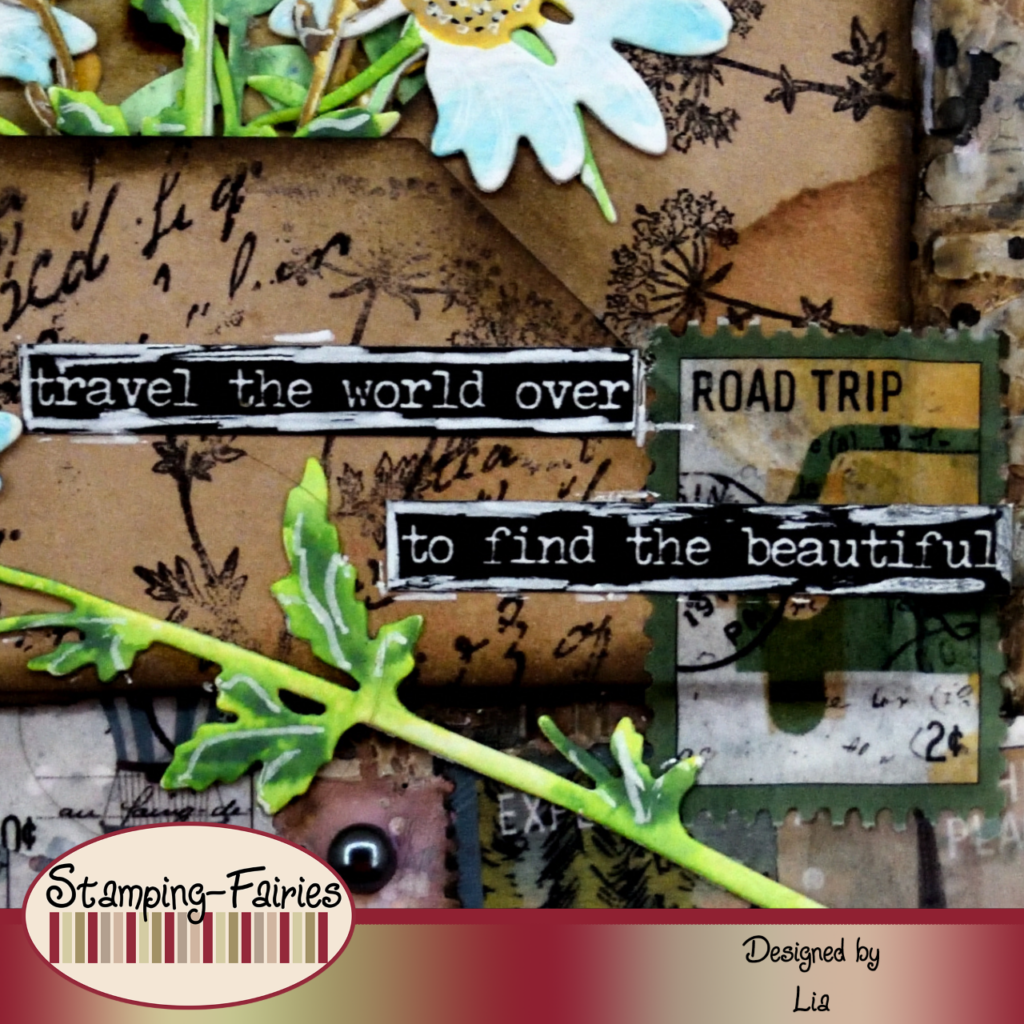
Time to prepare my images and oh what fun that was! First of all, I used another piece from the Idea-Ology Backdrops and I made a big envelope and two small ones. I used the plant and the text stamps from the Tim Holtz ‚The Obscure‘ stamp set with Jet Black Archival ink, to add some more visual texture to the envelopes and then I darkened their edges, using Scorched Timber Distress Oxide ink. Next, I made my flowers! To cut the flowers, I used the Sizzix Vault Wildflowers Thinlits set and watercolour paper. To colour the flowers, I used Distress Oxide inks in many different colours. I smudged the inks on my surface, then picked them up with a wet brush and practically painted the flowers with it. I also used a black pen and a white pen to add some details on the flowers. I placed most of the flowers inside the envelopes. And because my theme was travel, messages and flowers, I also decided to use this beautiful 49 & Market Postage Stamp Washi Tape. That is a roll of tape consisting of postal stamps, which I took apart and used one at a time. I actually ended up using too many of them and covering quite a bit of my pages. I placed my envelopes on my project and added a few more postal stamps, making sure to overlap the envelopes. Since my images were all on my project, I used the Scorched Timber Distress Watercolour Pencil and a wet brush to add some shadows around everything.
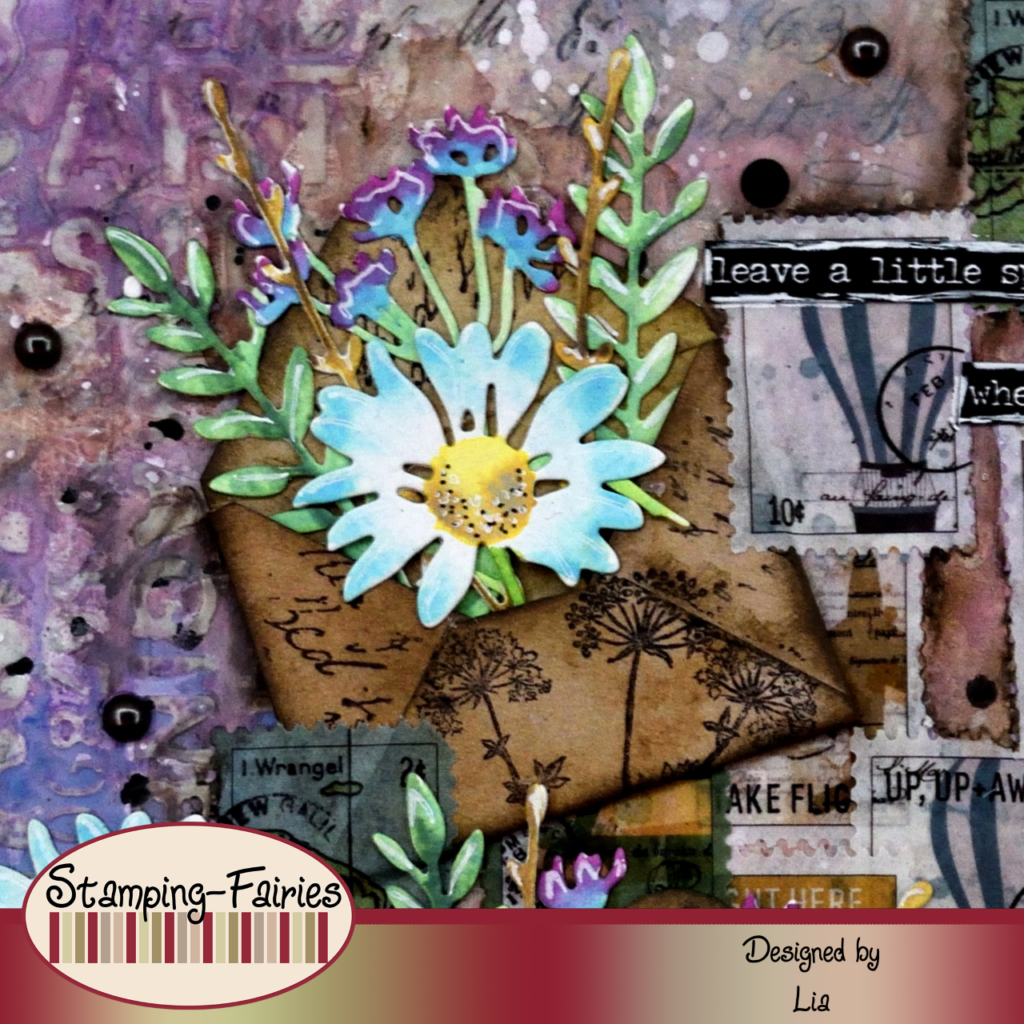
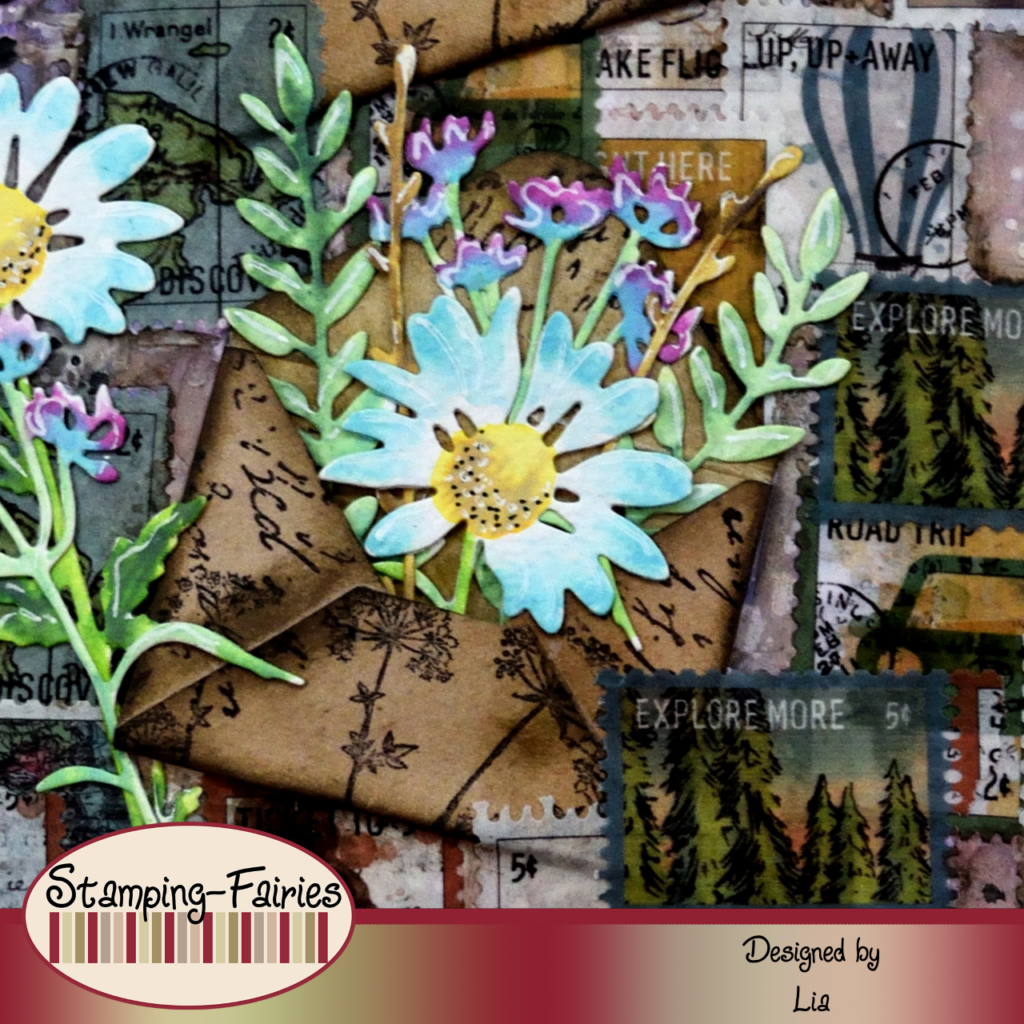
My sentiment comes from the Idea-Ology Small Talk Sticker Book. I used the small black stripes with the white letters. The sentiment says: „Leave a little sparkle wherever you go. Travel the world over to find the beautiful“. I think it fits perfectly with my project! I would like to put a disclaimer here. In the product picture, I have included the Sizzix Santa Greeting Thinlits set, because I was planning on using it. In the end, I didn’t use it, but when I realized it ended up in the photo, it was a bit late. So, please, just ignore it. It is not used in this project. Ok! Back to the project. I had some extra flowers left, so I attached one of them under the sentiment on the right page and two of them near the lowest small envelope on the left page. As a last little bit of embellishment, I added a few Idea-Ology Droplets.
And that was the project for today! A project full of postage stamps and little keepsakes in envelopes. I like the idea of sending back home little pieces of things I find interesting during a trip. I think of them as memories to collect! I really hope you like today’s project! I hope you got inspired! We will see each other again next Monday! Until then, stay creative and have fun!
*Deutsche Version*
Hallo zusammen! Willkommen zurück zu einem weiteren Mixed-Media Projekt. Für das heutige Projekt habe ich über Reisen, Briefe und Blumen nachgedacht. Am Ende ist es ein bisschen von allem geworden und es gefällt mir richtig gut! Beginnen wir mit den Materialien, die ich verwendet habe:
Materialien (wenn etwas nicht auf Lager ist, bitte einfach auf „Produkterinnerung“ klicken)
- Tim Holtz Backdrops – Volume #4
- Ranger Multi Medium
- Finnabair Art Basics – Heavy Gesso White (Tube)
- AALL & Create – Stencil – Circuit #2
- Ranger Distress Texture Paste – Translucent
- Distress Oxide Spray
- Ranger – Tim Holtz Distress Oxide Pads
- 49 and Market – Washi Tape – Wherever
- Tim Holtz Stamp set – The Obscure
- Archival Ink – Jet Black
- Sizzix Tim Holtz Thinlits – Vault Wildflowers
- Tim Holtz Distress Watercolor Pencil – Scorched Timber
- Tim Holtz Small Talk Sticker Book
- Tim Holtz – idea-ology – Droplets – Halloween
Für dieses Projekt habe ich in meinem A5 Kunstjournal gearbeitet und (wie immer) mit dem Hintergrund begonnen. Ich habe die Idea-Ology Backdrops Volume #4 vor einiger Zeit bekommen und sie noch nicht verwendet, also wollte ich etwas damit machen. Ich habe ein Papier mit Typografie ausgewählt, es in Stücke gerissen und mit Multi Medium Matte auf meine Seiten geklebt. Die Handschrift auf diesem Papier war wunderschön, aber ein bisschen zu stark, also habe ich etwas Gesso verwendet, um sie abzumildern. Ich habe das Gesso mit einem Spachtel verteilt, darauf geachtet, dass es nicht zu dick ist, und es dann getrocknet. Der nächste Schritt ist das Hinzufügen von Textur mit einer Schablone. Ich habe die AALL & Create Circuit #2 Schablone mit Ranger Distress Translucent Texture Paste verwendet und das Design hauptsächlich auf die Ränder meiner Seiten aufgetragen. Ich habe die Paste trocknen lassen und dann Farbe hinzugefügt, mit Vintage Photo, Dusty Concord und Shaded Lilac Distress Oxide Sprays. Ich habe einfach die Farben gespritzt, mit Wasser besprüht, und sich bewegen und vermischen lassen, den Überschuss abgetupft und dann meine Seiten getrocknet. Ich habe Spritzer mit weißer und schwarzer Tinte hinzugefügt und mein Projekt erneut getrocknet. Ich habe Black Soot Distress Oxide Tinte verwendet, um die Kanten der Seiten abzudunkeln, und mein Hintergrund war fertig.

Zeit, meine Bilder vorzubereiten, und oh, was für einen Spaß hat das gemacht! Zuerst habe ich ein weiteres Stück aus den Idea-Ology Backdrops verwendet und einen großen und zwei kleine Umschläge gemacht. Ich habe die Pflanze und die Textstempel aus dem Stempelset „The Obscure“ von Tim Holtz mit Jet Black Archival Tinte verwendet, um den Umschlägen mehr visuelle Struktur zu verleihen, und dann habe ich ihre Ränder mit Scorched Timber Distress Oxide Tinte abgedunkelt. Als Nächstes habe ich meine Blumen gemacht! Zum Ausschneiden der Blumen habe ich das Sizzix Vault Wildflowers Thinlits Set und Aquarellpapier verwendet. Zum Ausmalen der Blumen habe ich Distress Oxide Tinten in vielen verschiedenen Farben verwendet. Ich habe die Tinten auf meiner Oberfläche verwischt, sie dann mit einem nassen Pinsel aufgenommen und die Blumen damit gemalt. Ich habe auch einen schwarzen und einen weißen Stift verwendet, um den Blumen einige Details hinzuzufügen. Die meisten Blumen habe ich in die Umschläge gesteckt. Und da mein Thema Reisen, Briefe und Blumen war, habe ich mich auch entschieden, dieses schöne 49 & Market Postage Stamp Washi Tape zu verwenden. Das ist eine Rolle Klebeband mit Briefmarken, die ich auseinandergenommen und einzeln verwendet habe. Am Ende habe ich tatsächlich zu viele davon verwendet und ziemlich viele meiner Seiten damit abgedeckt. Ich habe meine Umschläge auf mein Projekt gelegt und noch ein paar Briefmarken hinzugefügt, wobei ich darauf geachtet habe, dass sich die Umschläge überlappen. Nun, da sich alle meine Bilder auf meinem Projekt befanden, konnte ich mit dem Scorched Timber Distress Watercolour Pencil und einem nassen Pinsel ein paar Schatten um alles herum hinzufügen.

Mein Spruch stammt aus dem Idea-Ology Small Talk Sticker Book. Ich habe die kleinen schwarzen Streifen mit den weißen Buchstaben verwendet. Der Spruch lautet: „Hinterlasse ein wenig Glanz, wohin du auch gehst. Reise um die Welt, um das Schöne zu finden“. Ich finde, er passt perfekt zu meinem Projekt! Ich möchte hier einen Haftungsausschluss einfügen. Im Produktbild habe ich das Sizzix Santa Greeting Thinlits Set eingefügt, weil ich vorhatte, es zu verwenden. Letztendlich habe ich es nicht verwendet, aber als ich bemerkt hatte, dass es auf dem Foto landete, war es etwas spät. Also ignoriert es bitte einfach. Es wird in diesem Projekt nicht verwendet. Ok! Zurück zum Projekt. Ich hatte noch ein paar zusätzliche Blumen übrig, also habe ich eine davon unter dem Spruch auf der rechten Seite und zwei davon neben dem untersten kleinen Umschlag auf der linken Seite angebracht. Als letzte kleine Verzierung habe ich ein paar Idea-Ology Droplets hinzugefügt.
Und das war das Projekt für heute! Ein Projekt voller Briefmarken und kleiner Andenken in Umschlägen. Mir gefällt die Idee, kleine Stücke von Dingen, die ich während einer Reise interessant finde, nach Hause zu schicken. Für mich sind sie Erinnerungen, die man sammeln kann! Ich hoffe sehr, dass euch das Projekt gefällt! Ich hoffe, ihr habt euch inspirieren lassen! Wir sehen uns nächsten Montag wieder! Bis dahin bleibt kreativ und habt Spaß!

Sauer macht lustig

Over the Rainbow
Das könnte dich auch interessieren
Ich möchte Tauschen
18. März 2022
By the Light of the Moon
23. Oktober 2023
