
From Regions Beyond
*German version below | Deutsche Version unten*
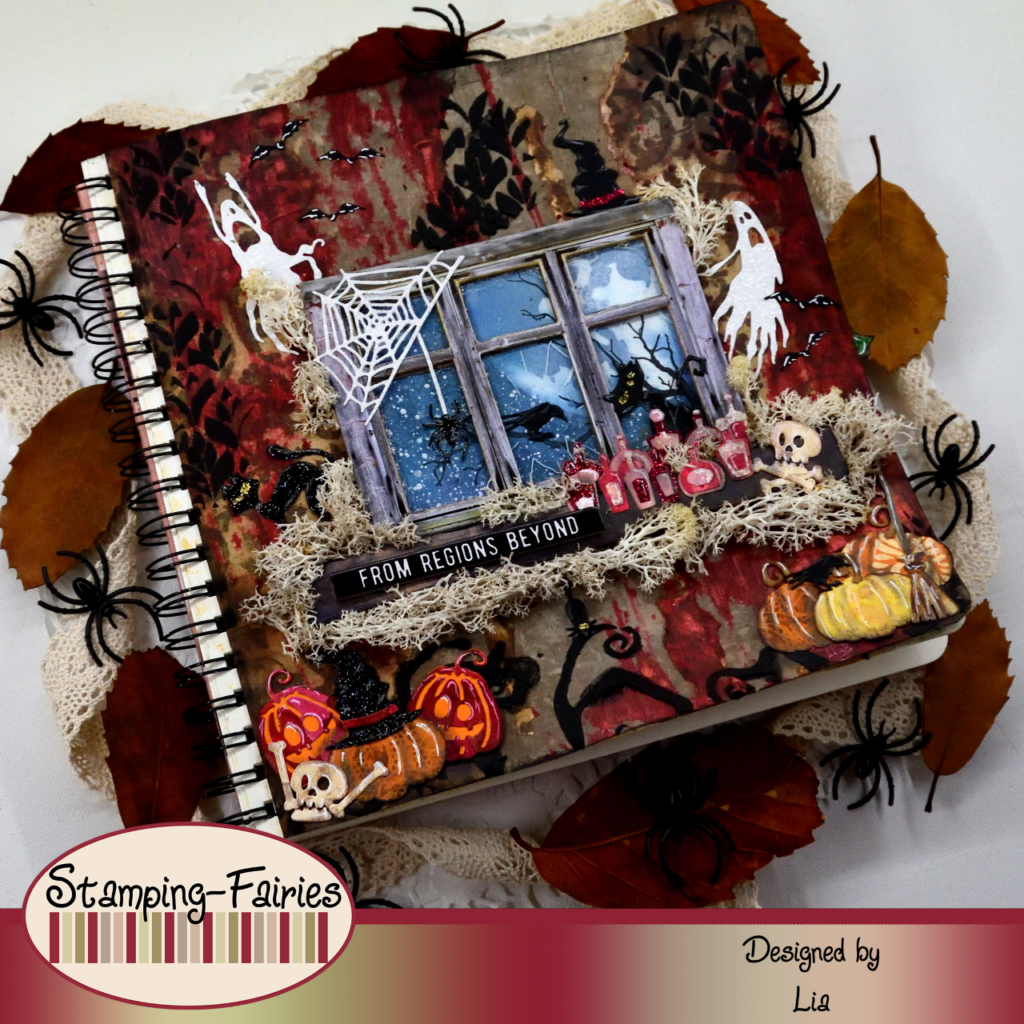
Hello everyone! Welcome back to another mixed media project. For today’s project, I prepared a haunted room scene. This is a project that evolved through several weeks. Let’s start with the materials I used:
Materials (If something is not in stock, please simply click on “Product reminder”/ “Produkterinnerung”)
- Tim Holtz Backdrops – Halloween
- Ranger Multi Medium – Matte
- Prima Marketing – Art Basics – Gesso Clear
- Distress Spray Stain – Lumberjack Plaid
- Distress Mica Stain Sprays
- Tim Holtz Layering Stencils
- Tim Holtz Texture Paste – Black Opaque
- Idea-Ology Baseboards Halloween 2023
- Distress Oxide Sprays
- Tim Holtz Stamp Set – Mr. Bones
- VersaFine Onyx Black
- Sizzix Tim Holtz DIE Set – Frightful Things
- Sizzix Tim Holtz Thinlits – Vault Wicked
- Coloured Cardstock
- Glitter Cardstock
- Stickles -Glitter Glue Gold

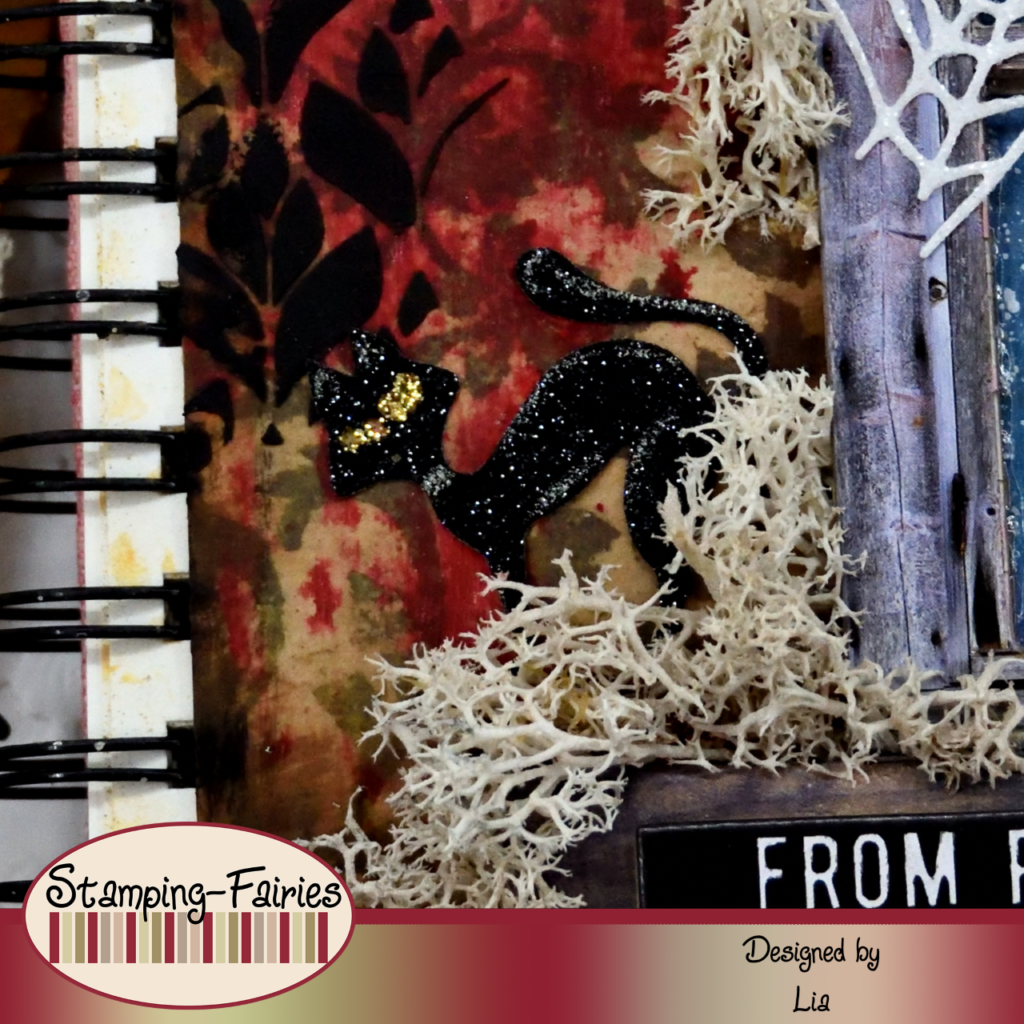
For this project, I worked in a square art journal and I started with the background. I chose two Backdrop papers from the Idea-Ology Backdrops Halloween pack, I tore them and I glued them on my page, using Multi Medium Matte. I dried the glue, then I covered the whole page with clear Gesso and dried everything again. I wanted to add some red colour on the background, to create the impression of a bloody scene. So, I used the Lumberjack Plaid Distress Spray Stain and the Tart Cranberry Distress Mica Stain Spray, I applied them on an acetate sheet together and then I picked them up with a brayer and applied them on my page. I mostly focused the red colours on the top left and bottom right corner of my project. I dried my page and then I moved to my favourite part, adding texture with paste and stencils! First, I used the Twisted Layering stencil with Ranger Black Opaque Texture Paste, on the lower part of the page. Then, I used the Deco Floral Layering stencil with the same paste, this time on the upper part of the page. I love the black accents on this project! I darkened the edges of my page with Black Soot Distress ink and the background was done!

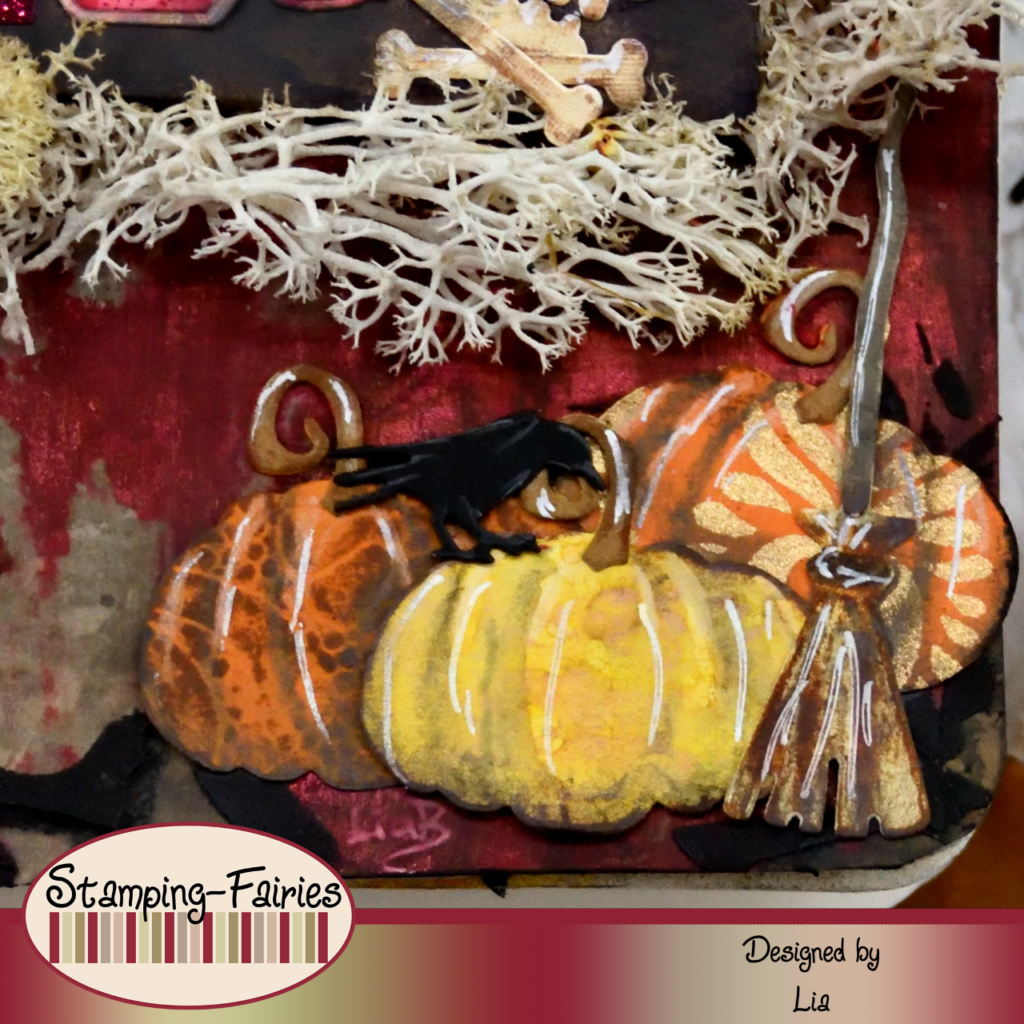
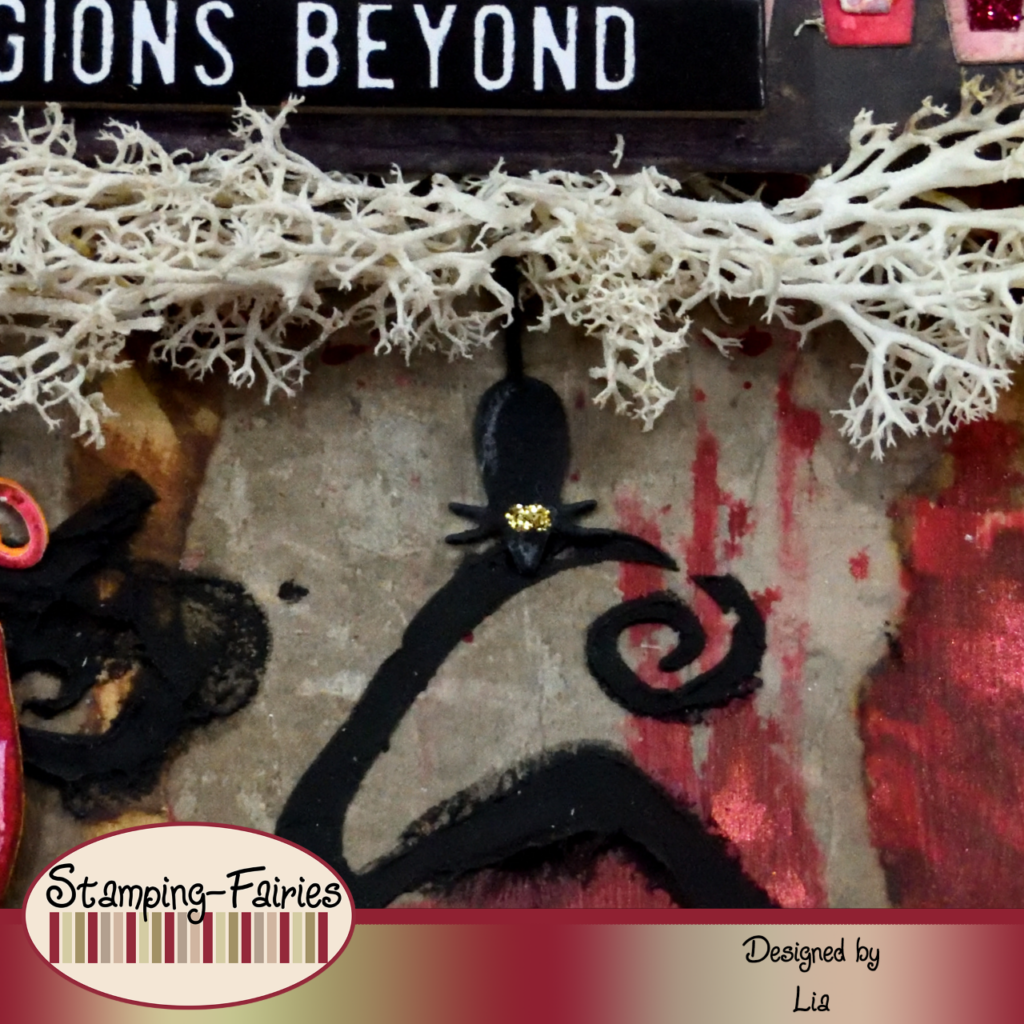
Time to prepare my images. My center image is the window. I used a window and an acetate sheet (with broken glass printing) from the Idea-Ology Baseboards Halloween 2023 pack. This pack is no longer available in the shop but there are other Idea-Ology packs with windows that could be used in the same way. So, I attached the acetate on the back of the window and then I created the „outside view“. I used a panel of watercolour paper, I applied the mask part from the bigger moon of the Moon Mask layering stencil and then I added colour. I used Stormy Sky and Chipped Sapphire Distress Oxide Sprays, as well as Winter Frost and Shiny Bauble Distress Mica Stain Sprays. I sprayed with the colours, I removed the moon mask, I slightly dried the colours and then I sprayed with water and let the colours bleed into the moon area. I dried my panel and then I placed the moon stencil on the moon area, I sprayed it with the Stormy Sky Distress Oxide Spray and then I dried it again. I covered the moon, splattered the panel with Picket Fence Distress Paint (white) and then I dried it again. I added a branch in front of the moon, using a stamp from the Tim Holtz „Mr. Bones“ stamp set and VersaFine Onyx Black ink. Then I attached this panel on the back of my window. The rest of my images are cut with two Sizzix Thinlits set. The ghosts, the skulls, the spider and spider web, the Jack O‘ lantern pumpkins, one of the cats and the broom are cut with the Frightful Things Thinlits set. The crows, the potion bottles, the bats, the witch hats, the other cat, the mouse and the big pumpkins are cut with the Vault Wicket Thinlits set. I used papers from my scrap bin. Some of them were white and I coloured them with Distress Inks, and some of them were already coloured. I also used some glitter paper. The windowsill is just a stripe of cardboard, covered with a piece of Idea-Ology Backdrops paper.

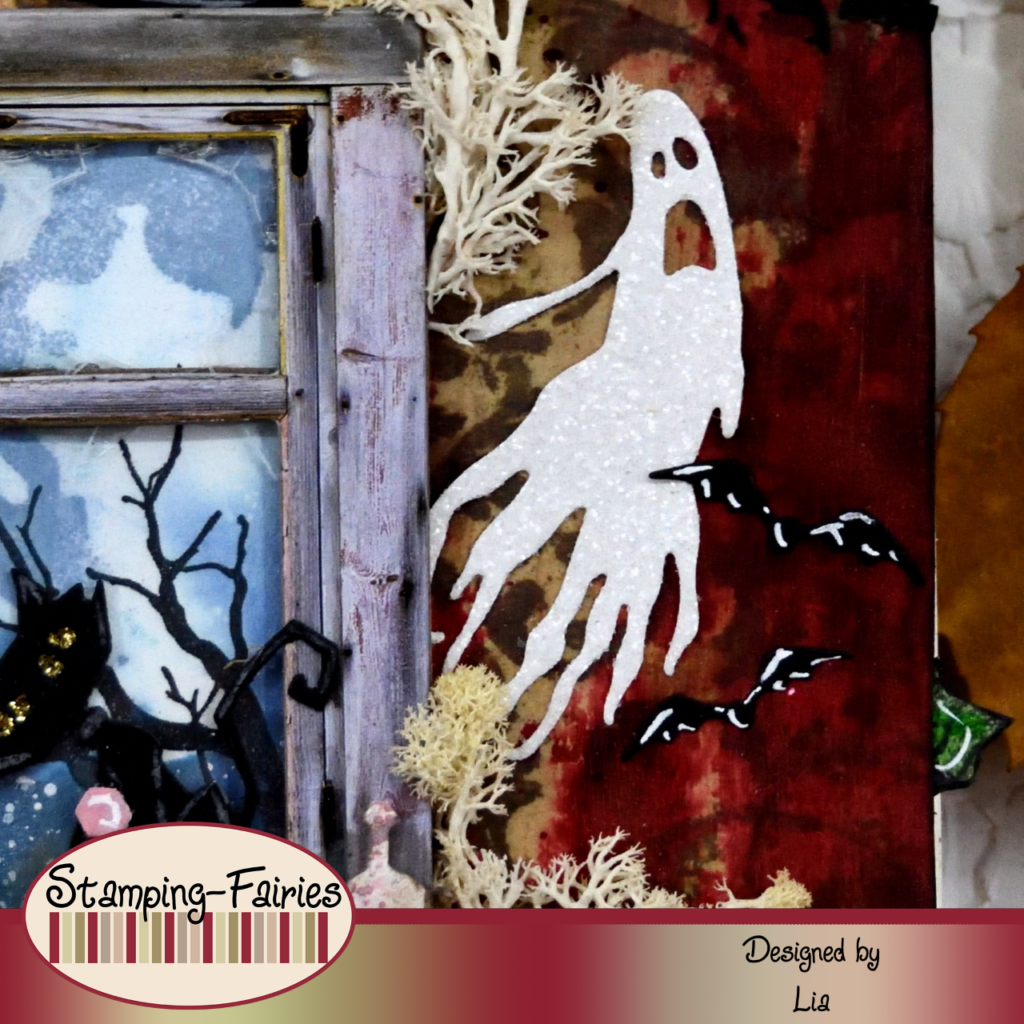
My sentiment comes from the Idea-Ology Baseboards Halloween 2023 pack. It is a stripe of chipboard. I didn’t do anything with it because there were so many things around it. I just placed it on the windowsill. The sentiment says: „From Regions Beyond“ and I think it fits with my haunted scene. To finish the project, I added some white moss all around the windowsill and on some spots around the window. I also added some Gold Stickles on the eyes of the cats and the mouse.

And that was the project for today! I will admit, I started this page weeks ago and I left it sitting, not knowing what to do with it. Sometimes it takes a while for a project to grow, but don’t give up on it. I really hope you like today’s project! I hope you got inspired! We will see each other again next Monday! Until then, stay creative and have fun!
*Deutsche Version*
Hallo zusammen! Willkommen zurück zu einem weiteren Mixed-Media Projekt. Für das heutige Projekt habe ich eine Spukzimmerszene vorbereitet. Dieses Projekt hat sich über mehrere Wochen entwickelt. Beginnen wir mit den Materialien, die ich verwendet habe:
Materialien (wenn etwas nicht auf Lager ist, bitte einfach auf „Produkterinnerung“ klicken)
- Tim Holtz Backdrops – Halloween
- Ranger Multi Medium – Matte
- Prima Marketing – Art Basics – Gesso Clear
- Distress Spray Stain – Lumberjack Plaid
- Distress Mica Stain Sprays
- Tim Holtz Layering Stencils
- Tim Holtz Texture Paste – Black Opaque
- Idea-Ology Baseboards Halloween 2023
- Distress Oxide Sprays
- Tim Holtz Stamp Set – Mr. Bones
- VersaFine Onyx Black
- Sizzix Tim Holtz DIE Set – Frightful Things
- Sizzix Tim Holtz Thinlits – Vault Wicked
- Coloured Cardstock
- Glitter Cardstock
- Stickles -Glitter Glue Gold

Für dieses Projekt habe ich in einem quadratischen Kunstjournal gearbeitet und mit dem Hintergrund begonnen. Ich habe zwei Backdrop Papiere aus dem Halloween Paket von Idea-Ology Backdrops ausgewählt, sie zerrissen und mit Multi Medium Matte auf meine Seite geklebt. Ich habe den Kleber getrocknet, dann die ganze Seite mit klarem Gesso bedeckt und alles noch einmal getrocknet. Ich wollte dem Hintergrund etwas Rot hinzufügen, um den Eindruck einer blutigen Szene zu erwecken. Also habe ich den Lumberjack Plaid Distress Spray Stain und den Tart Cranberry Distress Mica Stain Spray verwendet, sie zusammen auf eine Acetatfolie aufgetragen und sie dann mit einer Farbwalze aufgenommen und auf meine Seite aufgetragen. Ich habe die roten Farben hauptsächlich auf die obere linke und untere rechte Ecke meines Projekts konzentriert. Ich habe meine Seite getrocknet und bin dann zu meinem Lieblingsteil übergegangen, dem Hinzufügen von Textur mit Paste und Schablonen! Zuerst habe ich die Twisted Layering Schablone mit Ranger Black Opaque Texture Paste auf dem unteren Teil der Seite verwendet. Dann habe ich die Deco Floral Layering Schablone mit derselben Paste verwendet, diesmal im oberen Teil der Seite. Ich liebe die schwarzen Akzente bei diesem Projekt! Ich habe die Ränder meiner Seite mit Black Soot Distress Tinte abgedunkelt und der Hintergrund war fertig!

Zeit, meine Bilder vorzubereiten. Mein Hauptbild ist das Fenster. Ich habe ein Fenster und eine Acetatfolie (mit zerbrochenes Glas Aufdruck) aus dem Idea-Ology Baseboards Halloween 2023 Paket verwendet. Dieses Paket ist im Shop nicht mehr erhältlich, aber es gibt andere Idea-Ology Pakete mit Fenstern, die auf die gleiche Weise verwendet werden könnten. Also habe ich die Acetatfolie auf der Rückseite des Fensters angebracht und dann die „Außenansicht“ erstellt. Ich habe ein Rechteck Aquarellpapier verwendet, den Maskenteil des größeren Mondes der Moon Mask Layering Schablone aufgetragen und dann Farbe hinzugefügt. Ich habe Stormy Sky und Chipped Sapphire Distress Oxide Sprays sowie Winter Frost und Shiny Bauble Distress Mica Stain Sprays verwendet. Ich habe mit den Farben gesprüht, die Mondmaske entfernt, die Farben leicht getrocknet und dann mit Wasser besprüht und die Farben in den Mondbereich ausbluten lassen. Ich habe mein Aquarellpapier getrocknet und dann die Mondschablone auf den Mondbereich gelegt, sie mit dem Stormy Sky Distress Oxide Spray besprüht und dann erneut getrocknet. Ich habe den Mond bedeckt, das Panel mit Picket Fence Distress Paint (weiß) bespritzt und es dann wieder getrocknet. Ich habe vor dem Mond einen Zweig hinzugefügt, mit einem Stempel aus dem Tim Holtz „Mr. Bones“ Stempelset und mit VersaFine Onyx Black Tinte. Dann habe ich dieses Aquarellpapier an der Rückseite meines Fensters befestigt. Der Rest meiner Bilder ist mit zwei Sizzix Thinlits Sets ausgeschnitten. Die Geister, die Totenköpfe, die Spinne und das Spinnennetz, die Jack O‘ Lantern Kürbisse, eine der Katzen und der Besen sind mit dem Frightful Things Thinlits Set ausgeschnitten. Die Krähen, die Zaubertrankflaschen, die Fledermäuse, die Hexenhüte, die andere Katze, die Maus und die großen Kürbisse sind mit dem Vault Wicket Thinlits Set ausgeschnitten. Ich habe Papier aus meinem Restebehälter verwendet. Einige davon waren weiß und ich habe sie mit Distress Inks eingefärbt, und einige waren bereits eingefärbt. Ich habe auch etwas Glitzerpapier verwendet. Die Fensterbank besteht lediglich aus einem Streifen Pappe, der mit einem Stück Idea-Ology Backdrops Papier bedeckt ist.


Mein Spruch stammt aus dem Idea-Ology Baseboards Halloween 2023 Paket. Es ist ein Streifen Spanplatte. Ich habe nichts damit gemacht, weil so viele Dinge darum herum waren. Ich habe ihn einfach auf die Fensterbank gelegt. Der Spruch lautet: „Aus Gebieten jenseits“ und ich denke, er passt zu meiner Spukszene. Um das Projekt abzuschließen, habe ich rund um die Fensterbank und an einigen Stellen um das Fenster herum etwas weißes Moos hinzugefügt. Ich habe auch Gold Stickles auf die Augen der Katzen und der Maus getropft.
Und das war das Projekt für heute! Ich gebe zu, ich habe diese Seite vor Wochen begonnen und sie liegen gelassen, weil ich nicht wusste, was ich damit anfangen sollte. Manchmal dauert es eine Weile, bis ein Projekt wächst, aber gebt nicht auf. Ich hoffe sehr, dass euch das Projekt gefällt! Ich hoffe, ihr habt euch inspirieren lassen! Wir sehen uns nächsten Montag wieder! Bis dahin bleibt kreativ und habt Spaß!

Hello birds
Spooky Banner
Das könnte dich auch interessieren
Late Halloween ??
16. November 2019
Pawfect Dog – Album
17. Juli 2020
