Be merry
*German version below | Deutsche Version unten*
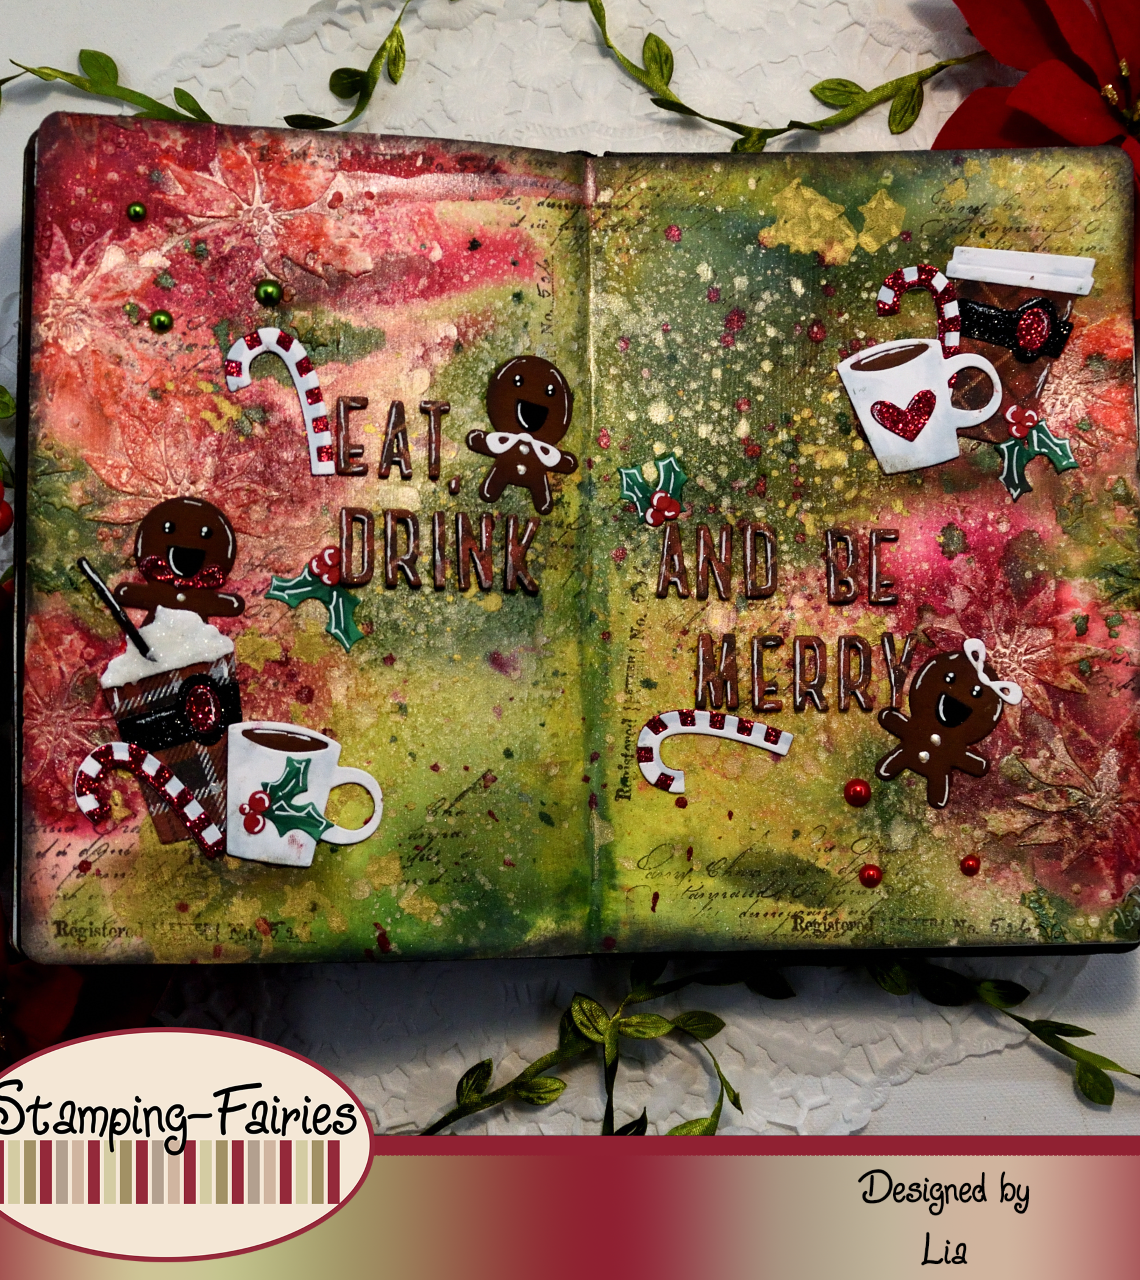
Hello everyone! Welcome back to another mixed media project. The pages I prepared for today are all about Christmas. I used typical Christmas colours with very untypical images (some of them, at least). Let’s start with the materials I used:
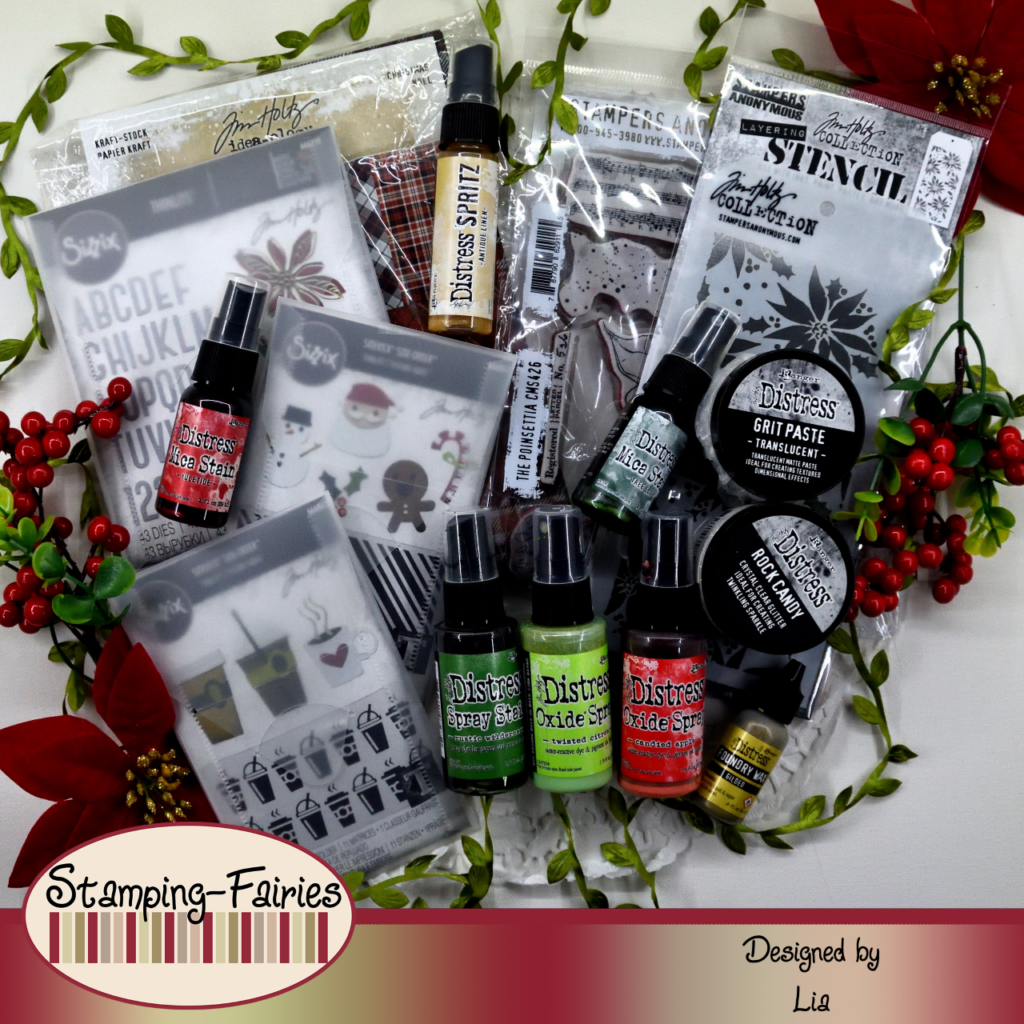
Materials (If something is not in stock, please simply click on “Product reminder”/ “Produkterinnerung”)
- Prima Marketing – Art Basics – Gesso Clear
- Tim Holtz Distress Grit Paste – Translucent
- Tim Holtz Layering Stencil – Poinsettia
- Distress Spray Stain – Rustic Wilderness
- Distress Oxide Sprays
- Distress Mica Stain Sprays
- Distress Spritz – Antique Linen
- Distress – Foundry Wax – Gilded
- VersaFine Onyx Black
- Tim Holtz Stempelset – The Poinsettia
- Ranger – Tim Holtz Distress Oxide Pad – Black Soot
- Sizzix Sidekick Side-Order Thinlits/ Texture Fades – Fresh Brewed
- Sizzix Sidekick Side-Order Thinlits/ Texture Fades – Christmas Minis
- Sizzix Sidekick Starter Kit
- Coloured Cardstock
- Glitter Cardstock
- Tim Holtz Idea-Ology Kraft-Stock Pad 6″X9″ – Christmas
- Distress Stickles Dry Glitter – Clear Rock Candy
- Sizzix Tim Holtz Thinlits – Vault Seasonal Sketch
- Tim Holtz – idea-ology – Droplets – Christmas
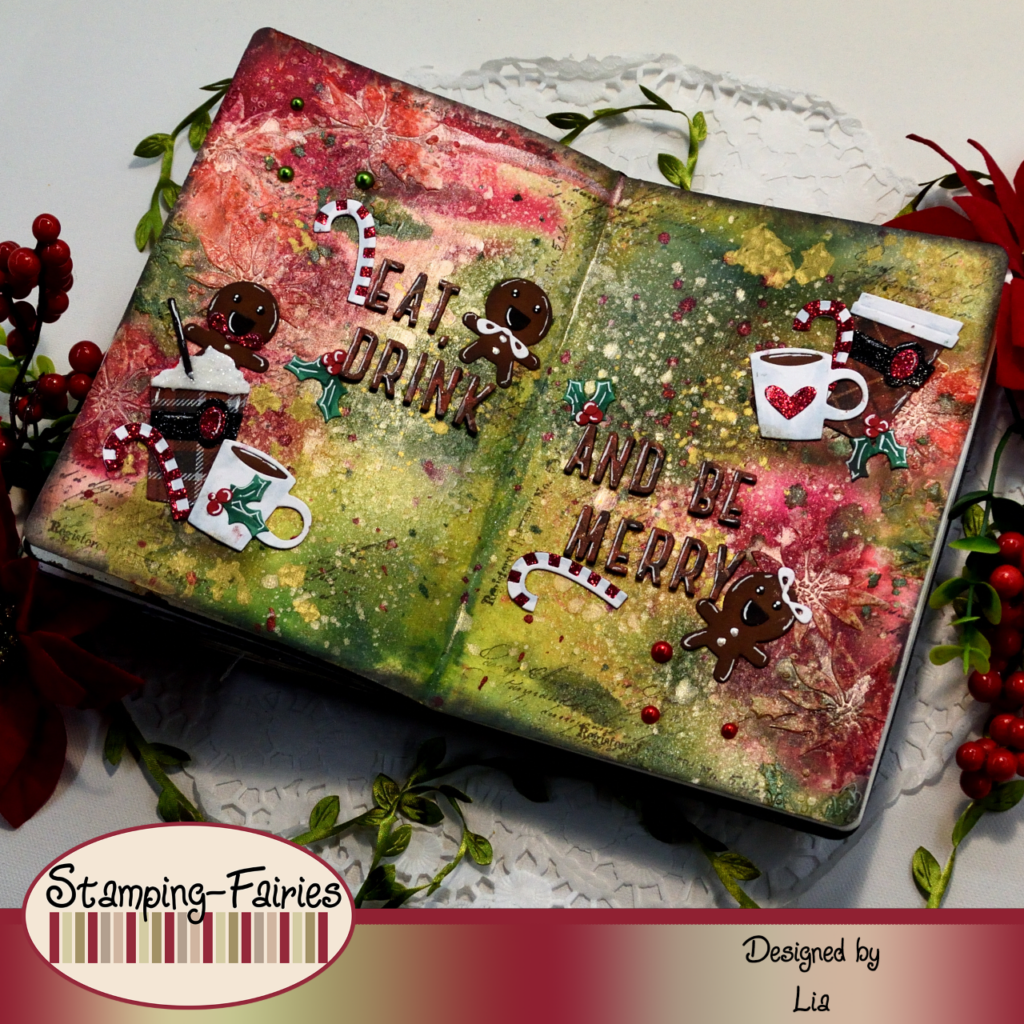
For this project, I worked in a Journal with watercolour paper, as I knew I was going to use a lot of wet mediums. I started with a good layer of Gesso, to protect my pages and create a nice surface for my mediums. I dried the Gesso and then I added some texture, using the Poinsettia Layering Stencil with Distress Translucent Grit Paste, just on the upper left and lower right corner of my project. Normally, I would advise not to dry the Paste with a heat gun. But this is case were you get different effects, depending on how the Paste dried. I like how the Grit Paste puffs up and smooths when it is heated. So, I did dry the Paste with the heat gun. Moving on to the colours, I used Candied Apple Distress Oxide Spray with Yuletide Distress Mica Stain Spray, for my reds, and Twisted Citron Distress Oxide Spray with Rustic Wilderness Distress Spray Stain and Tree Lot Mica Stain Spray, for my greens. I did one colour family at a time, because I didn’t want my reds and greens to mix too much. I sprayed with my Sprays, I sprayed with water, I allowed the colours to run and mix, I dabbed of the excess and then I dried the pages. When I had all the colour I wanted, I added some Antique Linen Distress Spritz on top of everything. This colour of Spritz gives a gold impression and it look amazing! I mean, it is a Spritz, of course it looks amazing, but this colour is particularly amazing! So, I added this Spritz everywhere! And because one golden medium is not enough, I also used some Distress Gilded Foundry Wax. I tried to use the Foundry Wax through a stencil, but it didn’t work, so I ended up just adding splatter with it. Just remember, Foundry Wax needs to be heat set, otherwise it turns into something like dust and rubs off. I wanted some text on my pages, so I used two stamps from the Tim Holtz The Ponsettia stamp set with VersaFine Onyx Black ink and I added some nice text details. I darkened the edges of the pages with Black Soot Distress Oxide ink, and the background was done.
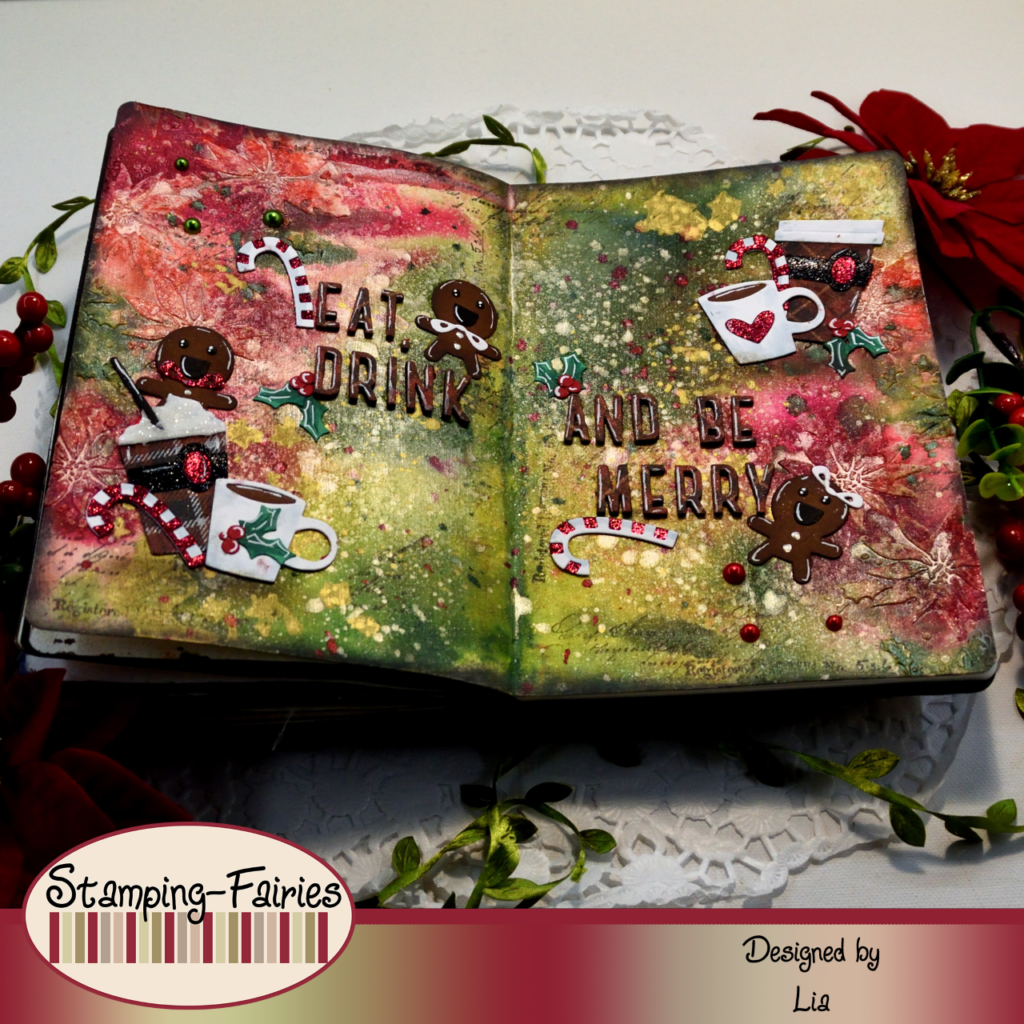
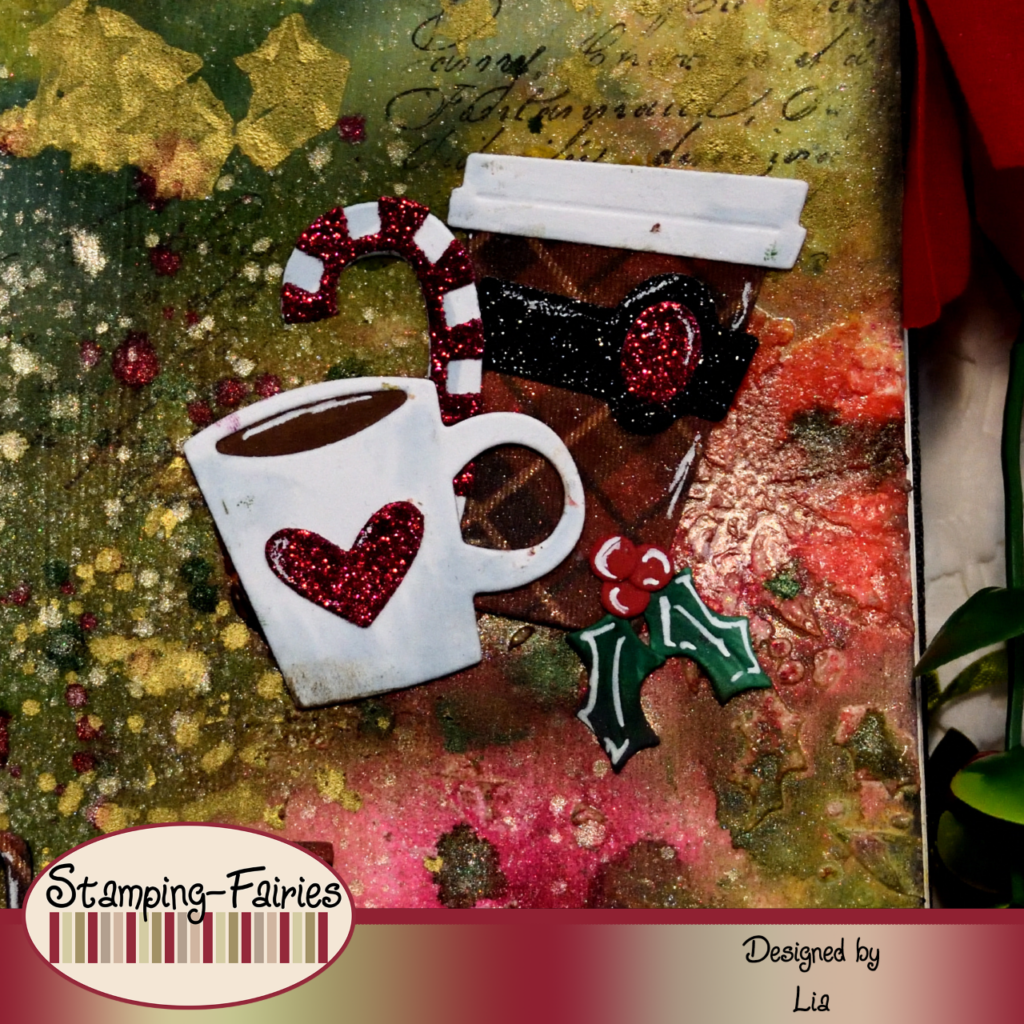
Time to prepare my images. I was very eager to use the new Sizzix Sidekick Side-Order sets. So, I used the Fresh Brewed set and the Christmas Minis set. And yes, I used them with the Sidekick. I do most of my die cutting with the Sidekick. Small die cutting machines are quite convenient. For my images, I used some coloured cardstock, some glitter cardstock and the new Idea-Ology Christmas Kraft-Stock. I added some shading on all the images, using alcohol markers. Just a little information. We can not work with alcohol marker on glitter cardstock (it wouldn’t be so good for the markers), but we can work on Idea-Ology Kraft-Stock, because it has no real glitter on it. It is just a print that is made to glitter just like glitter paper. It is an amazing product! So, I put all the images together. One of my coffee cups has cream on top (that is the piece I cut for it) and I wanted to add something extra to it. So, I covered the cream part with my Grit Paste and I dipped it into the jar of Distress Rock Candy Glitter (and, oh, I love it!!!). One other thing I loved from these Sidekick Side-Order sets was this Gingerbread man. It is a really cute image! I used the bows from the candy cane to decorate the Gingerbread men and I turned one of them into a girl. I just had a lot of fun with them!

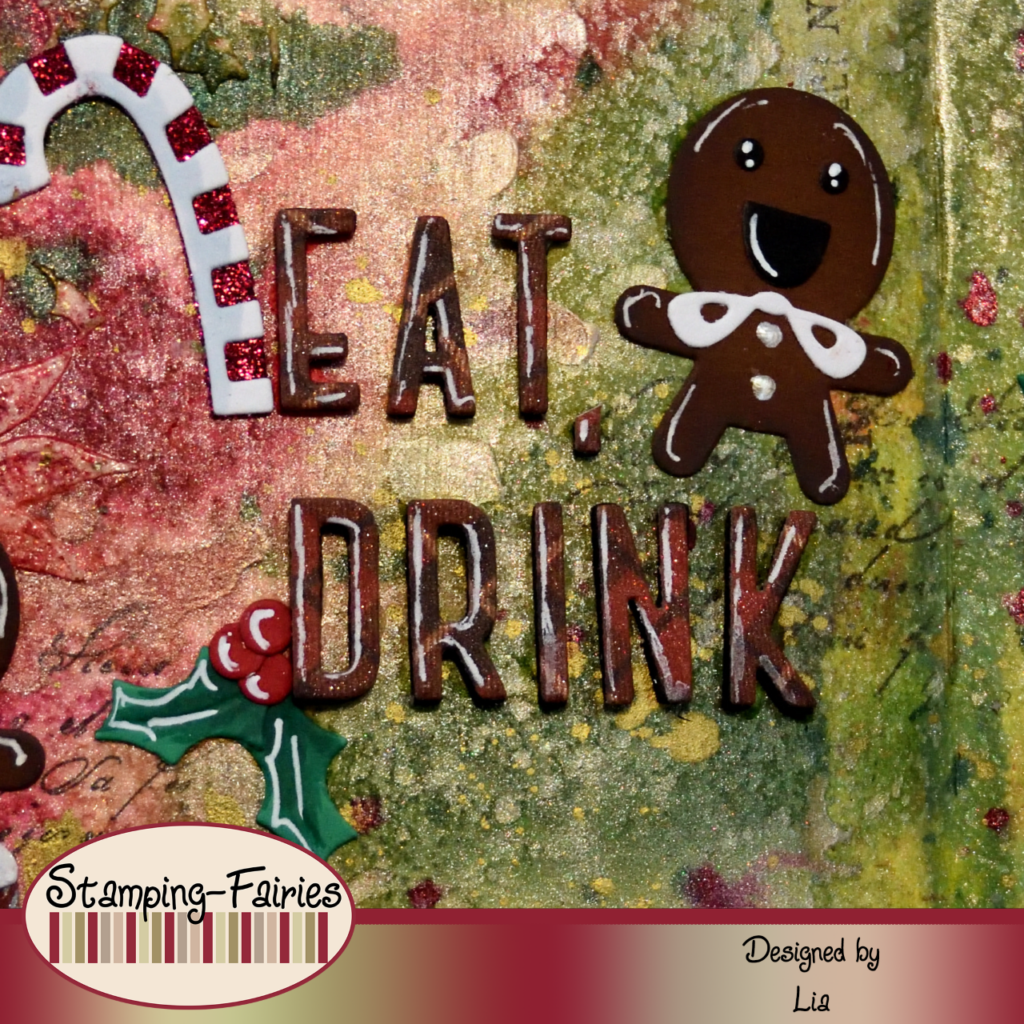
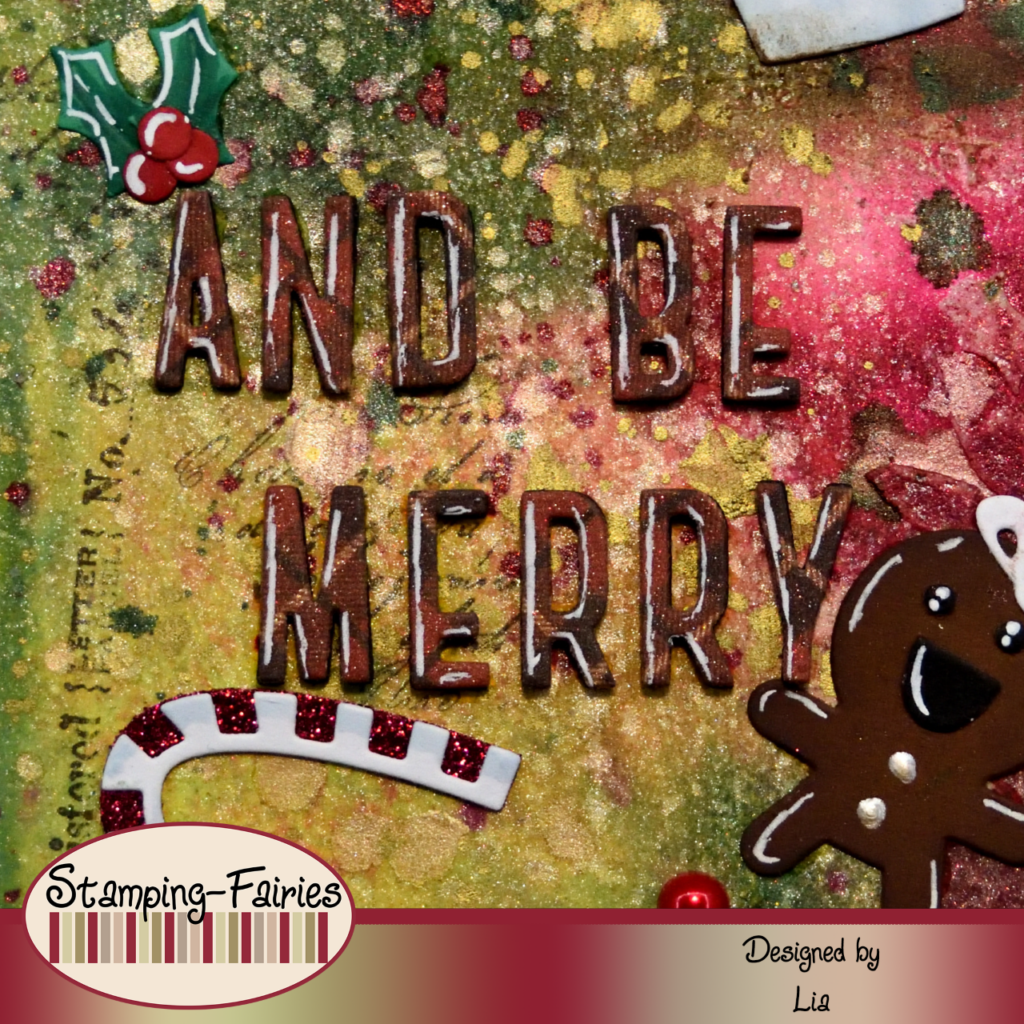
My sentiment is cut with the alphabet set from the new Sizzix Vault Seasonal Sketch Thinlits set. I cut them out of the Idea-Ology Christmas Kraft-Stock and out of fun foam and then I stacked them to create dimension. The sentiment says: „Eat, drink and be merry“ and I think it fits very nice with my images. My Gingerbread figures might be cute, but they are still a Christmas snack! So, I have coffee, I have Christmas sweets and some lovely Christmas colours! As a last little bit of embellishment, I added some Idea-Ology Christmas Droplets on my pages.
And that was the project for today! I ended up with really inky fingers, but I had a lot of fun working on these pages. And these cute images are just perfect, don’t you think? I hope you got inspired! We will see each other again next Monday! Until then, stay creative and have fun!
*Deutsche Version*
Hallo zusammen! Willkommen zurück zu einem weiteren Mixed-Media Projekt. Die Seiten, die ich für heute vorbereitet habe, drehen sich alle um Weihnachten. Ich habe typische Weihnachtsfarben mit sehr untypischen Bildern verwendet (zumindest einige davon). Beginnen wir mit den Materialien, die ich verwendet habe:
Materialien (wenn etwas nicht auf Lager ist, bitte einfach auf „Produkterinnerung“ klicken)
- Prima Marketing – Art Basics – Gesso Clear
- Tim Holtz Distress Grit Paste – Translucent
- Tim Holtz Layering Stencil – Poinsettia
- Distress Spray Stain – Rustic Wilderness
- Distress Oxide Sprays
- Distress Mica Stain Sprays
- Distress Spritz – Antique Linen
- Distress – Foundry Wax – Gilded
- VersaFine Onyx Black
- Tim Holtz Stempelset – The Poinsettia
- Ranger – Tim Holtz Distress Oxide Pad – Black Soot
- Sizzix Sidekick Side-Order Thinlits/ Texture Fades – Fresh Brewed
- Sizzix Sidekick Side-Order Thinlits/ Texture Fades – Christmas Minis
- Sizzix Sidekick Starter Kit
- Farbiger Karton
- Glitter Cardstock
- Tim Holtz Idea-Ology Kraft-Stock Pad 6″X9″ – Christmas
- Distress Stickles Dry Glitter – Clear Rock Candy
- Sizzix Tim Holtz Thinlits – Vault Seasonal Sketch
- Tim Holtz – idea-ology – Droplets – Christmas
Für dieses Projekt habe ich in einem Journalbuch mit Aquarellpapier gearbeitet, da ich wusste, dass ich viele nasse Medien verwenden würde. Ich habe mit einer dicken Schicht Gesso begonnen, um meine Seiten zu schützen und eine schöne Oberfläche für meine Medien zu schaffen. Ich habe das Gesso trocknen lassen und dann etwas Textur hinzugefügt, indem ich die Poinsettia Layering Stencil mit Distress Translucent Grit Paste verwendet habe, nur in der oberen linken und unteren rechten Ecke meines Projekts. Normalerweise würde ich empfehlen, die Paste nicht mit einer Heißluftpistole zu trocknen. Aber in diesem Fall erhält man unterschiedliche Effekte, je nachdem, wie die Paste getrocknet ist. Mir gefällt, wie die Grit Paste aufquillt und glatt wird, wenn sie erhitzt wird. Also habe ich die Paste mit der Heißluftpistole getrocknet. Als nächstes habe ich Farbe hinzugefügt. Ich habe Candied Apple Distress Oxide Spray mit Yuletide Distress Mica Stain Spray für meine Rottöne und Twisted Citron Distress Oxide Spray mit Rustic Wilderness Distress Spray Stain und Tree Lot Mica Stain Spray für meine Grüntöne verwendet. Ich habe immer nur eine Farbfamilie auf einmal gemacht, weil ich nicht wollte, dass sich die Rot- und Grüntöne zu sehr vermischen. Ich habe meine Sprays gesprüht, Wasser versprüht, die Farben sich verlaufen und vermischen lassen, den Überschuss abgetupft und die Seiten getrocknet. Als ich genug Farbe hatte, habe ich über alles etwas Antique Linen Distress Spritz gegeben. Diese Spritzfarbe erweckt einen goldenen Eindruck und sieht fantastisch aus! Ich meine, es ist ein Spritz, natürlich sieht es fantastisch aus, aber diese Farbe ist ganz besonders fantastisch! Also habe ich dieses Spritz überall aufgetragen! Und weil ein goldenes Medium nicht reicht, habe ich auch etwas Distress Gilded Foundry Wax verwendet. Ich habe versucht, das Foundry Wax durch eine Schablone aufzutragen, aber das hat nicht funktioniert, also habe ich am Ende einfach ein paar Spritzer hinzugefügt. Denkt daran, dass Foundry Wax mit Hitze fixiert werden muss, sonst wird es staubartig und reibt sich ab. Ich wollte etwas Text auf meinen Seiten, also habe ich zwei Stempel aus dem Stempelset „The Ponsettia“ von Tim Holtz mit VersaFine Onyx Black Tinte verwendet und ein paar schöne Textdetails hinzugefügt. Die Seitenränder habe ich mit Black Soot Distress Oxide Tinte abgedunkelt und der Hintergrund war fertig.
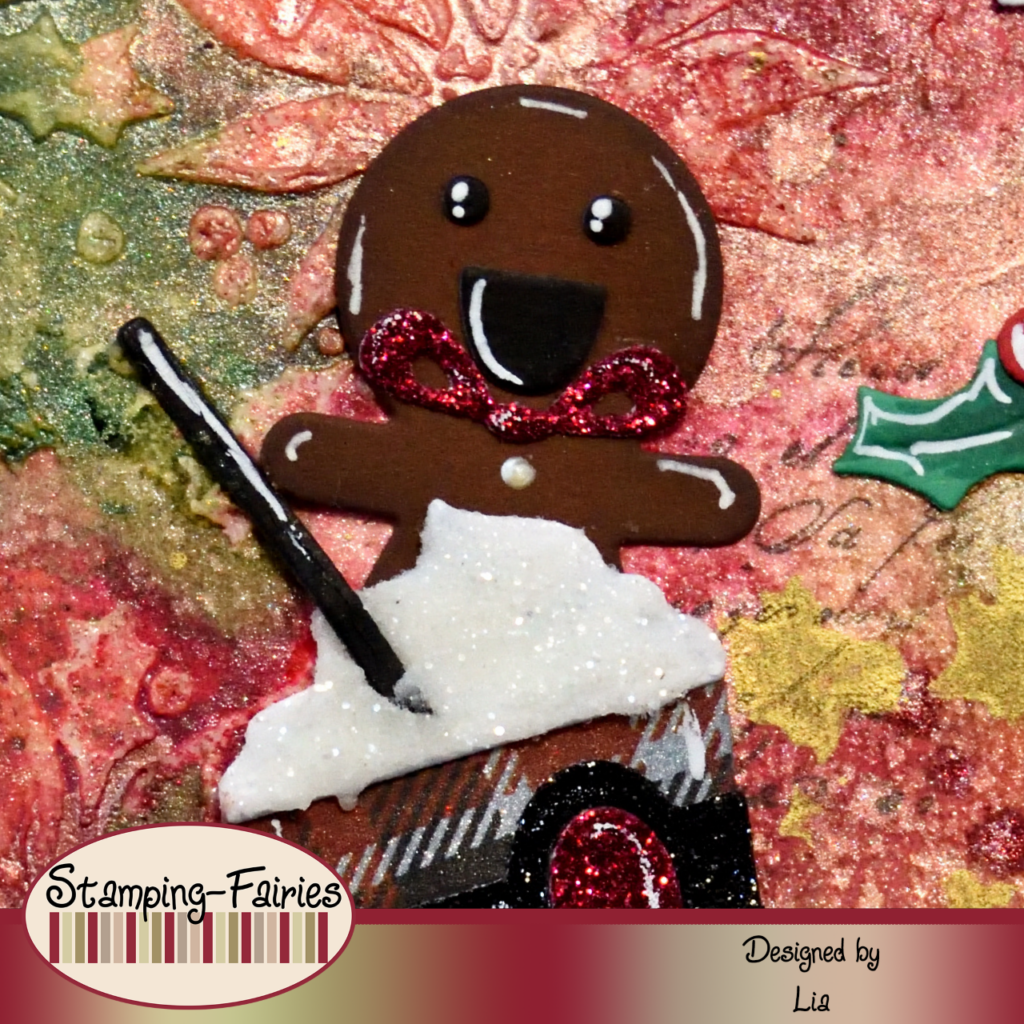

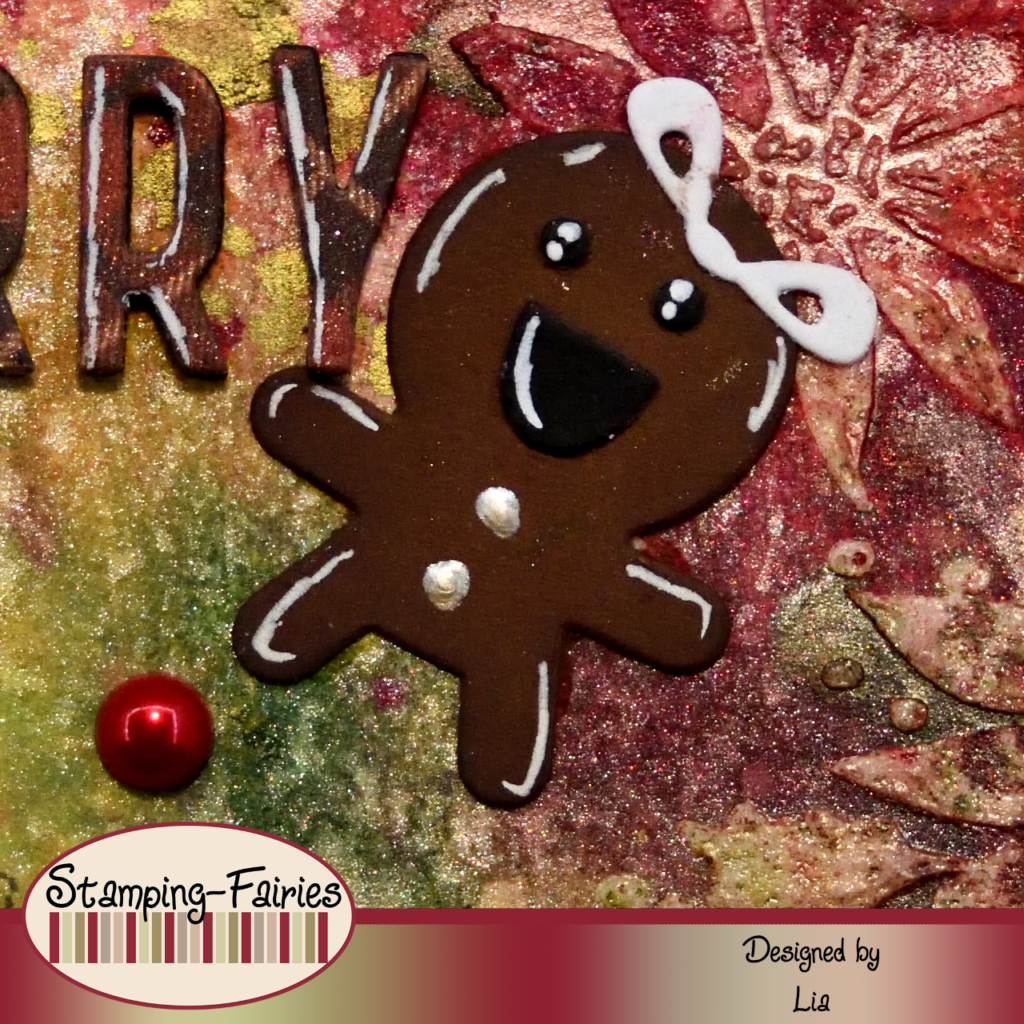
Zeit, meine Bilder vorzubereiten. Ich wollte unbedingt die neuen Sizzix Sidekick Side-Order Sets verwenden. Also habe ich das Fresh Brewed Set und das Christmas Minis Set verwendet. Und ja, ich habe sie mit dem Sidekick verwendet. Die meisten meiner Stanzungen mache ich mit dem Sidekick. Kleine Stanzmaschinen sind ziemlich praktisch. Für meine Bilder habe ich farbigen Karton, Glitzerkarton und den neuen Idea-Ology Christmas Kraft-Stock verwendet. Ich habe allen Bildern mit Alkoholmarkern etwas Schattierung hinzugefügt. Nur eine kleine Information. Wir können nicht mit Alkoholmarkern auf Glitzerkarton arbeiten (das wäre nicht so gut für die Marker), aber wir können auf Idea-Ology Kraft-Stock arbeiten, weil dieser keinen echten Glitzer enthält. Es ist nur ein Druck, der so gemacht ist, dass er wie Glitzerpapier glitzert. Es ist ein erstaunliches Produkt! Also habe ich alle Bilder zusammengefügt. Auf einem meiner Kaffeebecher ist Sahne (das ist das Stück, das ich dafür ausgeschnitten habe) und ich wollte etwas Besonderes hinzufügen. Also habe ich den cremefarbenen Teil mit meiner Grit Paste bedeckt und ihn in das Glas mit Distress Rock Candy Glitter getaucht (und, oh, ich liebe es!!!). Eine andere Sache, die ich an diesen Sidekick Side-Order Sets geliebt habe, war dieser Lebkuchenmann. Es ist ein wirklich süßes Bild! Ich habe die Schleifen von den Zuckerstangen verwendet, um die Lebkuchenmänner zu dekorieren, und einen davon habe ich in ein Mädchen verwandelt. Ich hatte einfach viel Spaß damit!
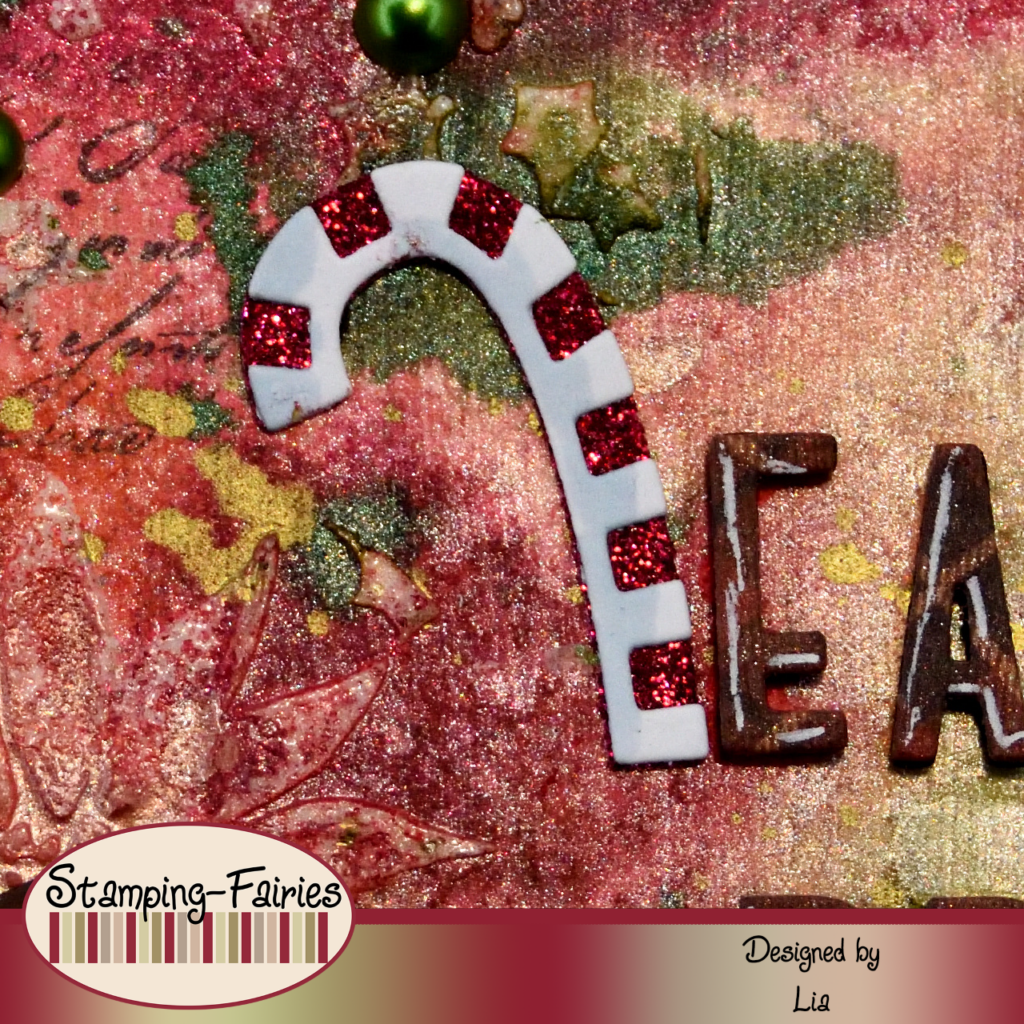
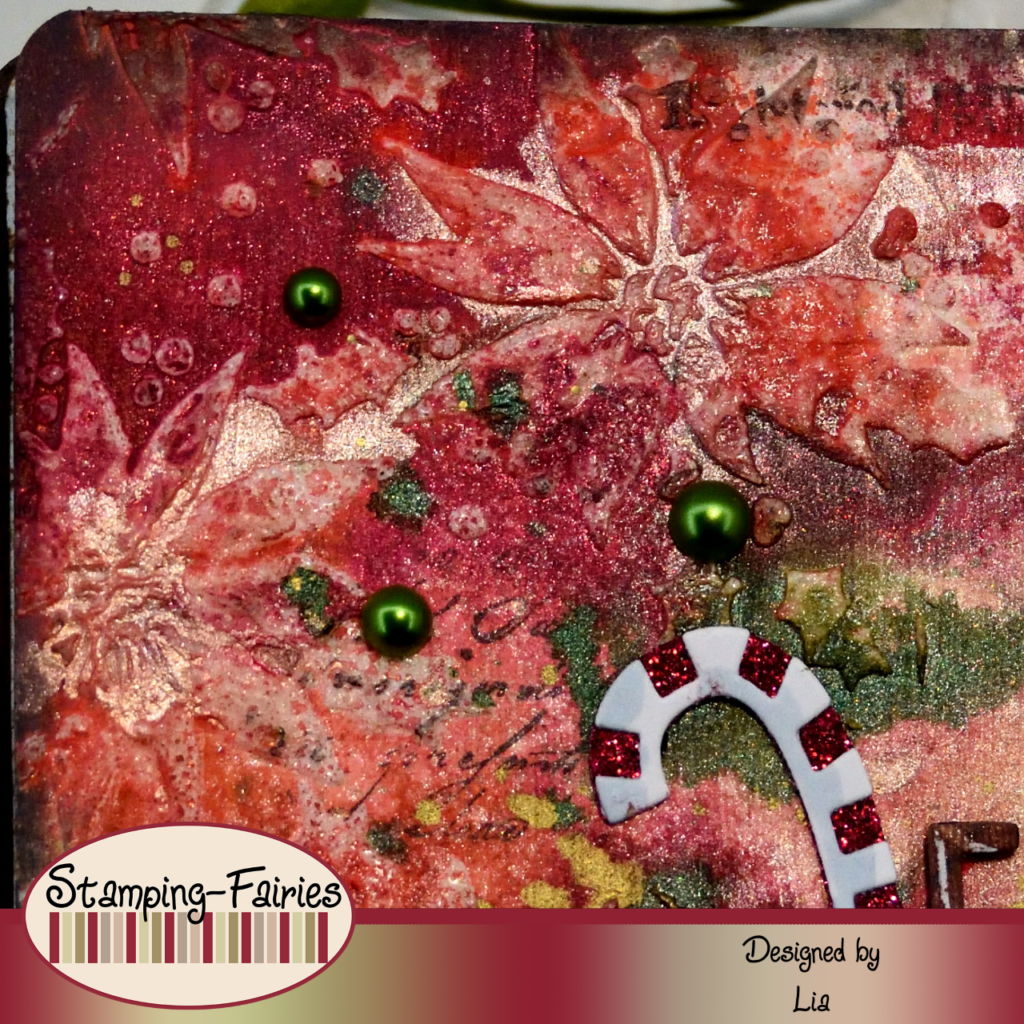

Mein Spruch ist mit dem Alphabet Set aus dem neuen Sizzix Vault Seasonal Sketch Thinlits Set ausgeschnitten. Ich habe sie aus dem Idea-Ology Christmas Kraft-Stock und aus Fun Foam ausgeschnitten und dann gestapelt, um Dimension zu erzeugen. Der Spruch lautet: „Iss, trink und sei fröhlich“ und ich finde, er passt sehr gut zu meinen Bildern. Meine Lebkuchenfiguren mögen süß sein, aber sie sind trotzdem ein Weihnachtssnack! Also habe ich Kaffee, Weihnachtssüßigkeiten und ein paar schöne Weihnachtsfarben! Als letzte kleine Verzierung habe ich meinen Seiten ein paar Idea-Ology Christmas Droplets hinzugefügt.
Und das war das Projekt für heute! Am Ende hatte ich richtig tintenverschmierte Finger, aber es hat mir viel Spaß gemacht, an diesen Seiten zu arbeiten. Und diese süßen Bilder sind einfach perfekt, findet ihr nicht? Ich hoffe sehr, dass euch das heutige Projekt gefällt! Ich hoffe, ihr habt euch inspirieren lassen! Wir sehen uns nächsten Montag wieder! Bis dahin bleibt kreativ und habt Spaß!

Hello Winter

Limited Color Palette
Das könnte dich auch interessieren
Am Strand mit Z-Fold-Card
19. Juli 2022
Hey Honey
6. September 2024