Crazy Love
*German version below | Deutsche Version unten*
Hello everyone! Welcome back to another Mixed Media project. I have a very pink project to show you today… I wanted to see some bright colours and I might have overdone it a little bit… Let’s start with the materials I used:
Materials (If something is not in stock, please simply click on “Product reminder”/ “Produkterinnerung”)
- Prima Marketing – Art Basics – Gesso Clear
- Mini Distress Ink Pads
- Tim Holtz Layering Stencil – Valentine
- Echo Park Stencils – Birthday Love Hearts
- Carta Bella Stencil – Season Greetings Swirls
- Ranger Texture Paste
- Distress Spritz – Peacock Feathers
- Tim Holtz Stamp Set – Snarky Cat
- Tim Holtz Distress Mixed Media Heavystock
- Archival Ink – Jet Black
- Ranger – Tim Holtz Distress Oxide Pads
- Sizzix Tim Holtz Thinlits – Stacked Tiles, Hearts
- Sizzix Tim Holtz Thinlits – Alphanumeric Shadow Upper
- Sizzix Tim Holtz Thinlits – Santa Greetings, Colorize
- Ranger Glossy Accents
- Tim Holtz – idea-ology – Droplets – Christmas

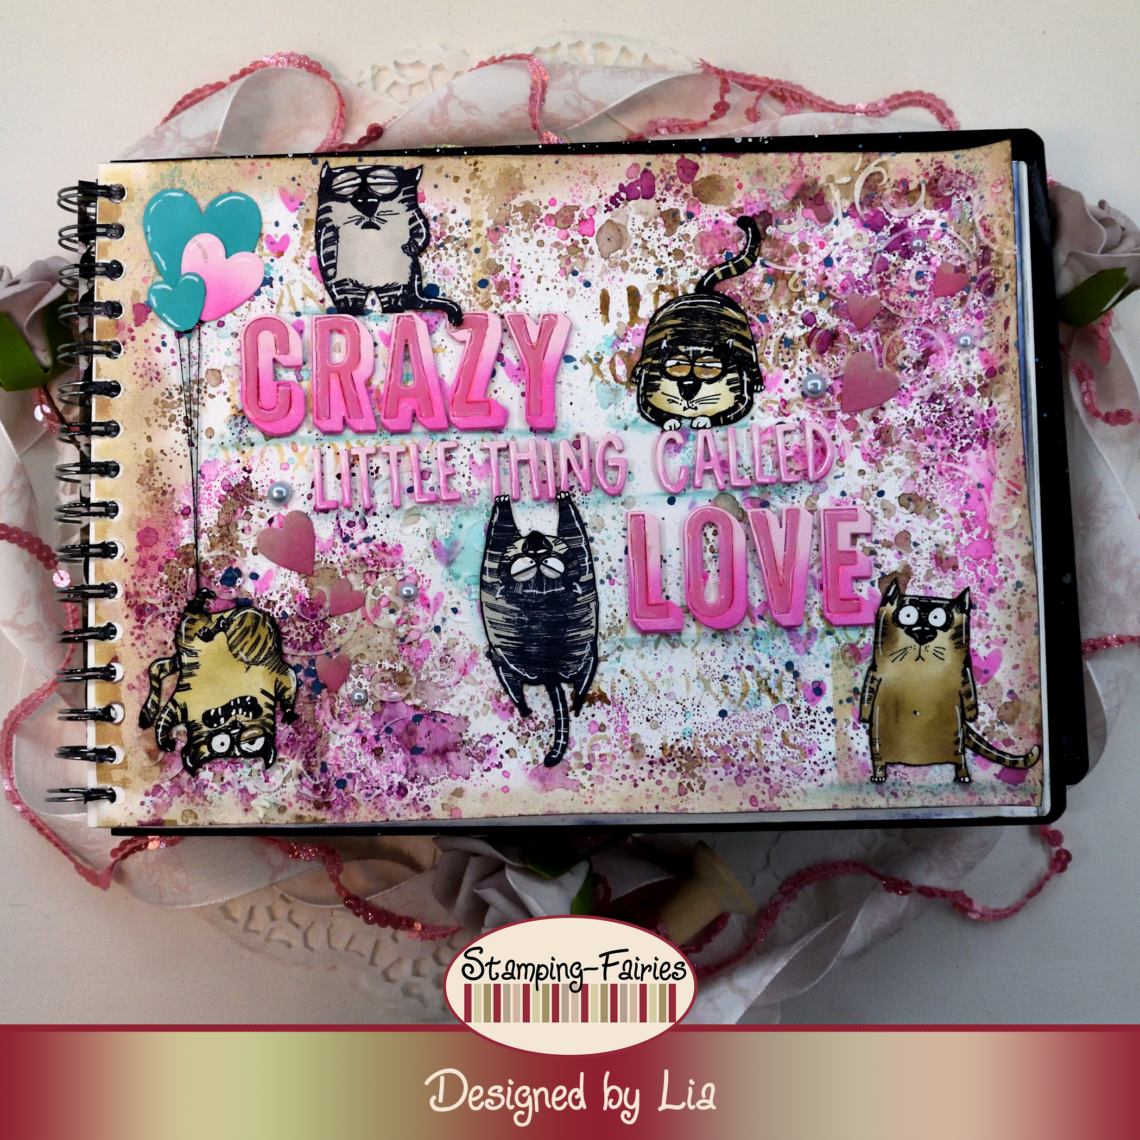
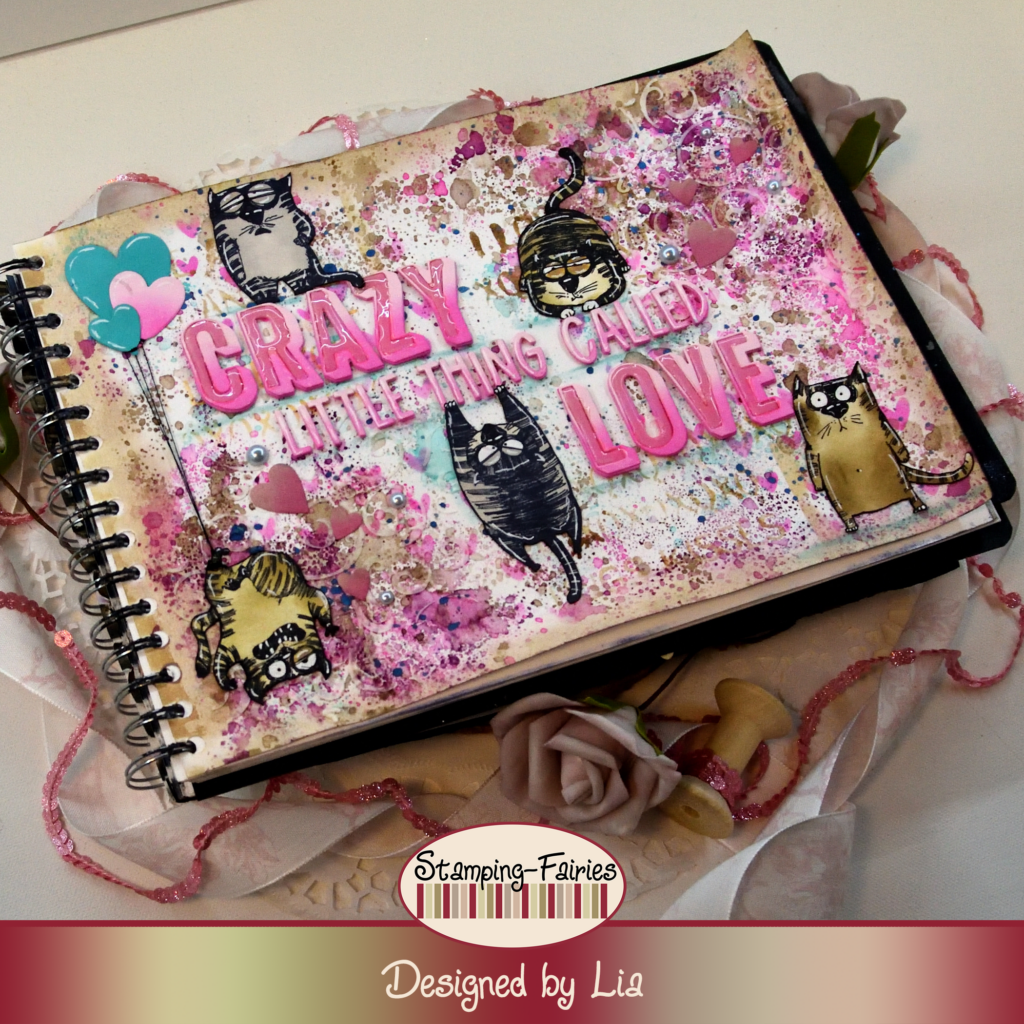
For today’s project, I worked in a bigger art journal book and I started with the background. I recently started collecting the Distress inks and I wanted to try them. But first I needed to prepare my page. So, I applied a good layer of clear Gesso and I dried it. It doesn’t have to be clear, it could be white Gesso, I just had the clear Gesso on my desk so that is what I used. Time to have some fun with the inks. To colour my page, I applied ink on a acetate, sprayed it with some water and then pressed the acetate on my page. I started with Pumice Stone Distress ink, just to give a nice, warm toned base. I continued with some Salvaged Patina Distress ink, for a bit of variation and playfulness. Lastly, I added Picked Raspberry and Seedless Preserves Distress inks. One thing to keep in mind when using this technique is to always dry the inks between the layers, even when you use the same colour. When wet inks go upon each other, they will blend. But when the wet ink goes upon dry ink, it will create a lovely new layer. I used the Pumice Stone Distress ink to darken the edges of the page a little bit and then I also used it through the Valentine Layering stencil, to add some text on the page. Then I used the Echo Park Birthday Love Hearts stencil with Picked Raspberry Distress ink and I added a sweet heart design on my project. If you know me, you know I love using Pastes, and this project is not an exception! I have this beautiful stencil from Carta Bella called Season Greetings Swirls. It comes from a Christmas collection but it is still a lovely swirl design. So, I used it with Range Texture Paste, on the bottom left and top right corner of the page. After the Paste was dry, I splatter the page with Peacock Feathers Distress Spritz, I dried it, and the background was done.
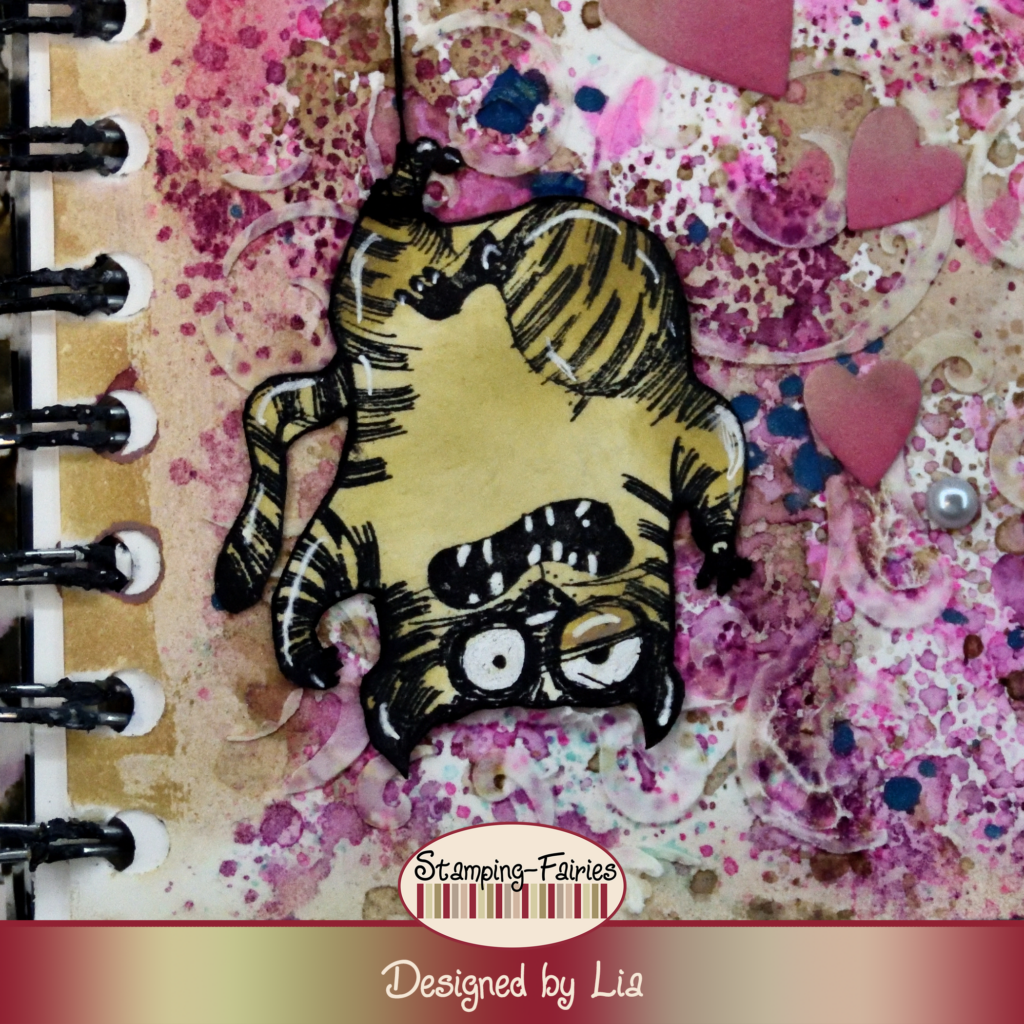
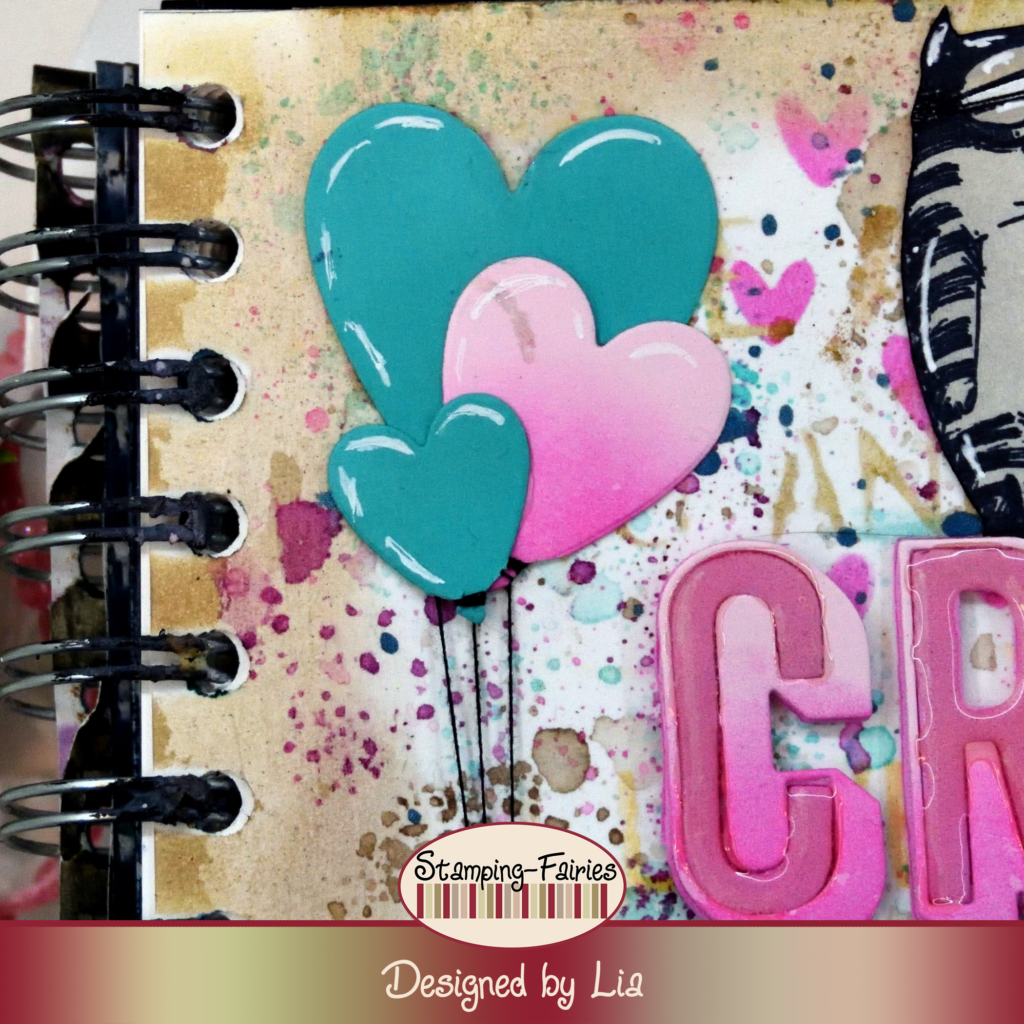
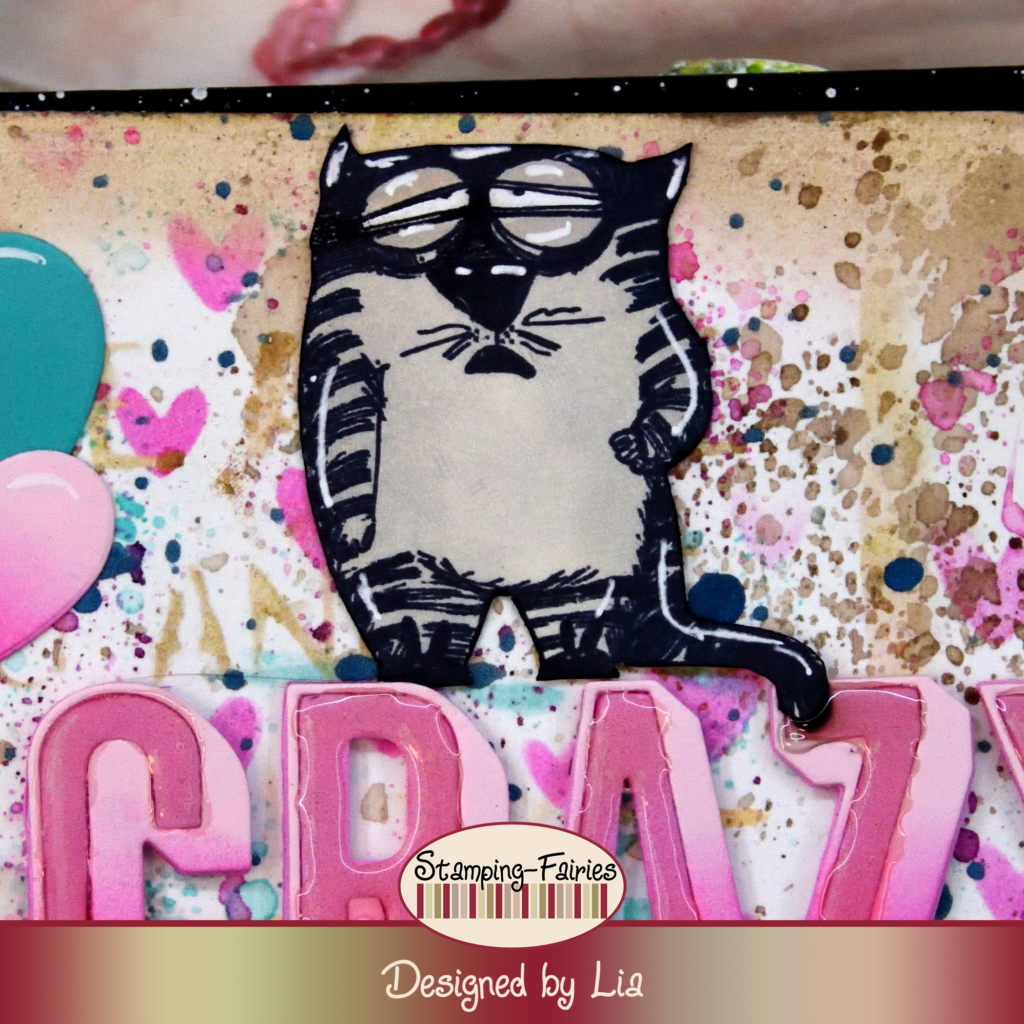
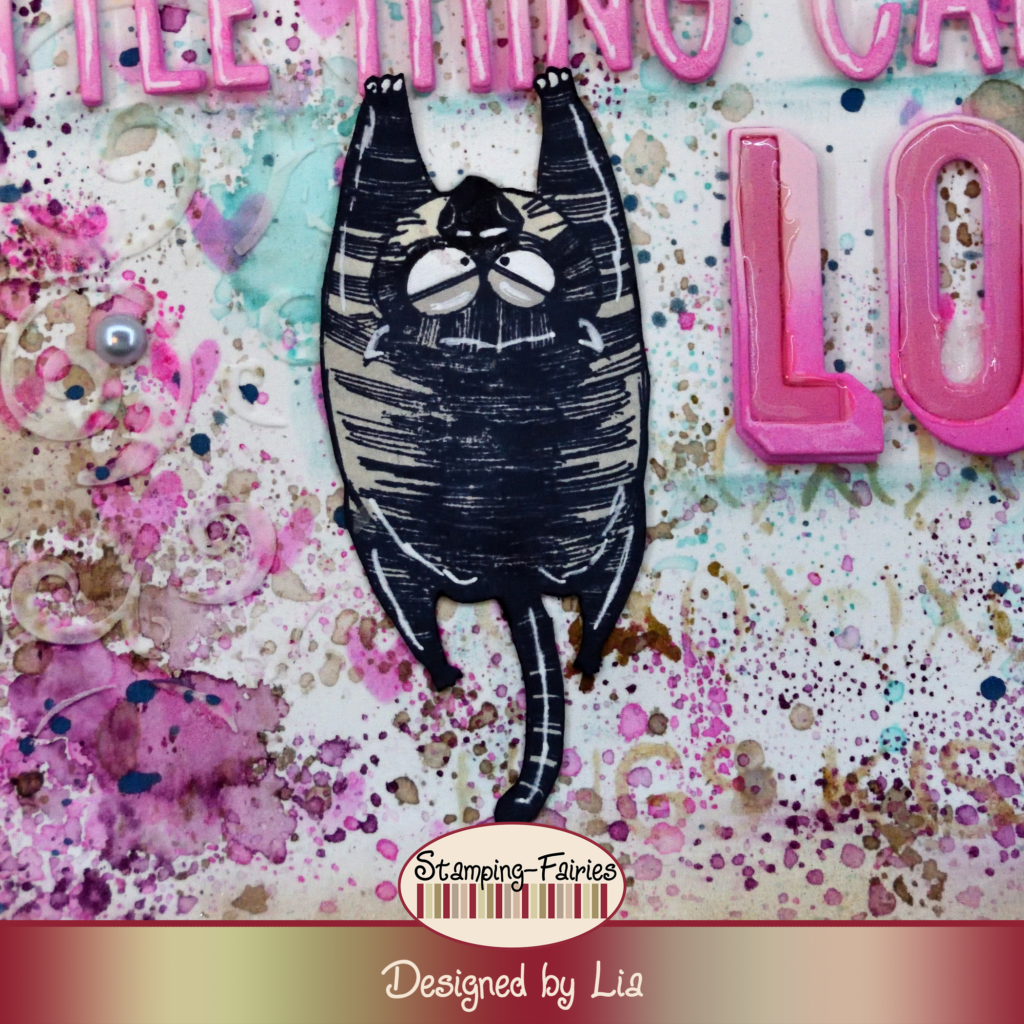
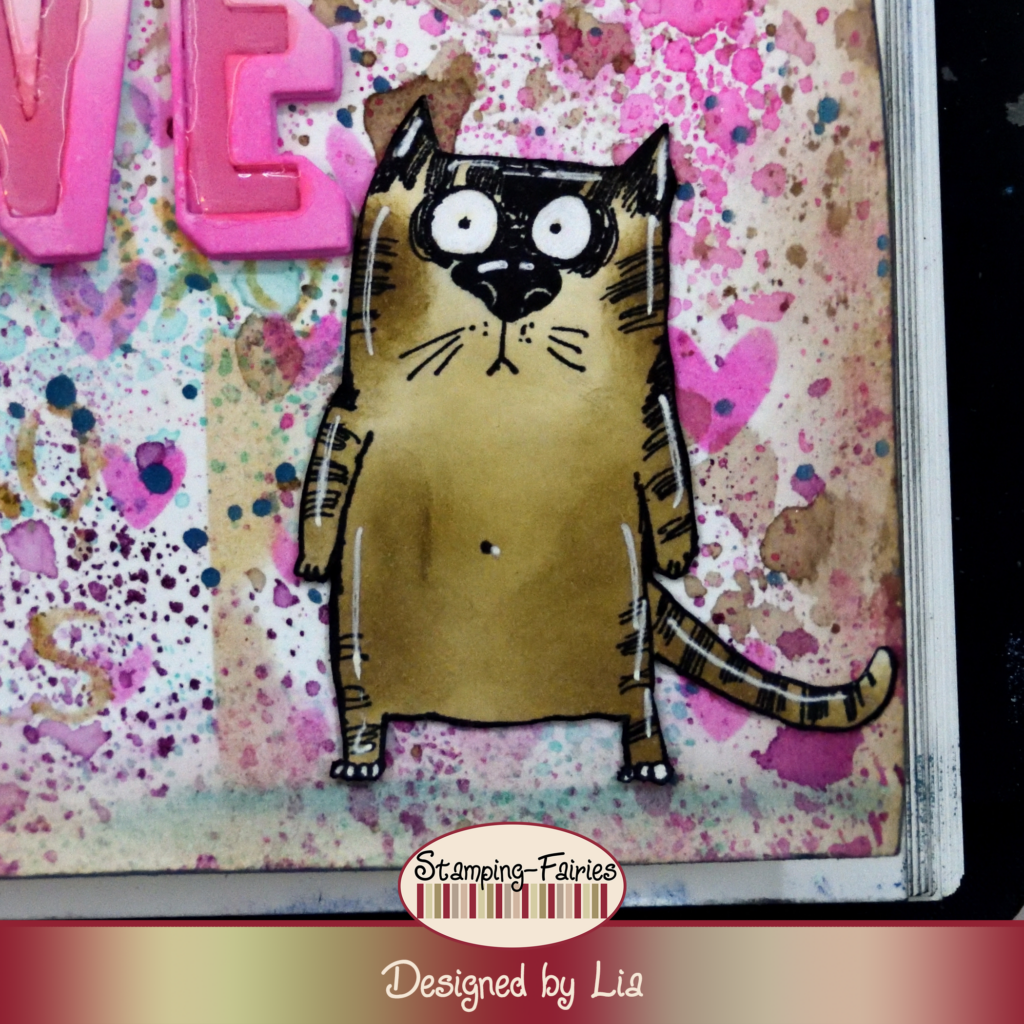
Time to prepare my images. The focal point of this project is the sentiment, but we still need some beautiful (or funny) images to embellish it. My images come from the Tim Holtz Snarky Cat stamp set. They are stamped on Ranger Mixed Media Heavystock, with Jet Black Archival ink and coloured with Distress Oxide inks. I used greys and browns for my cats, because I wanted their colour to be subtle, but an orange cat could be fun too! I cut my cats out by hand, using the Tim Holtz Recoil Scissors, and then I used a black marker to treat their edges, so the colour of the paper will not show. My heart balloons are cut with the Sizzix Stacked Tiles, Hearts Thinlits set. I cut the bigger and the smaller balloon out of teal cardstock, to bind it with the Salvaged Patina ink on the background. The middle balloon is cut out of pink cardstock. I used the Salvaged Patina and Picked Raspberry Distress inks to add a bit of shadow on the lower parts of the balloons and then I tied black strings on them. I died the other end of the strings on the foot of one of the cats, just because I thought he would look funny hanging upside down. I also used the same Sizzix set to cut a few more hearts, to use as embellishments.
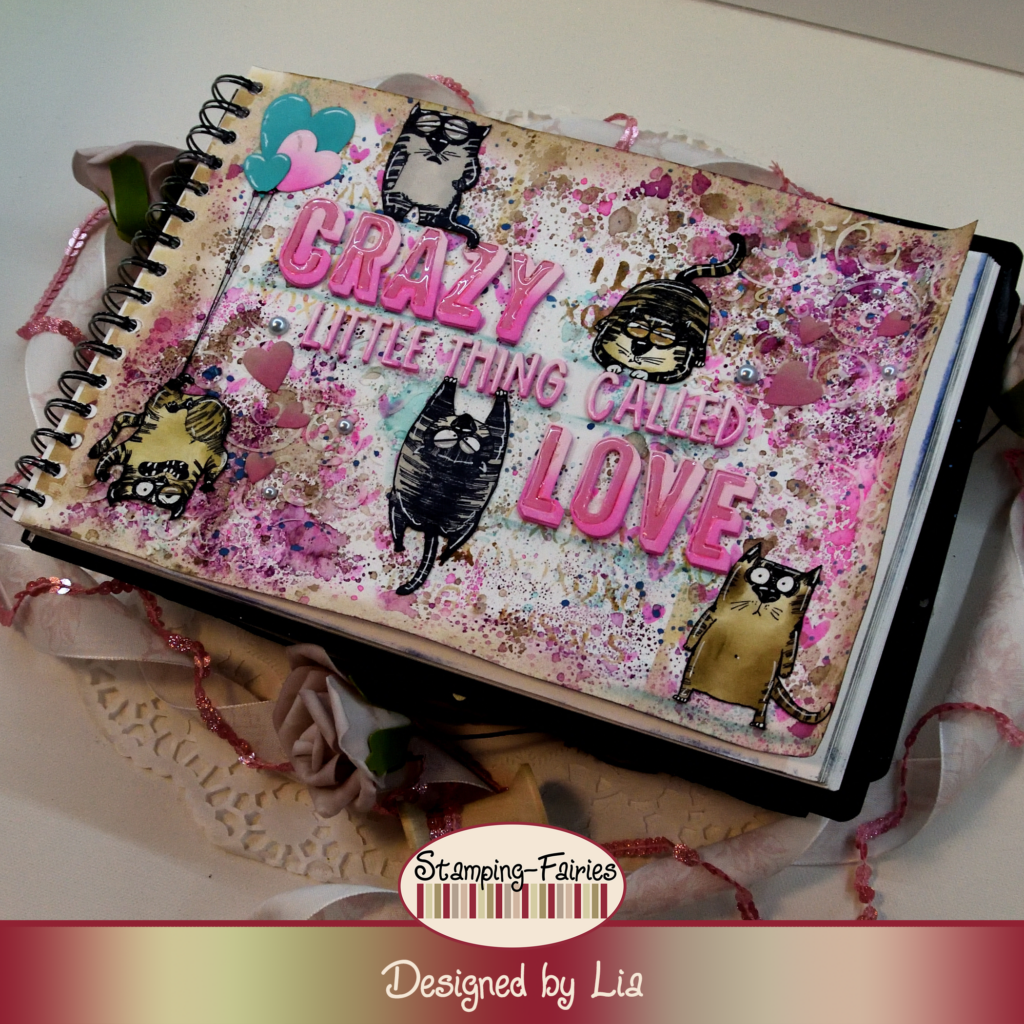
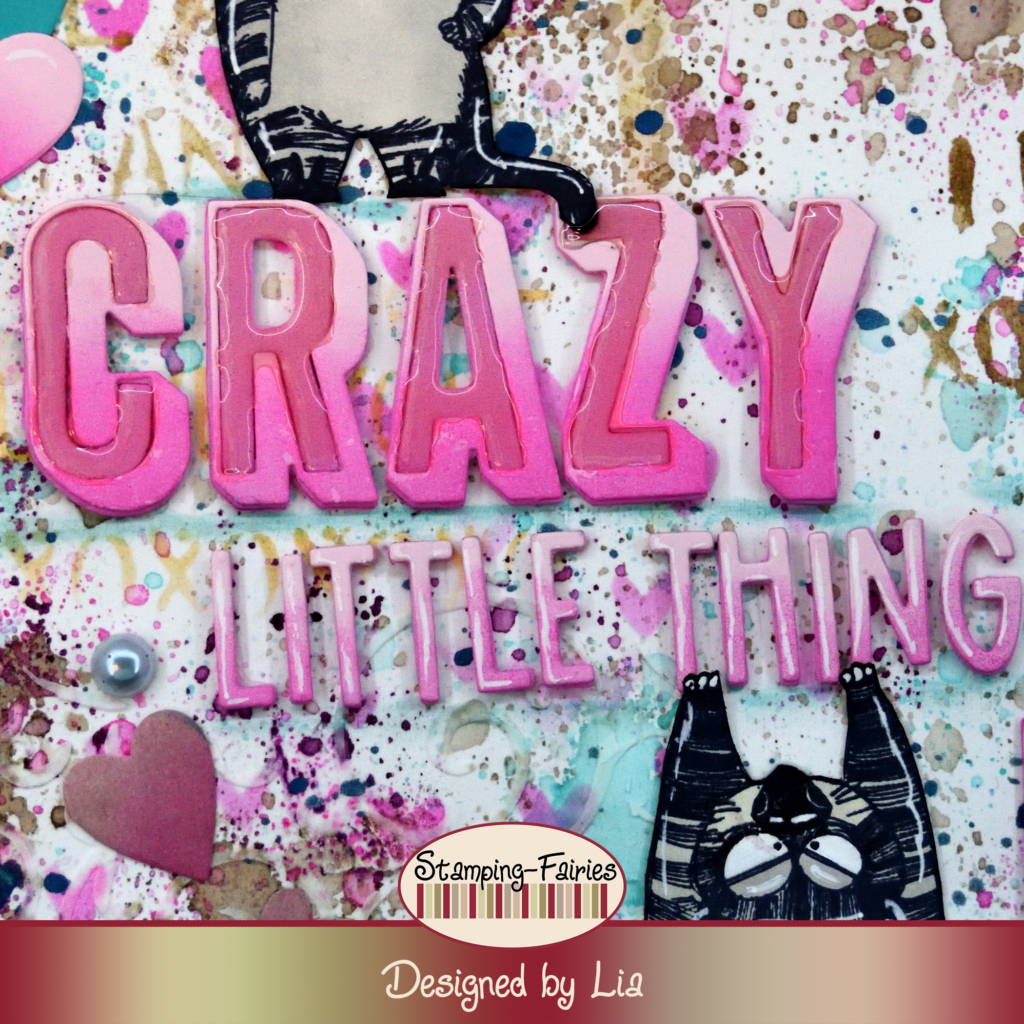
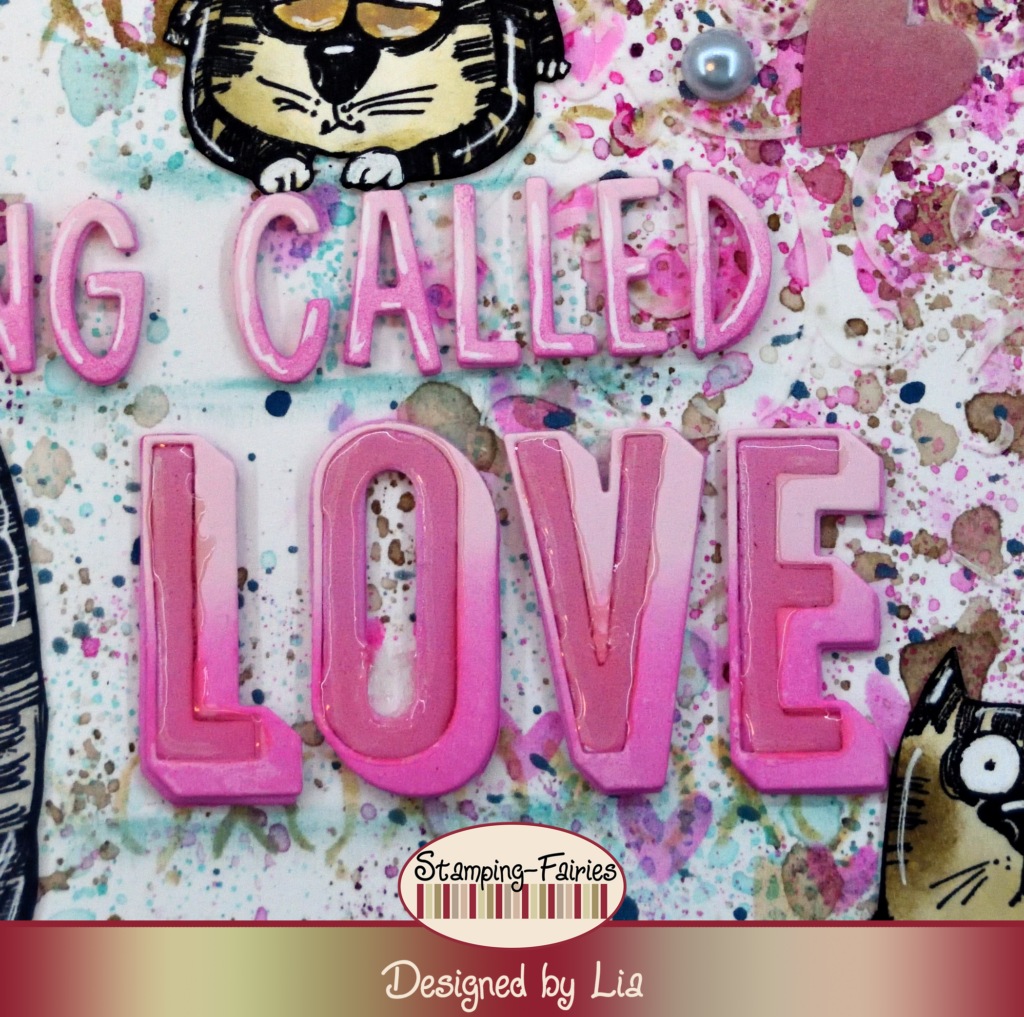
My sentiment consists of a combination of big words and small words. The big words are cut with the Sizzix Alphanumeric Shadow Upper Thinlits set, and the small words are cut with the alphabet cutting dies from the Sizzix Santa Greetings, Colorize Thinlits set. I cut everything out of pink cardstock and pink fun foam and stacked the two to create more depth. For the big words, I removed the inner part of the cardstock letters, exposing the fun foam, and then I filled them with Glossy Accents. The sentiment says: „Crazy little thing called Love“ and it is the title of a song from Queen. As a last little bit of embellishment, I added a few Idea-Ology Droplets from the Christmas pack.
And that was the project for today! This song from Queen is one of my favourites and it is quite special to me. I first heard it sang by my husband and his band. I still love their version the most! I also love these cats. The Crazy Cats were the first Tim Holtz stamp set I ever got. Creating with all of these elements made me so happy! I really hope you like today’s project! I hope you got inspired! We will see each other again next Monday! Until then, stay creative and have fun!
*Deutsche Version*
Hallo zusammen! Willkommen zurück zu einem weiteren Mixed-Media Projekt. Ich möchte euch heute ein sehr rosafarbenes Projekt zeigen… Ich wollte ein paar leuchtende Farben sehen und habe es vielleicht ein bisschen übertrieben… Beginnen wir mit den Materialien, die ich verwendet habe:
Materialien (wenn etwas nicht auf Lager ist, bitte einfach auf „Produkterinnerung“ klicken)
- Prima Marketing – Art Basics – Gesso Clear
- Mini Distress Ink Pads
- Tim Holtz Layering Stencil – Valentine
- Echo Park Stencils – Birthday Love Hearts
- Carta Bella Stencil – Season Greetings Swirls
- Ranger Texture Paste
- Distress Spritz – Peacock Feathers
- Tim Holtz Stamp Set – Snarky Cat
- Tim Holtz Distress Mixed Media Heavystock
- Archival Ink – Jet Black
- Ranger – Tim Holtz Distress Oxide Pads
- Sizzix Tim Holtz Thinlits – Stacked Tiles, Hearts
- Sizzix Tim Holtz Thinlits – Alphanumeric Shadow Upper
- Sizzix Tim Holtz Thinlits – Santa Greetings, Colorize
- Ranger Glossy Accents
- Tim Holtz – idea-ology – Droplets – Christmas
Für das heutige Projekt habe ich in einem größeren Art Journal gearbeitet. Ich habe vor Kurzem angefangen, Distress Tinten zu sammeln, und wollte sie ausprobieren. Aber zuerst musste ich meine Seite vorbereiten. Also habe ich eine gute Schicht klares Gesso aufgetragen und getrocknet. Es muss nicht klar sein, es könnte auch weißes Gesso sein. Ich hatte einfach das klare Gesso auf meinem Tisch, also habe ich das verwendet. Zeit, etwas Spaß mit den Tinten zu haben. Um meine Seite einzufärben, habe ich Tinte auf eine Folie aufgetragen, sie mit etwas Wasser besprüht und dann die Folie auf meine Seite gedrückt. Ich habe mit Pumice Stone Distress Tinte begonnen, um eine schöne, warm getönte Basis zu bekommen. Ich habe mit etwas Salvaged Patina Distress Tinte weitergemacht, um ein bisschen Abwechslung und Verspieltheit zu schaffen. Zuletzt habe ich Picked Raspberry und Seedless Preserves Distress Tinten hinzugefügt. Beachtet bei dieser Technik, die Tinten immer zwischen den Schichten trocknen zu lassen, auch wenn ihr dieselbe Farbe verwendet. Wenn nasse Tinten aufeinander treffen, verlaufen sie ineinander. Kommt dagegen die nasse Tinte auf trockene, entsteht eine schöne neue Schicht. Ich habe die Pumice Stone Distress Tinte verwendet, um die Kanten der Seite ein wenig abzudunkeln und dann habe ich sie auch durch die Valentine Layering Schablone verwendet, um etwas Text auf der Seite hinzuzufügen. Dann habe ich die Echo Park Birthday Love Hearts Schablone mit Picked Raspberry Distress Tinte verwendet und meinem Projekt ein süßes Herzdesign hinzugefügt. Wenn ihr mich kennt, wisst ihr, wie gern ich Pasten verwende, und dieses Projekt ist keine Ausnahme! Ich habe diese wunderschöne Schablone von Carta Bella namens Season Greetings Swirls. Sie stammt aus einer Weihnachtskollektion, hat aber trotzdem ein schönes Wirbeldesign. Also habe ich sie mit Range Texture Paste in der unteren linken und oberen rechten Ecke der Seite verwendet. Nachdem die Paste getrocknet war, habe ich die Seite mit Peacock Feathers Distress Spritz bespritzt, sie getrocknet und der Hintergrund war fertig.

Zeit, meine Bilder vorzubereiten. Der Schwerpunkt dieses Projekts liegt auf dem Spruch, aber wir brauchen noch einige schöne (oder lustige) Bilder, um es zu verschönern. Meine Bilder stammen aus dem Snarky Cat Stempelset von Tim Holtz. Sie sind auf Ranger Mixed Media Heavystock mit Jet Black Archival Tinte gestempelt und mit Distress Oxide Tinten koloriert. Ich habe Grau- und Brauntöne für meine Katzen verwendet, weil ich wollte, dass ihre Farbe subtil ist, aber eine orange Katze könnte auch lustig sein! Ich habe meine Katzen mit der Recoil Schere von Tim Holtz von Hand ausgeschnitten und dann ihre Kanten mit einem schwarzen Marker bearbeitet, damit die Farbe des Papiers nicht durchscheint. Meine Herzballons sind mit dem Sizzix Stacked Tiles, Hearts Thinlits Set ausgestanzt. Ich habe den größeren und den kleineren Ballon aus blaugrünem Karton ausgestanzt, um sie mit der Salvaged Patina Tinte auf dem Hintergrund zu binden. Der mittlere Ballon ist aus rosa Karton ausgestanzt. Ich habe die Salvaged Patina und Picked Raspberry Distress Tinten verwendet, um den unteren Teilen der Ballons etwas Schatten zu verleihen, und dann habe ich schwarze Schnüre daran befestigt. Das andere Ende der Schnüre habe ich am Fuß einer der Katzen gebunden, weil ich dachte, dass es lustig aussehen würde, wenn sie kopfüber hängen würde. Mit demselben Sizzix Set habe ich auch noch ein paar Herzen ausgeschnitten, die ich als Verzierung verwenden konnte.
Mein Spruch besteht aus einer Kombination aus großen und kleinen Wörtern. Die großen Wörter sind mit dem Sizzix Alphanumeric Shadow Upper Thinlits Set ausgestanzt und die kleinen Wörter mit den Alphabet Stanzformen aus dem Sizzix Santa Greetings, Colorize Thinlits Set. Ich habe alles aus rosa Karton und rosa Schaumstoff ausgestanzt und die beiden übereinandergelegt, um mehr Tiefe zu erzeugen. Für die großen Wörter habe ich den inneren Teil der Kartonbuchstaben entfernt, wodurch der Schaumstoff freigelegt wurde, und sie dann mit Glossy Accents gefüllt. Der Spruch lautet übersetzt: „Verrücktes kleines Ding namens Liebe“ und es ist der Titel eines Songs von Queen. Als letzte kleine Verzierung habe ich ein paar Idea-Ology Droplets aus dem Weihnachtspaket hinzugefügt.
Und das war das Projekt für heute! Dieses Lied von Queen ist eines meiner Lieblingslieder und es ist etwas ganz Besonderes für mich. Ich habe es zum ersten Mal von meinem Mann und seiner Band gesungen gehört. Ich mag ihre Version immer noch am meisten! Ich liebe auch diese Katzen. Die Crazy Cats waren das erste Stempelset von Tim Holtz, das ich je bekommen habe. Das Gestalten mit all diesen Elementen hat mich so glücklich gemacht! Ich hoffe sehr, dass euch das heutige Projekt gefällt! Ich hoffe, ihr habt euch inspirieren lassen! Wir sehen uns nächsten Montag wieder! Bis dahin bleibt kreativ und habt Spaß!

Geschenkanhänger

Have a ROARSOME birthday
Das könnte dich auch interessieren
til death us to part
Galaktische, elefantöse Geburtstagsgrüße