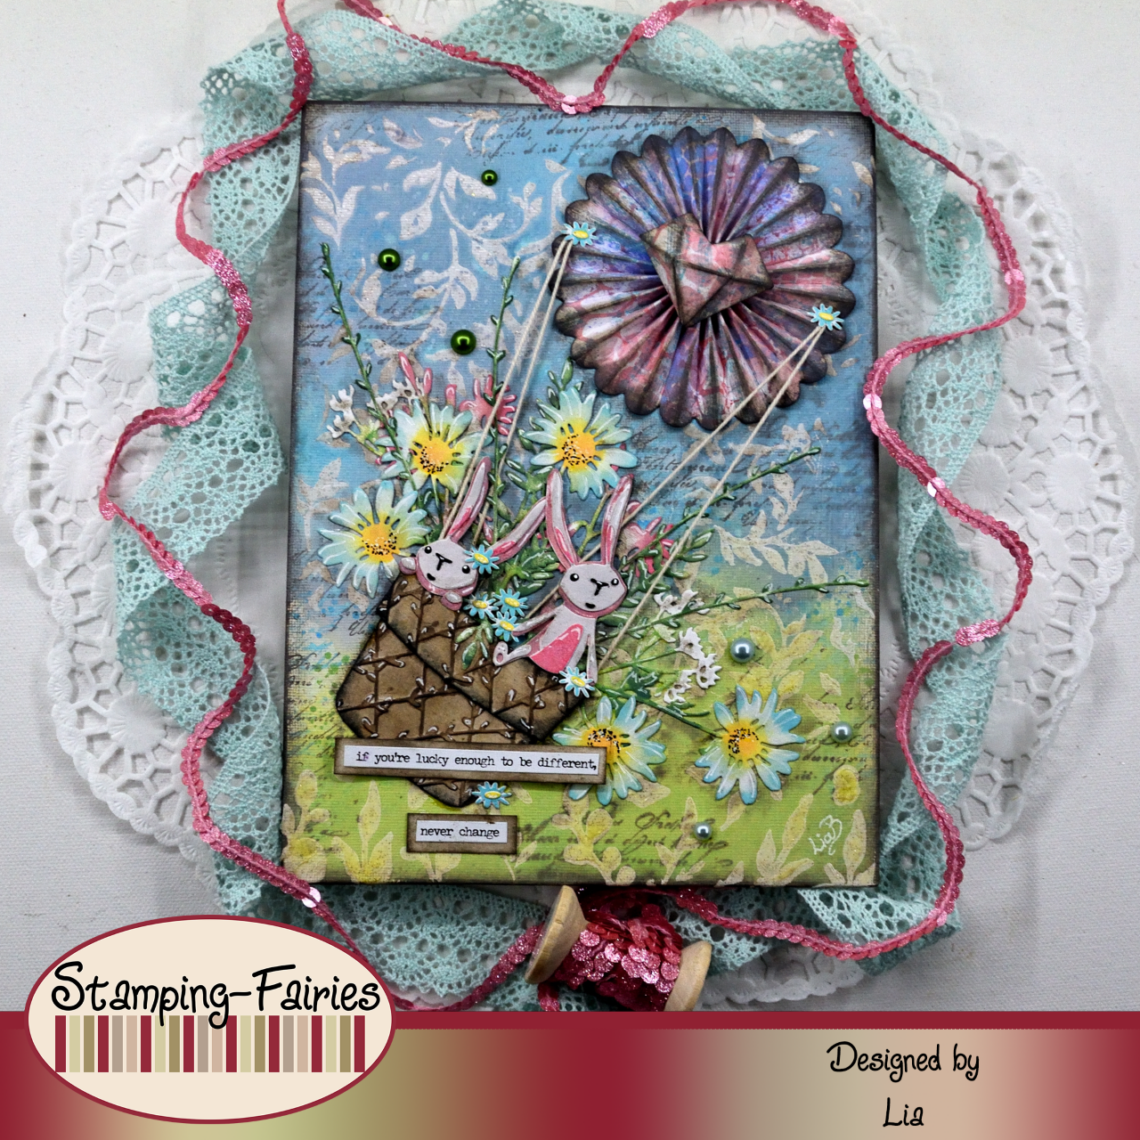
Lucky to be different
*German version below | Deutsche Version unten*
Hello everyone! Welcome back to another mixed media project. For today, I prepared a fun project, always taking our Challenge theme under consideration, which is Spring. Let’s start with the materials I used:
Materials (If something is not in stock, please simply click on “Product reminder”/ “Produkterinnerung”)
- A Canvas
- Finnabair Art Basics – Heavy Gesso White (Tube)
- Stamperia Stencil – Leaf & Nature
- Tim Holtz Texture Paste – Sparkle
- Distress Oxide Sprays
- Ranger – Tim Holtz Distress Oxide Pads
- Tim Holtz Stempelset – The Poinsettia
- Sizzix Tim Holtz Thinlits – Vault Rosettes
- Tim Holtz Layering Stencil – Honeycomb
- Tim Holtz Mini Layering Stencil Collection – Set 28
- Sizzix Tim Holtz Bigz – Potted#2
- Sizzix Tim Holtz Thinlits – Vault Wildflowers
- Sizzix Tim Holtz Thinlits – Bunny Games
- Tim Holtz Small Talk Sticker Book
- Tim Holtz – idea-ology – Droplets – Christmas

This time, I worked on a canvas and, as always, I started with the background. First of all, I added a good layer of Gesso on my canvas, because I needed a nice surface for my mediums. Then, I used the Stamperia Leaf stencil (on the top) and the Nature stencil (on the bottom of the canvas) with Distress Sparkle Texture Paste. This Paste is a translucent gloss Paste with glitter flecks and it looks beautiful! Time to add colour! For the sky part of my project, I used Stormy Sky and Salvaged Patina Distress Oxide Sprays. I love how these two colours work together! For the lower part of the project, I used Twisted Citron Distress Oxide ink. I sprayed with the inks, sprayed with water, left the colours move and mix with each other, I dabbed off the excess and then I dried the project. I wanted some more details on the background and in this case I always think of text stamps first. So, I used the text stamp from the Tim Holtz The Poinsettia stamp set with Salvaged Patina Distress Oxide ink and I stamped all around the edges. I also used the dots stamp from the same set. Of course, these details were not as visible as I wanted them to be, so I stamped the text again, this time with Scorched Timber Distress Oxide ink. I also used the Scorched Timber ink to darken the edges of the canvas. And with that, my background was done!

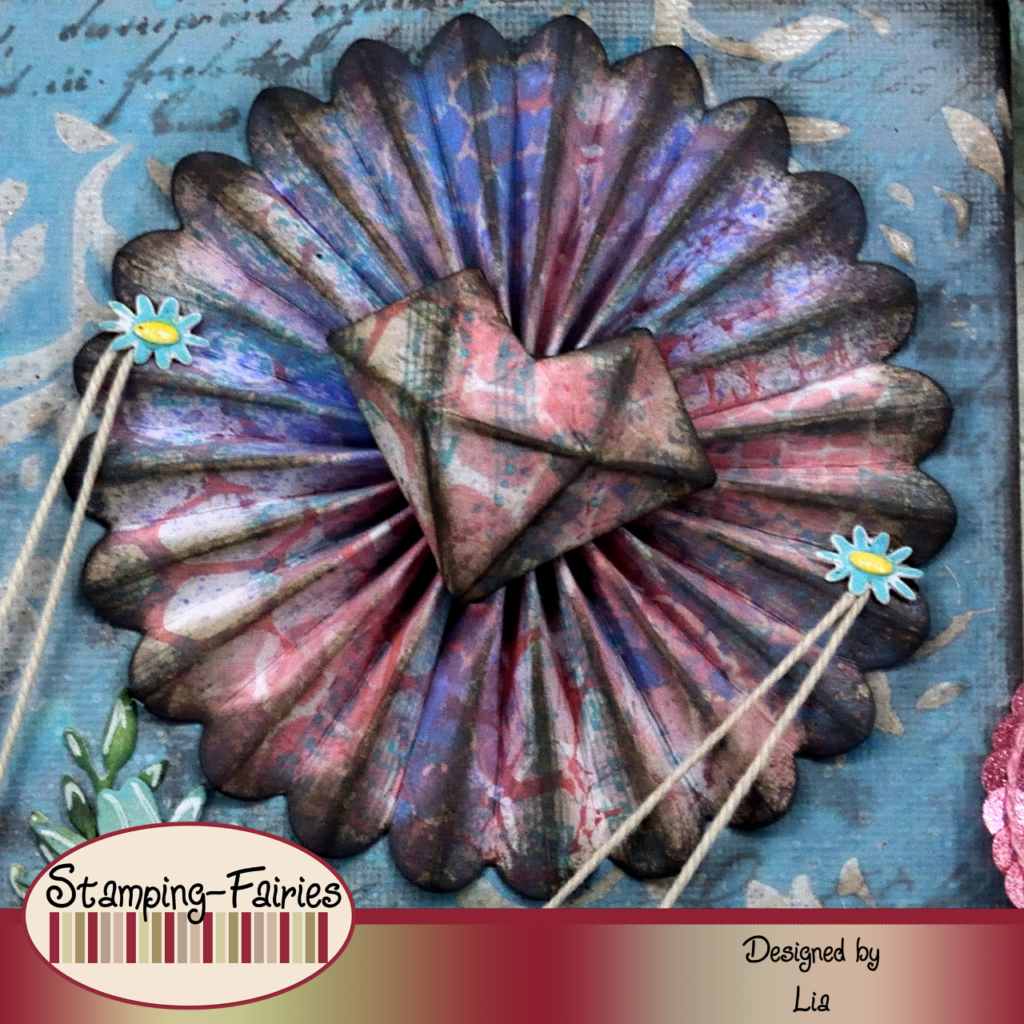
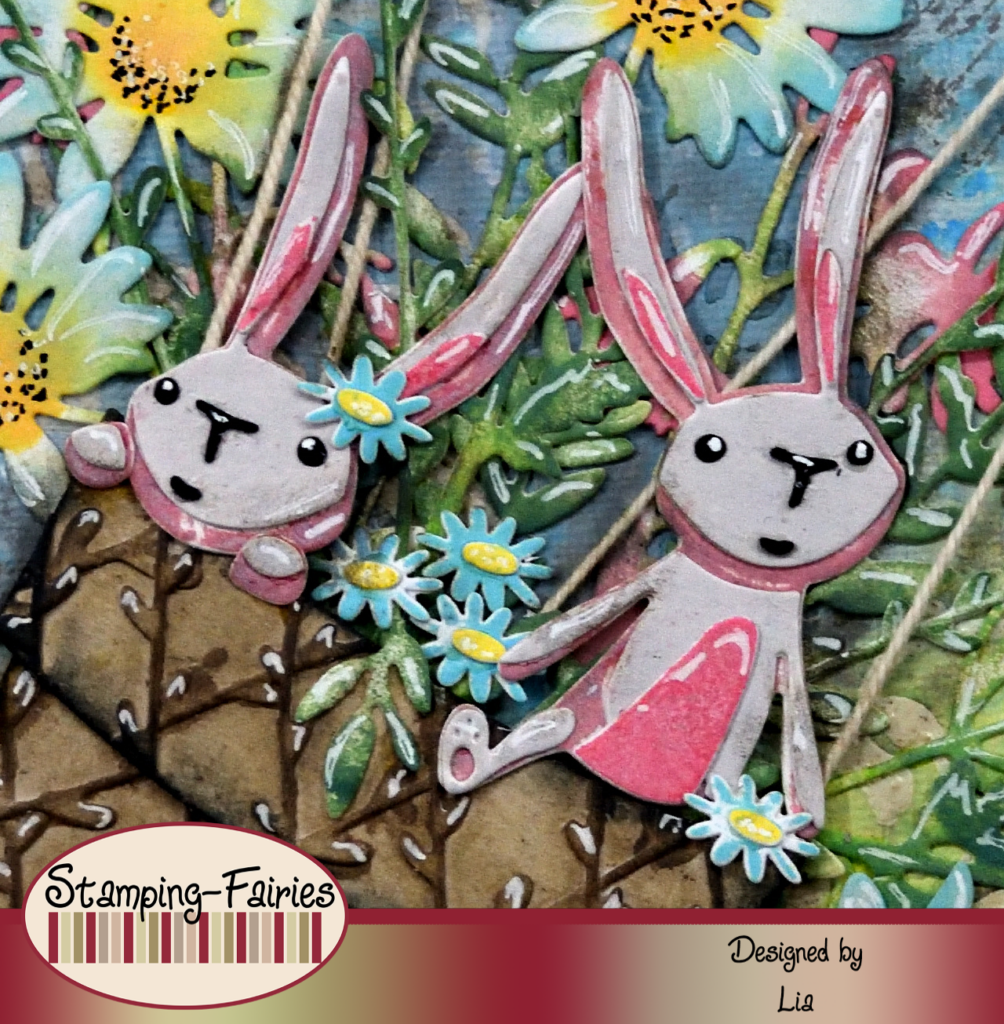
Time to prepare my images. I wanted to make a hot air balloon. First I needed to prepare the paper I was going to cut the balloon from. I used mixed media paper, because I needed the paper to be sturdy. For colouring, I used the Worn Lipstick and Abandoned Coral Distress Oxide inks and the Tattered Rose and Shaded Lilac Distress Oxide Sprays, with the Honeycomb Layering stencil and a stencil from the Mini Layering Stencil Collection Set 28. I used the stencils the traditional way, inking and spraying through them. Then, without cleaning the stencils, I dubbed them on my paper, practically using them as a stamp. The ink transfers on the paper, leaving the exact stencil design. I dried everything and then I used the note sheet stamp from The Poinsettia stamp set, with Salvaged Patina Distress Oxide ink and I stamped all over the paper panel. From this panel, I cut a Rosette and a heart, using the Sizzix Vault Rosettes Thinlits set. I put them together and then I added some shading on them, using Scorched Timber Distress Oxide ink. And that was my balloon. I cut my flowers using the Sizzix Vault Wildflowers Thinlits set and I coloured them using a variety of Distress Oxide inks. I do like the Salvaged Patina colour, so it is pretty much everywhere. I kept some twigs white because I wanted to add them to my basket. I used the Sizzix Potted #2 Bigz set to cut a pot and then I shortened it to turn it into a basket. I attached the twigs on the basket pieces, I coloured the pieces with Ground Espresso Distress Oxide ink, I darkened the edges with Black Soot Distress Oxide ink and then I put the basket together. I made my bunnies using the Sizzix Bunny Games Thinlits set to cut them and I coloured them with Victorian Velvet, Lost Shadow and Saltwater Taffy Distress Oxide inks.
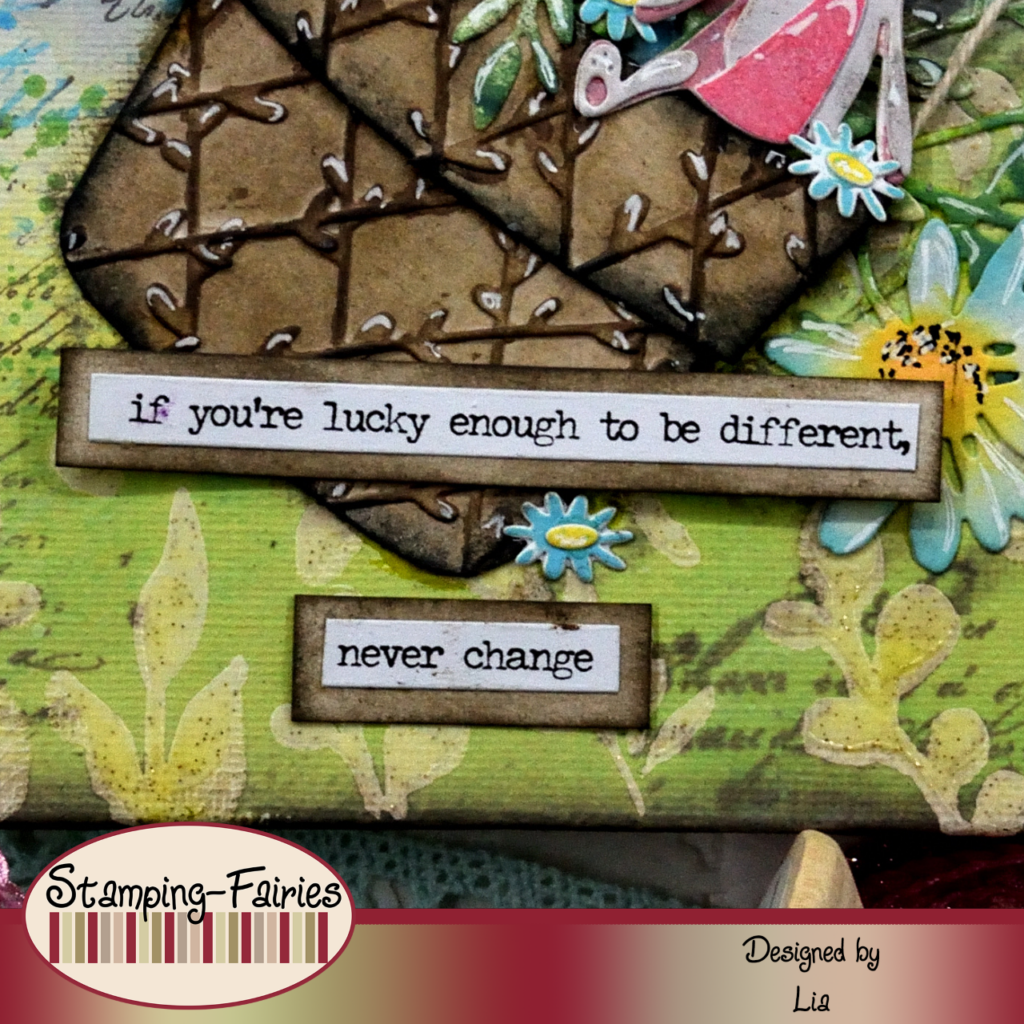
My sentiment comes from the Idea-Ology Small Talk Sticker Book. I cut a stripe of white paper, treated it with Scorched Timber Distress Oxide ink and I attached the sentiment stripe on it. It says „If you are lucky enough to be different, never change“ and I totally agree. The world would be a very boring place, if we were all the same! After assembling everything on my canvas, I decided to add a few Idea-Ology Droplets, because they look nice and I like them!!! (LOL)
And that was the project for today! I used pastel tones and flowers as a reminiscent of Spring since actual Spring seems to have forgotten us… One can always dream… Just a reminder: our Spring Challenge will be running until the end of the month. You can find more information about it in the Stamping Fairies profiles on Instagram and Facebook. I really hope you like today’s project! I hope you got inspired! We will see each other again next Monday! Until then, stay creative and have fun!
*Deutsche Version*
Hallo zusammen! Willkommen zurück zu einem weiteren Mixed-Media Projekt. Für heute habe ich ein lustiges Projekt vorbereitet, das wie immer unser Challenge Thema berücksichtigt, diesmal den Frühling. Beginnen wir mit den Materialien, die ich verwendet habe:
Materialien (wenn etwas nicht auf Lager ist, bitte einfach auf „Produkterinnerung“ klicken)
- Eine Leinwand
- Finnabair Art Basics – Heavy Gesso White (Tube)
- Stamperia Stencil – Leaf & Nature
- Tim Holtz Texture Paste – Sparkle
- Distress Oxide Sprays
- Ranger – Tim Holtz Distress Oxide Pads
- Tim Holtz Stempelset – The Poinsettia
- Sizzix Tim Holtz Thinlits – Vault Rosettes
- Tim Holtz Layering Stencil – Honeycomb
- Tim Holtz Mini Layering Stencil Collection – Set 28
- Sizzix Tim Holtz Bigz – Potted#2
- Sizzix Tim Holtz Thinlits – Vault Wildflowers
- Sizzix Tim Holtz Thinlits – Bunny Games
- Tim Holtz Small Talk Sticker Book
- Tim Holtz – idea-ology – Droplets – Christmas
Dieses Mal habe ich auf einer Leinwand gearbeitet und wie immer mit dem Hintergrund begonnen. Zuerst habe ich eine gute Schicht Gesso auf meine Leinwand aufgetragen, weil ich eine schöne Oberfläche für meine Medien brauchte. Dann habe ich die Stamperia Leaf Schablone (oben) und die Nature Schablone (unten auf der Leinwand) mit Distress Sparkle Texture Paste verwendet. Diese Paste ist eine transparente Glanzpaste mit Glitzerflecken und sieht wunderschön aus! Zeit, Farbe hinzuzufügen! Für den Himmelsteil meines Projekts habe ich Stormy Sky und Salvaged Patina Distress Oxide Sprays verwendet. Ich liebe die Kombination dieser beiden Farben! Für den unteren Teil des Projekts habe ich Twisted Citron Distress Oxide Spray verwendet. Ich habe mit den Tinten gesprüht, mit Wasser gesprüht, die Farben sich bewegen und miteinander vermischen lassen, den Überschuss abgetupft und dann das Projekt getrocknet. Ich wollte noch ein paar Details zum Hintergrund und da denke immer zuerst an Textstempel. Also habe ich den Textstempel aus dem Stempelset „The Poinsettia“ von Tim Holtz mit Salvaged Patina Distress Oxide Tinte verwendet und die Kanten rundherum gestempelt. Ich habe auch den Punktstempel aus dem gleichen Set verwendet. Natürlich waren diese Details nicht so sichtbar, wie ich es wollte, also habe ich den Text erneut gestempelt, dieses Mal mit Scorched Timber Distress Oxide Tinte. Ich habe auch die Scorched Timber Tinte verwendet, um die Ränder der Leinwand abzudunkeln. Und damit war mein Hintergrund fertig!
Zeit, meine Bilder vorzubereiten. Ich wollte einen Heißluftballon bauen. Zuerst musste ich das Papier vorbereiten, aus dem ich den Ballon schneiden wollte. Ich habe Mixed-Media Papier verwendet, weil ich ein stabiles Papier brauchte. Zum Färben habe ich die Worn Lipstick und Abandoned Coral Distress Oxide Tinten sowie die Tattered Rose und Shaded Lilac Distress Oxide Sprays mit der Honeycomb Layering Schablone und einer Schablone aus dem Mini Layering Stencil Collection Set 28 verwendet. Ich habe die Schablonen auf traditionelle Weise verwendet, Einfärben oder durch sie hindurch sprühen. Dann, ohne die Schablonen zu reinigen, habe ich sie auf mein Papier übertragen und sie praktisch als Stempel verwendet. Die Tinte wird auf das Papier übertragen und hinterlässt das exakte Schablonendesign. Ich habe alles getrocknet und dann das Notenblatt aus dem The Poinsettia Stempelset mit Salvaged Patina Distress Oxide Tinte verwendet und die gesamte Papierplatte bestempelt. Aus dieser Platte habe ich mit dem Sizzix Vault Rosettes Thinlits Set eine Rosette und ein Herz ausgeschnitten. Ich habe sie zusammengesetzt und dann mit Scorched Timber Distress Oxide Tinte etwas Schatten hinzugefügt. Und das war mein Ballon. Ich habe meine Blumen mit dem Sizzix Vault Wildflowers Thinlits Set geschnitten und sie mit verschiedenen Distress Oxide Tinten gefärbt. Ich mag die Salvaged Patina Farbe, daher ist sie fast überall zu finden. Einige Zweige habe ich weiß gehalten, weil ich sie in meinen Korb legen wollte. Ich habe mit dem Sizzix Potted #2 Bigz Set einen Topf geschnitten und ihn dann gekürzt, um ihn in einen Korb zu verwandeln. Ich habe die Zweige an den Korbstücken befestigt, die Stücke mit Ground Espresso Distress Oxide Tinte eingefärbt, die Ränder mit Black Soot Distress Oxide Tinte abgedunkelt und dann den Korb zusammengebaut. Ich habe meine Hasen mit dem Sizzix Bunny Games Thinlits Set ausgeschnitten und sie mit Victorian Velvet, Lost Shadow und Saltwater Taffy Distress Oxide Tinten eingefärbt.
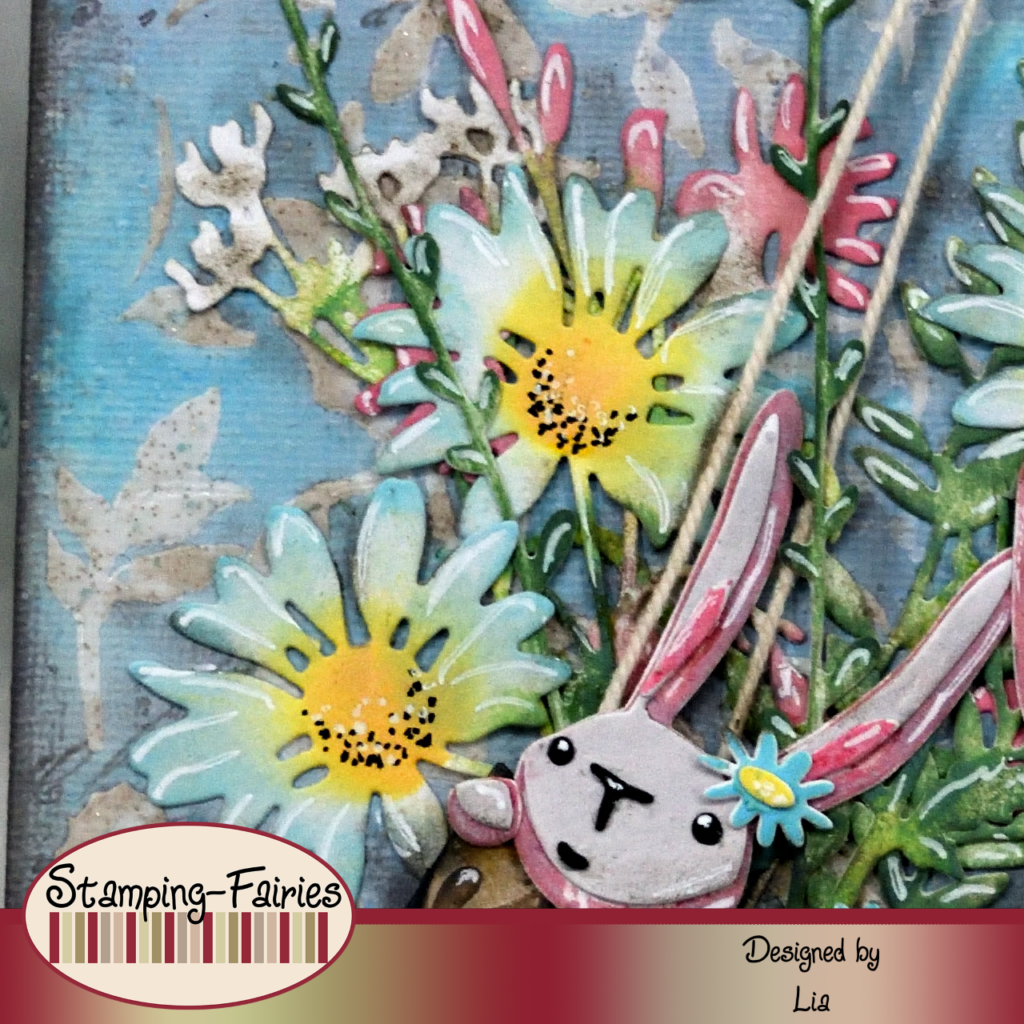
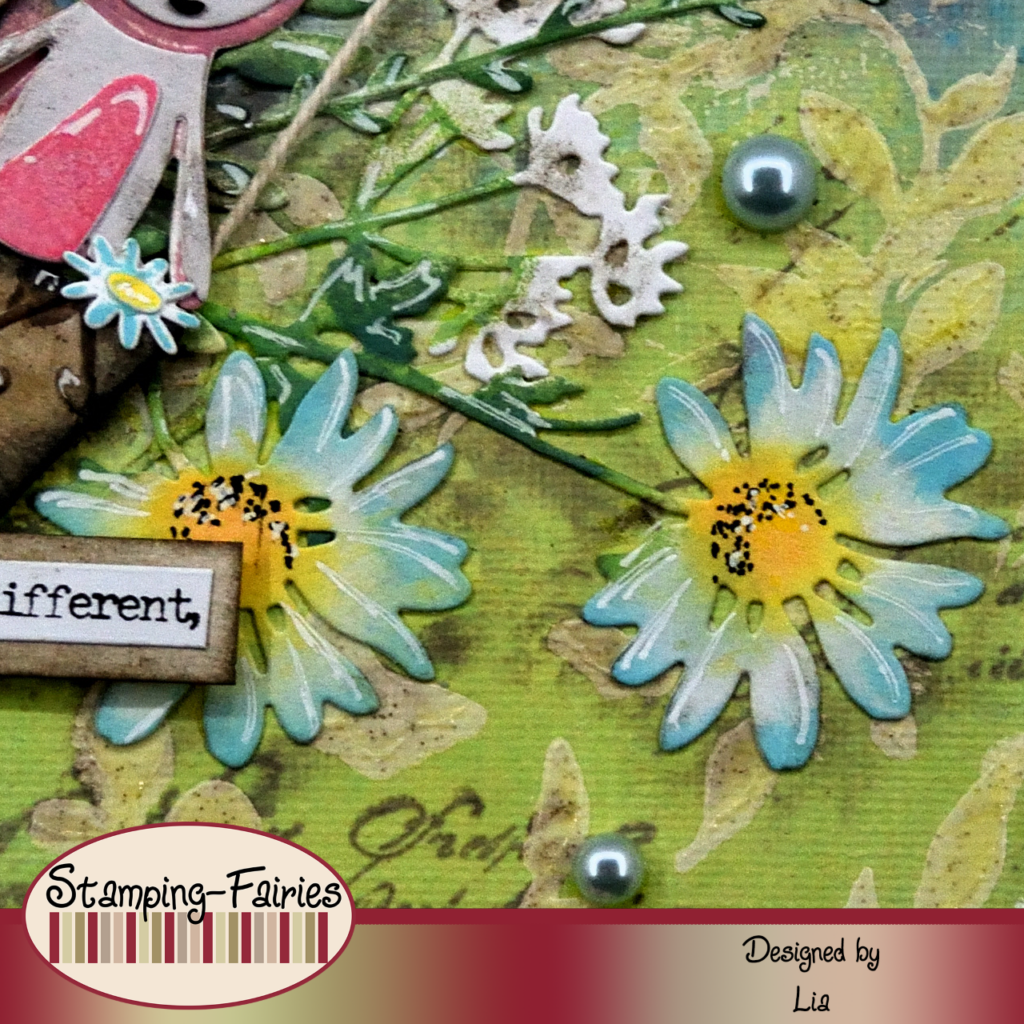
Mein Spruch stammt aus dem Idea-Ology Small Talk Sticker Book. Ich habe einen Streifen weißes Papier ausgeschnitten, ihn mit Scorched Timber Distress Oxide Tinte behandelt und den Spruchstreifen darauf angebracht. Es heißt: „Wenn du das Glück hast, anders zu sein, ändere dich nie“ und ich stimme voll und ganz zu. Die Welt wäre sehr langweilig, wenn wir alle gleich wären! Nachdem ich alles auf meiner Leinwand zusammengesetzt hatte, habe ich beschlossen, ein paar Idea-Ology Droplets hinzuzufügen, weil sie schön aussehen und mir gefallen!!! (LOL)

Und das war das Projekt für heute! Ich habe Pastellfarben und Blumen als Erinnerung an den Frühling verwendet, da uns der eigentliche Frühling scheinbar vergessen zu haben scheint … Man kann immer träumen … Nur zur Erinnerung: Unsere Frühlings Challenge bis Ende des Monats läuft. Weitere Informationen dazu findet ihr in den Stamping Fairies Profilen auf Instagram und Facebook. Ich hoffe sehr, dass euch das Projekt gefällt! Ich hoffe, ihr habt euch inspirieren lassen! Wir sehen uns nächsten Montag wieder! Bis dahin bleibt kreativ und habt Spaß!

Pastelltraum

Sending Love
Das könnte dich auch interessieren
Hip Hip Hooray!
3. September 2023
Happy Birthday Pool Party
29. August 2019
